
Into the Night…
The older I get, the more I realise that the nostalgic in me is growing stronger.
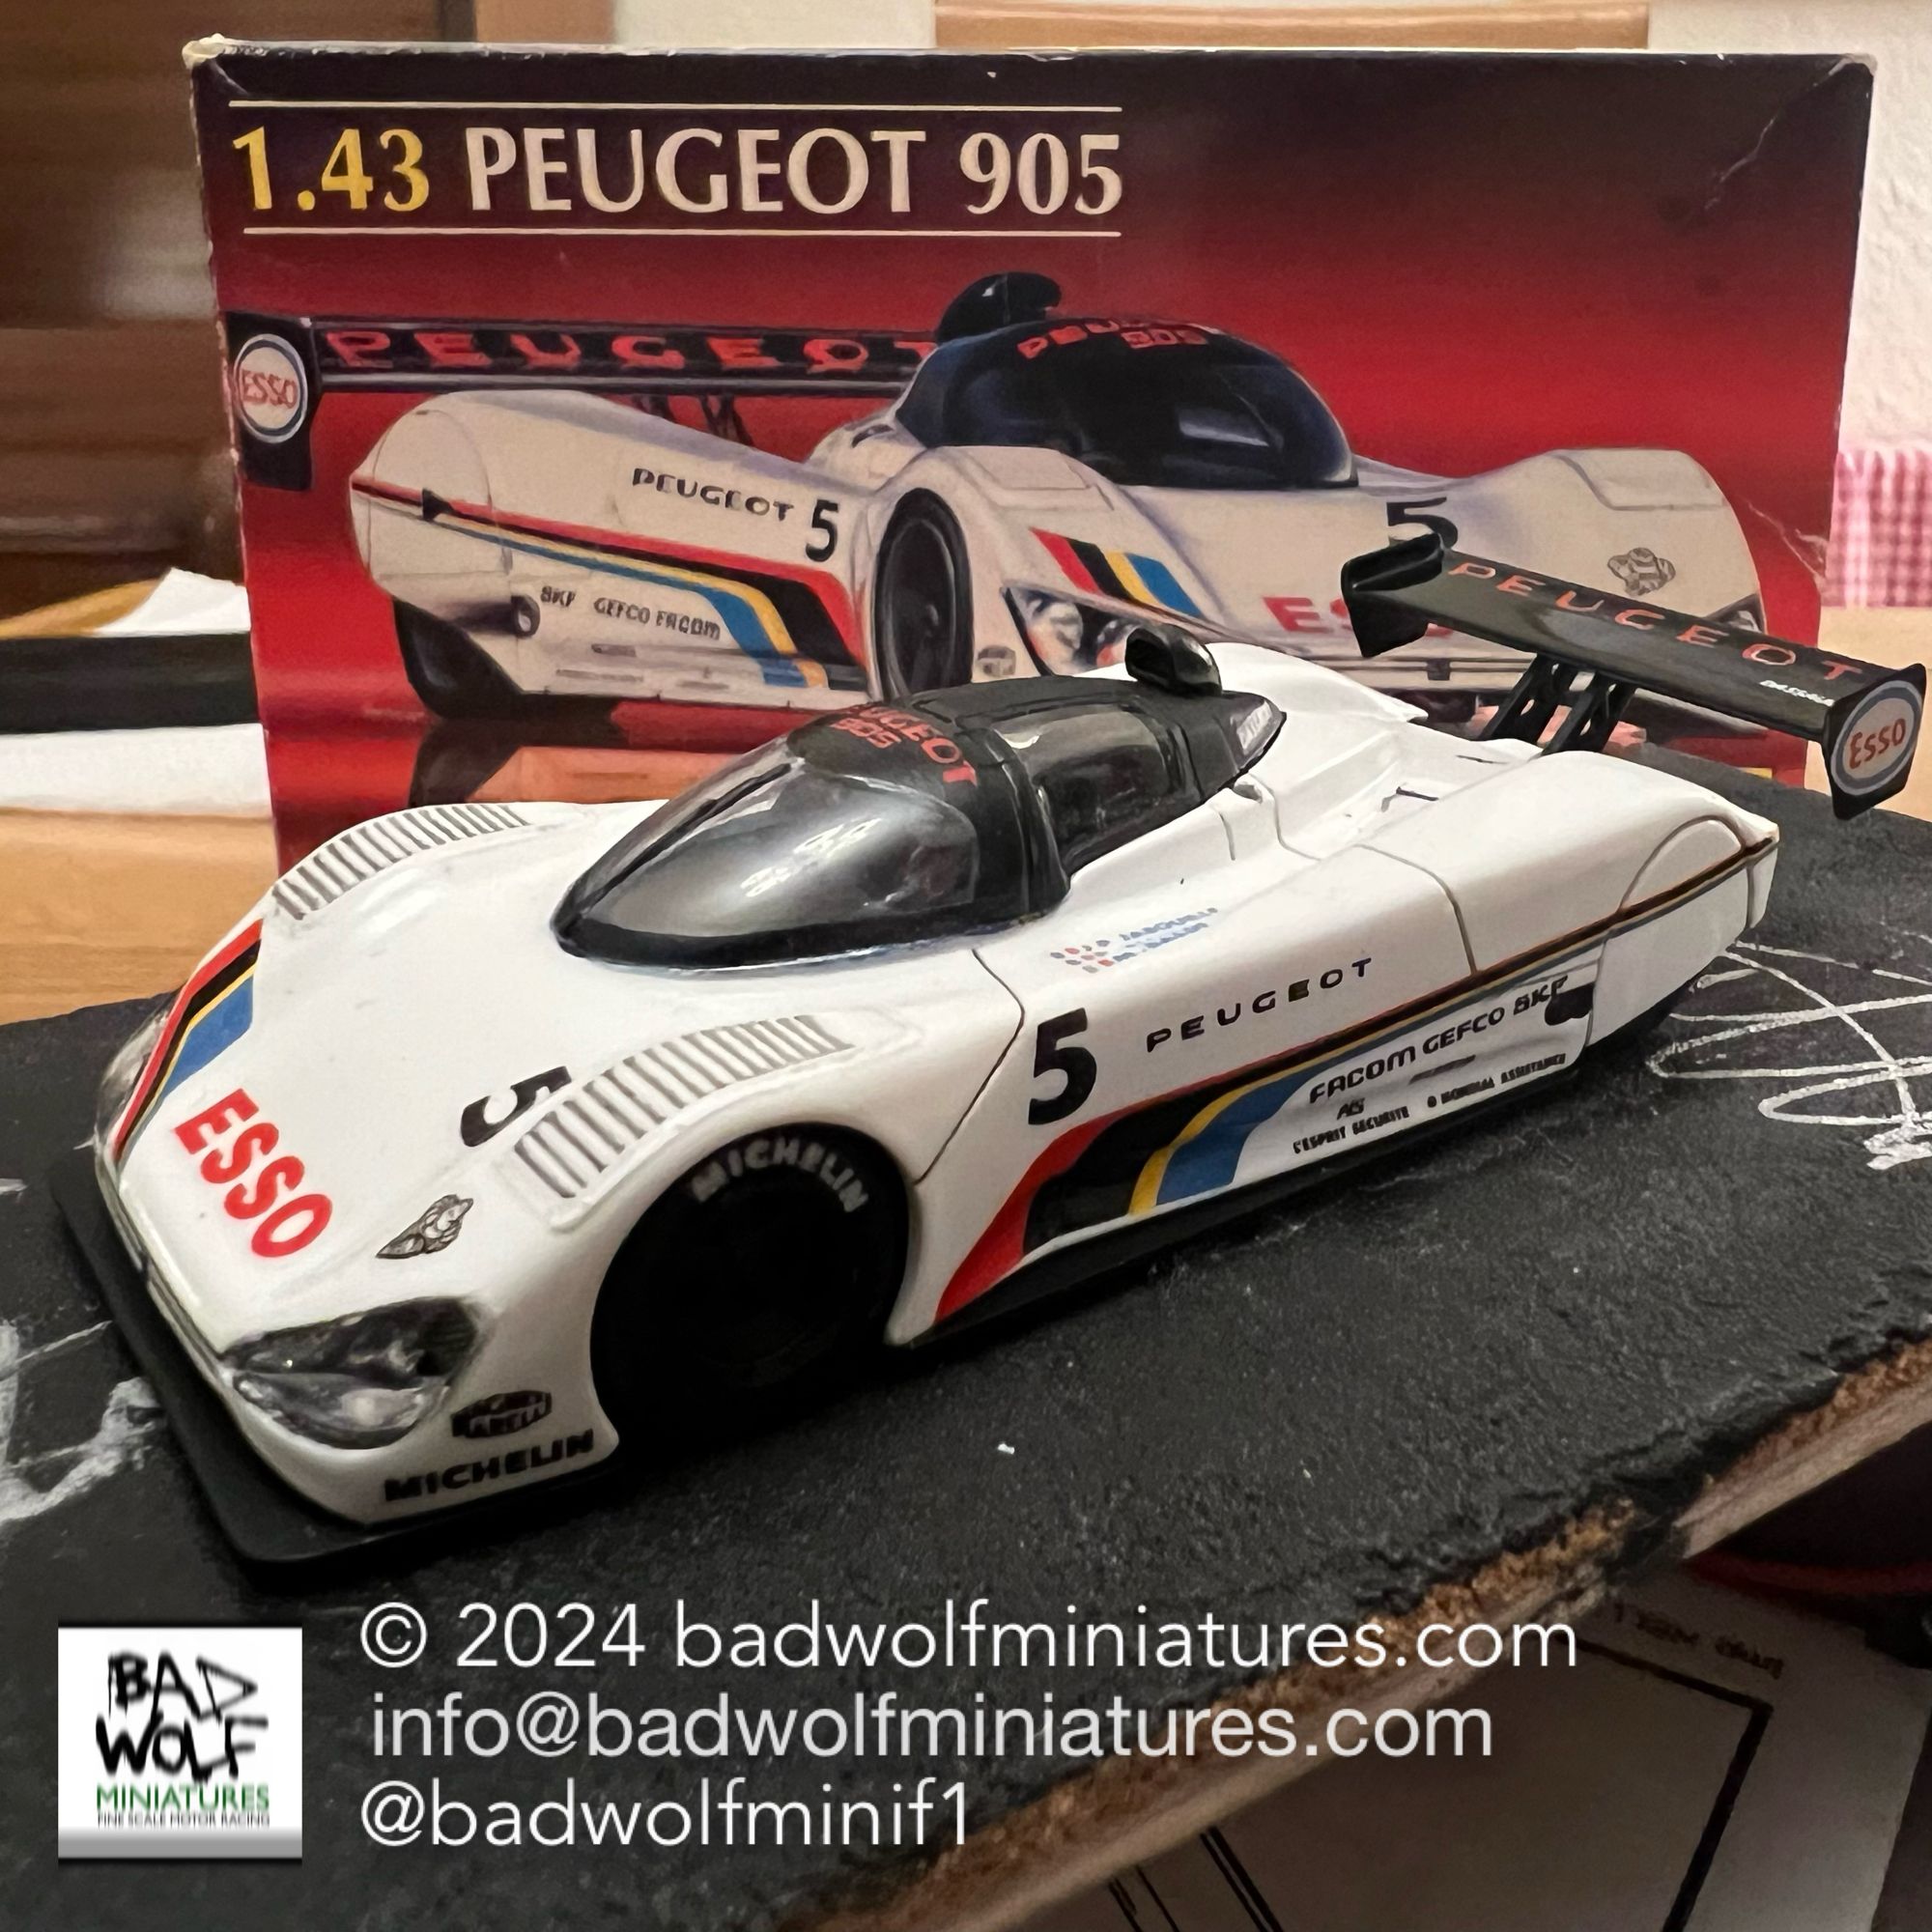
Clearly building models of racing cars that from over 30 years ago is a nostalgic act in itself, but my latest diorama is nostalgic in a different way. Usually the cars and drivers that I choose come from those who made in impact on my young impressionable mind when I was a child, but I can honestly say that in this case I don’t have a particularly fond nostalgia for the Peugeot 905. I wasn’t particularly interested in in sports car racing in the early 90s, which in hindsight is a shame as the cars from this era were absolute beasts driven by top line drivers (many of whom also made their mark in Formula One).
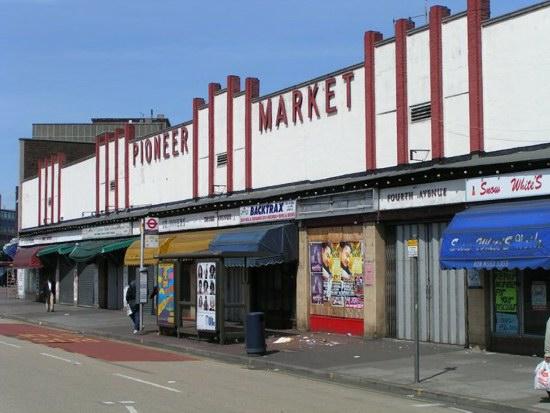
In this case, the nostalgia is for a shop, specifically R&R Models in Ilford, Essex. Originally located in the Ilford’s Pioneer Market before later relocating to a larger (but more remote) shop in Cranbrook Road, R&R was a very exciting place for the 8-year-old me, and they gladly relieved me of a good deal of my pocket, birthday & Christmas money in return for their scale model wonders. I would often wander into the shop, and gaze up at the model kits on display while my mum was busy shopping nearby. I would happily have stayed and wandered around for hours, but eventually I always had to go home… but sometimes I was lucky enough to leave with a new kit wrapped in a small brown paper bag.
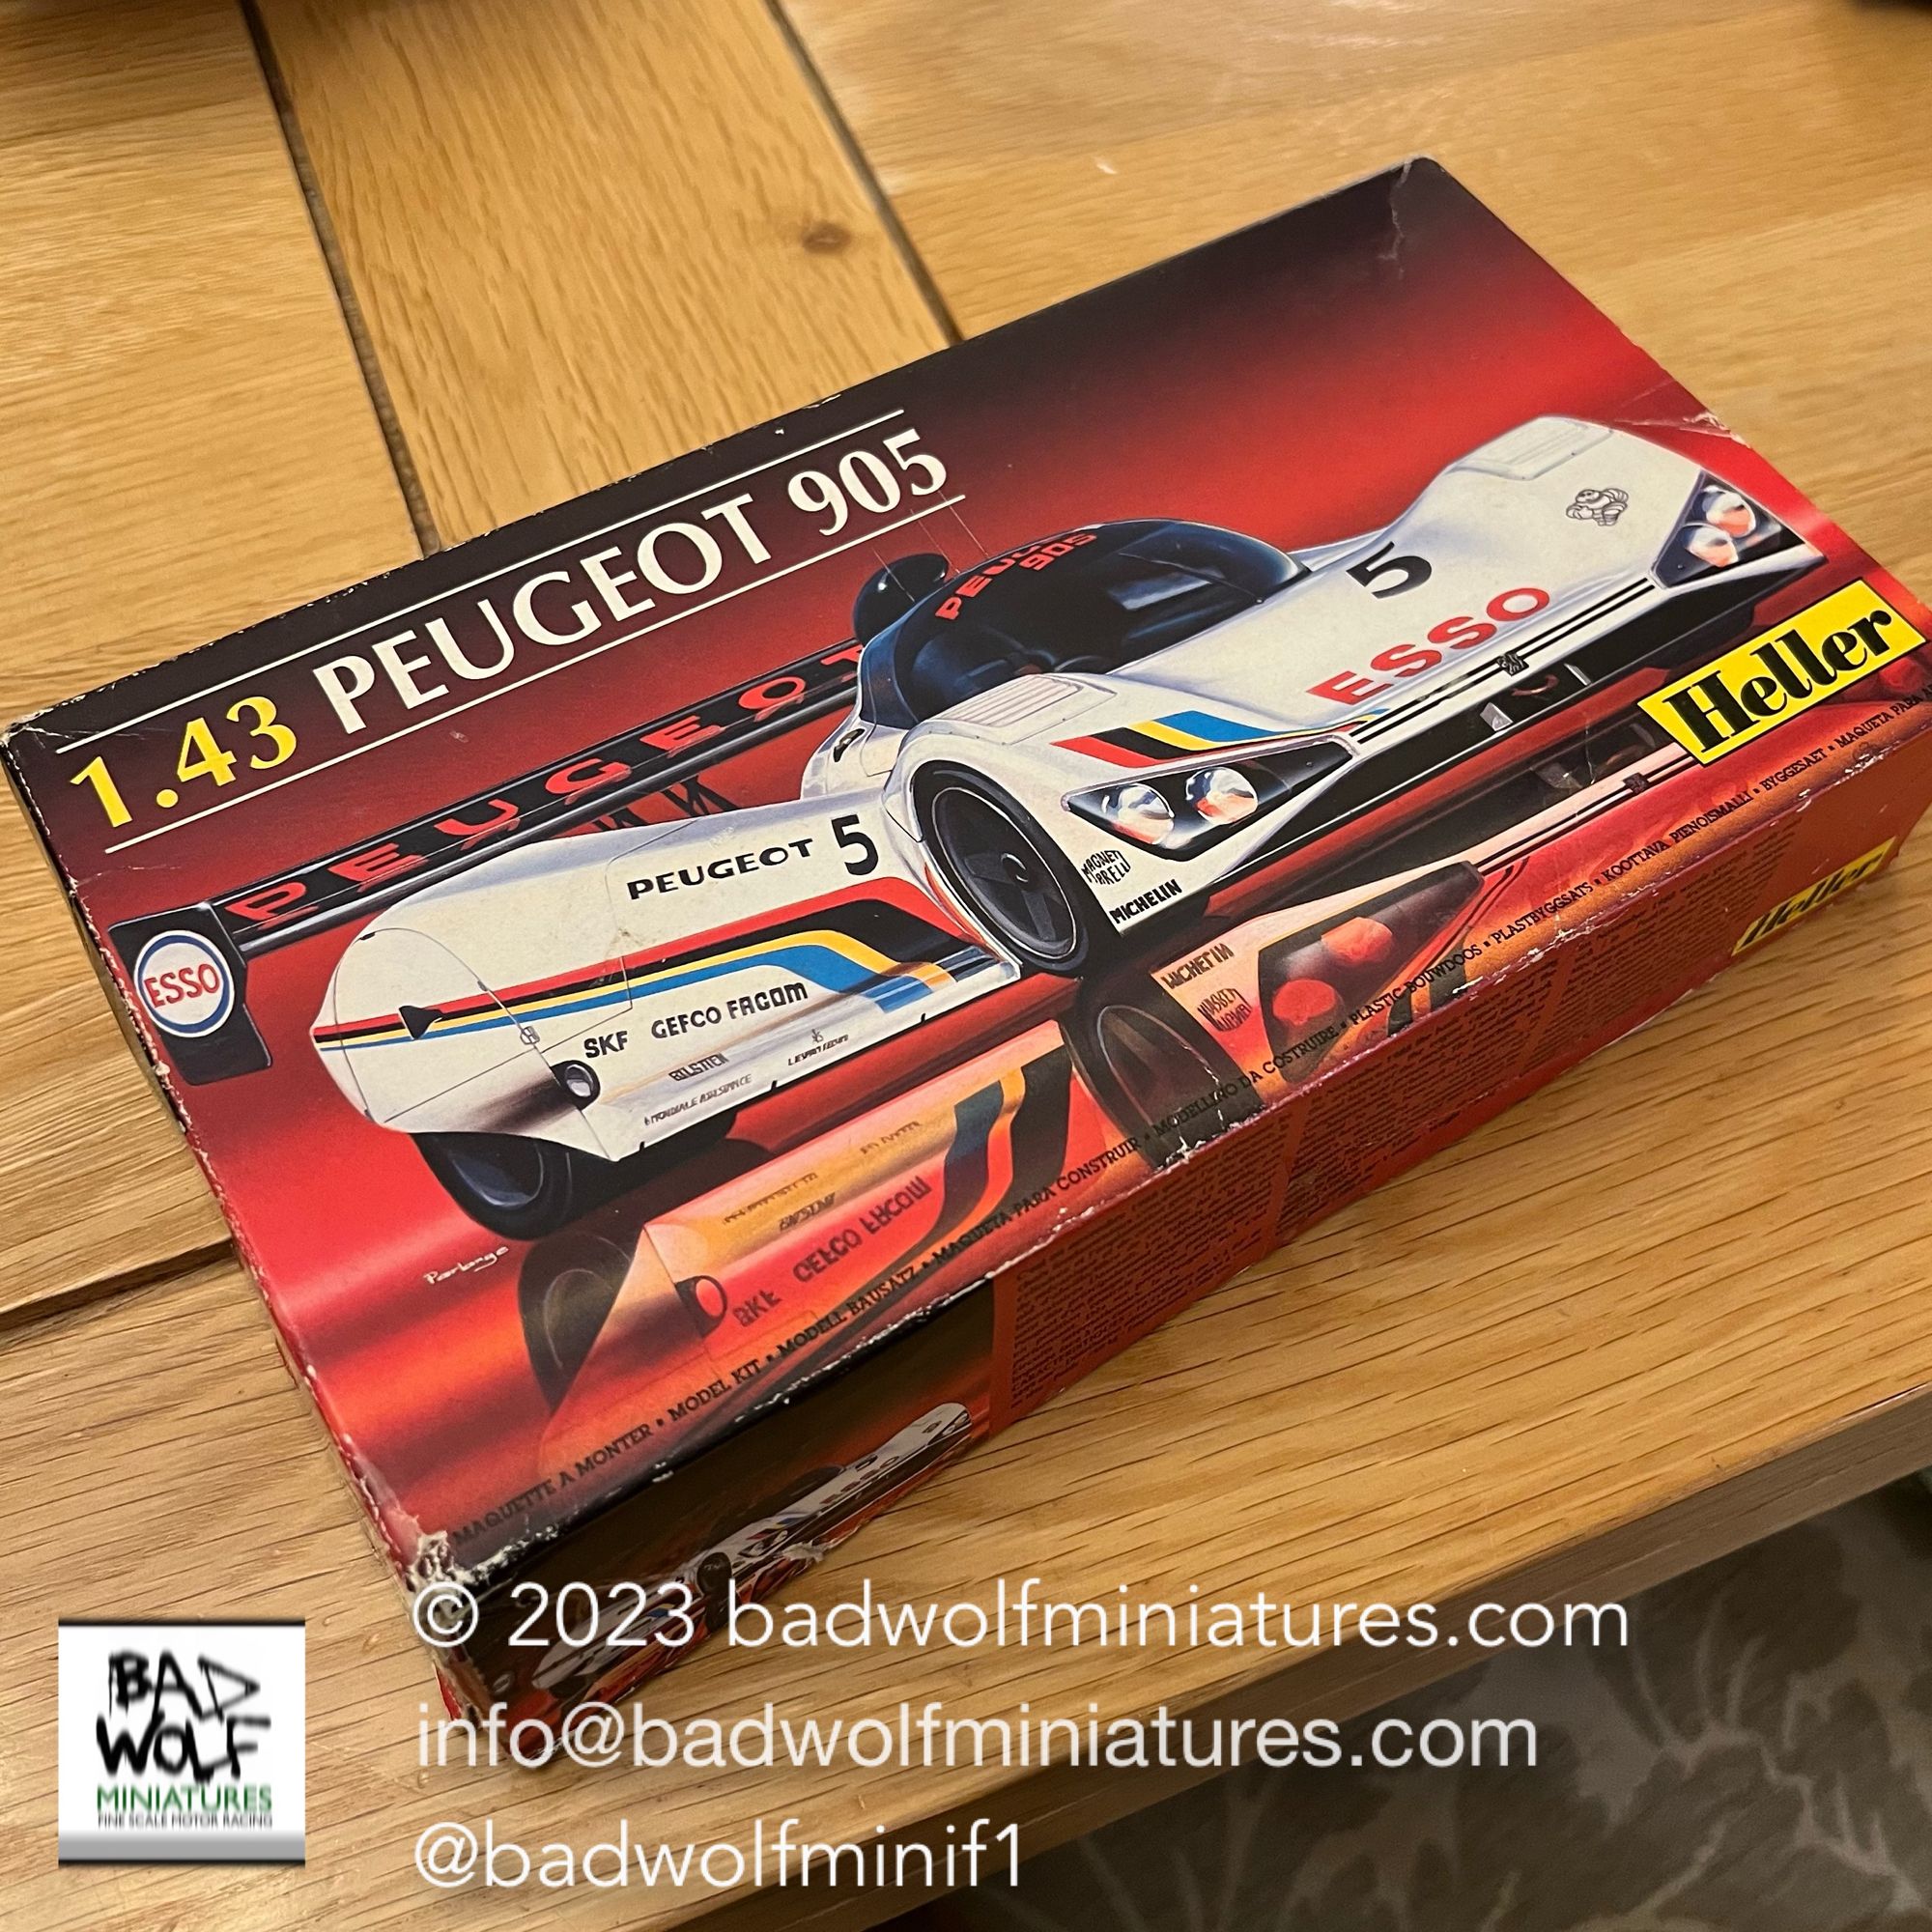
One range of models I discovered whilst gazing in wonder was the Heller 1/43 scale range of racing cars. I built their entire range of F1 cars, but I never got round to building any of their rally or Le Mans sports cars. R&R finally closed their doors in the late 90’s, and (like many model shops) is now sadly missed.
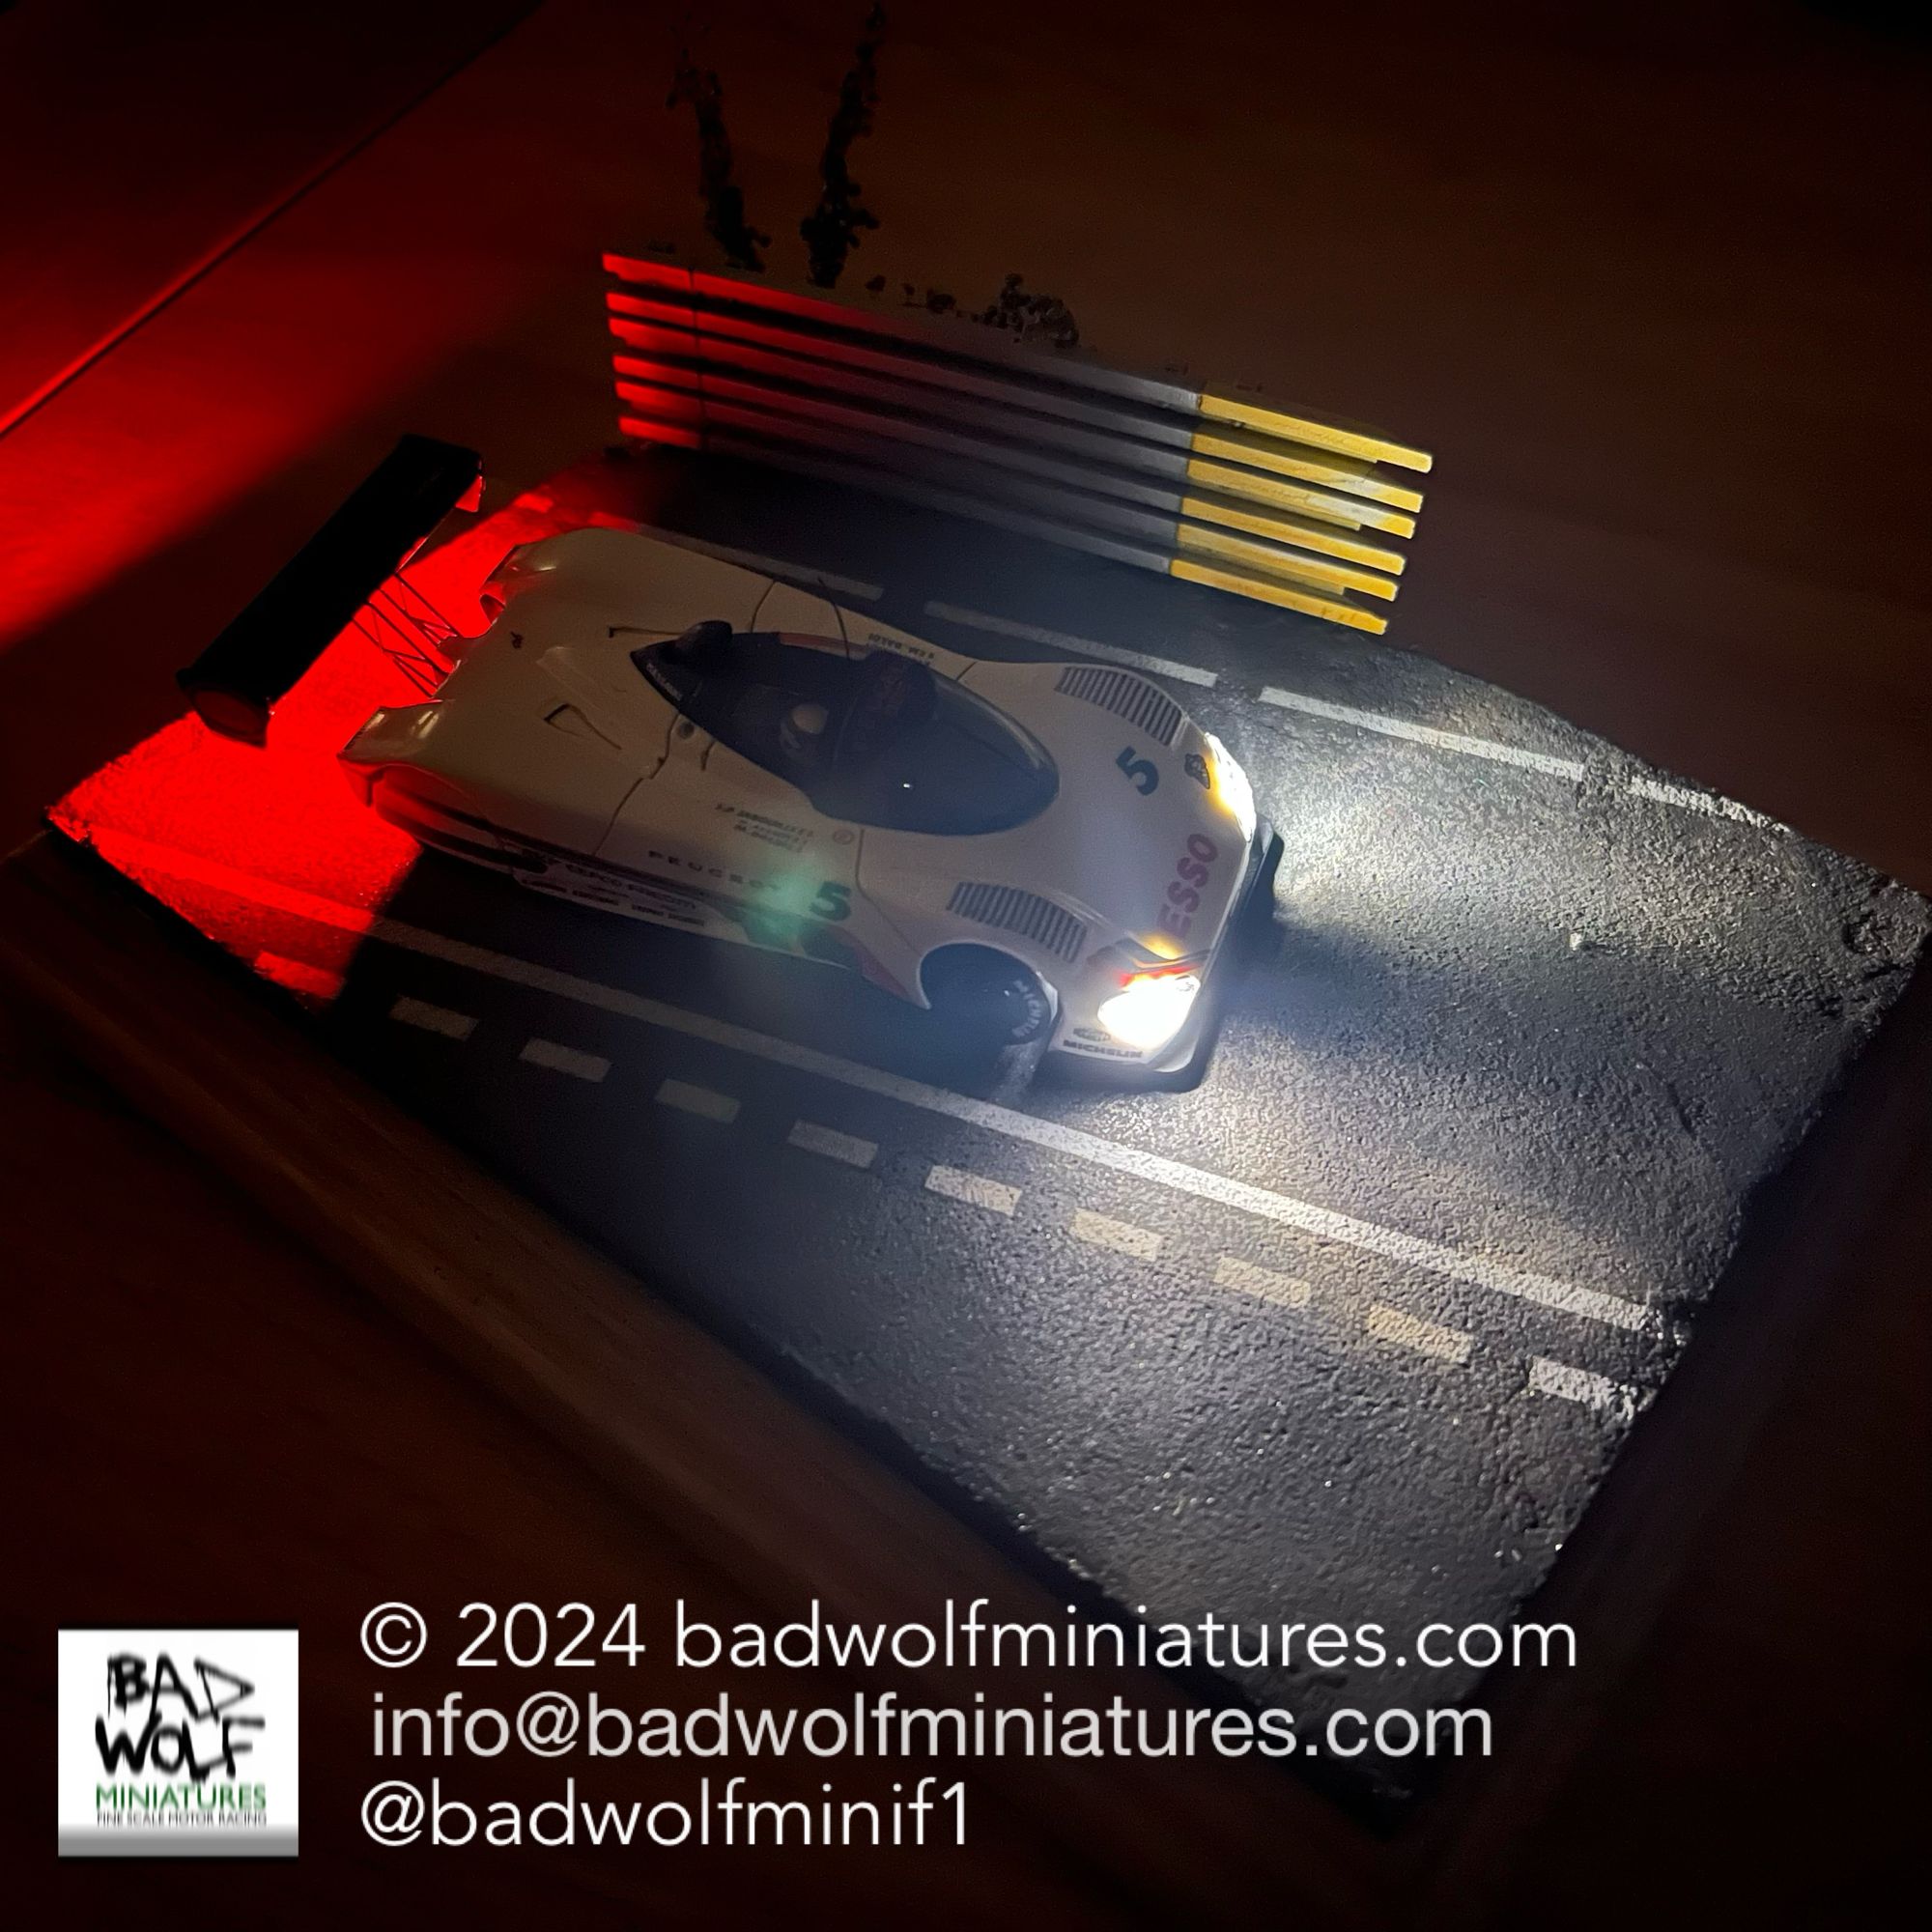
Last autumn I was browsing eBay, and I saw someone was selling a Heller 1/43 Peugeot 905, as driven by Phillipe Alliot at the 1991 Le Mans 24 hrs – a bargain at £7!! I decided that this would make a fun little project, especially as the Heller kits were pretty basic, and would give me the opportunity to add some details of my own. I was also attracted to the project due to the fact that cars which race through the night require headlights, and adding lighting to the kit also seemed like an exciting idea.
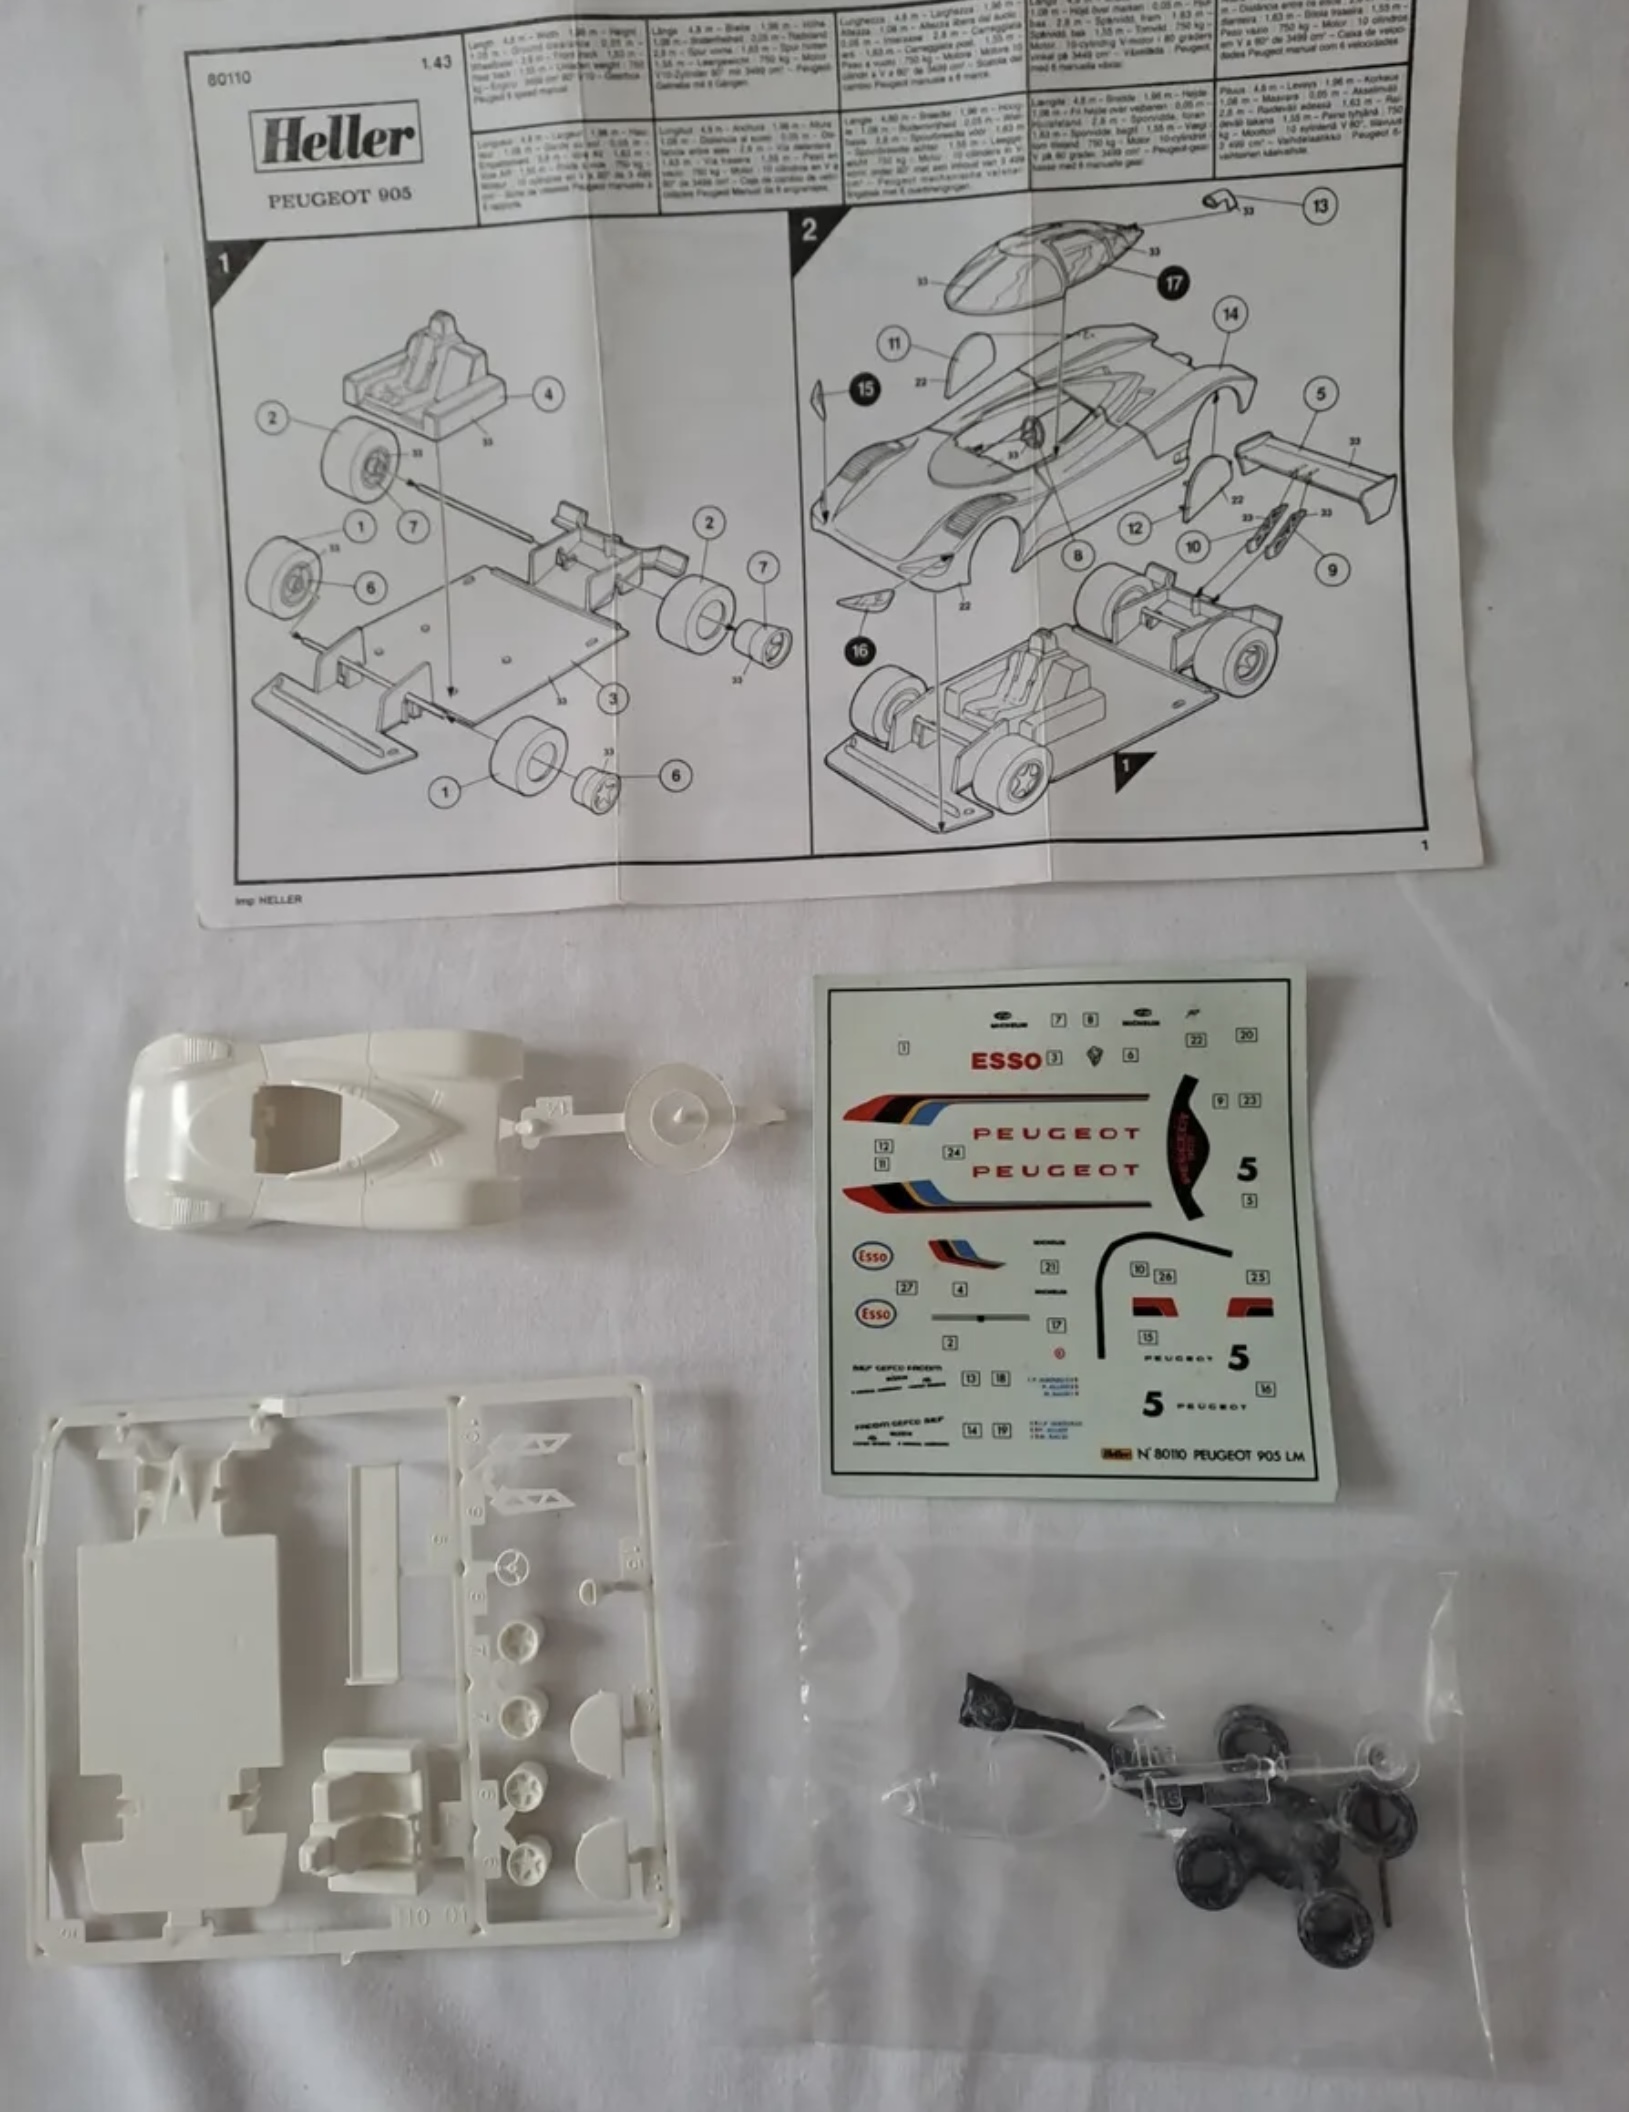
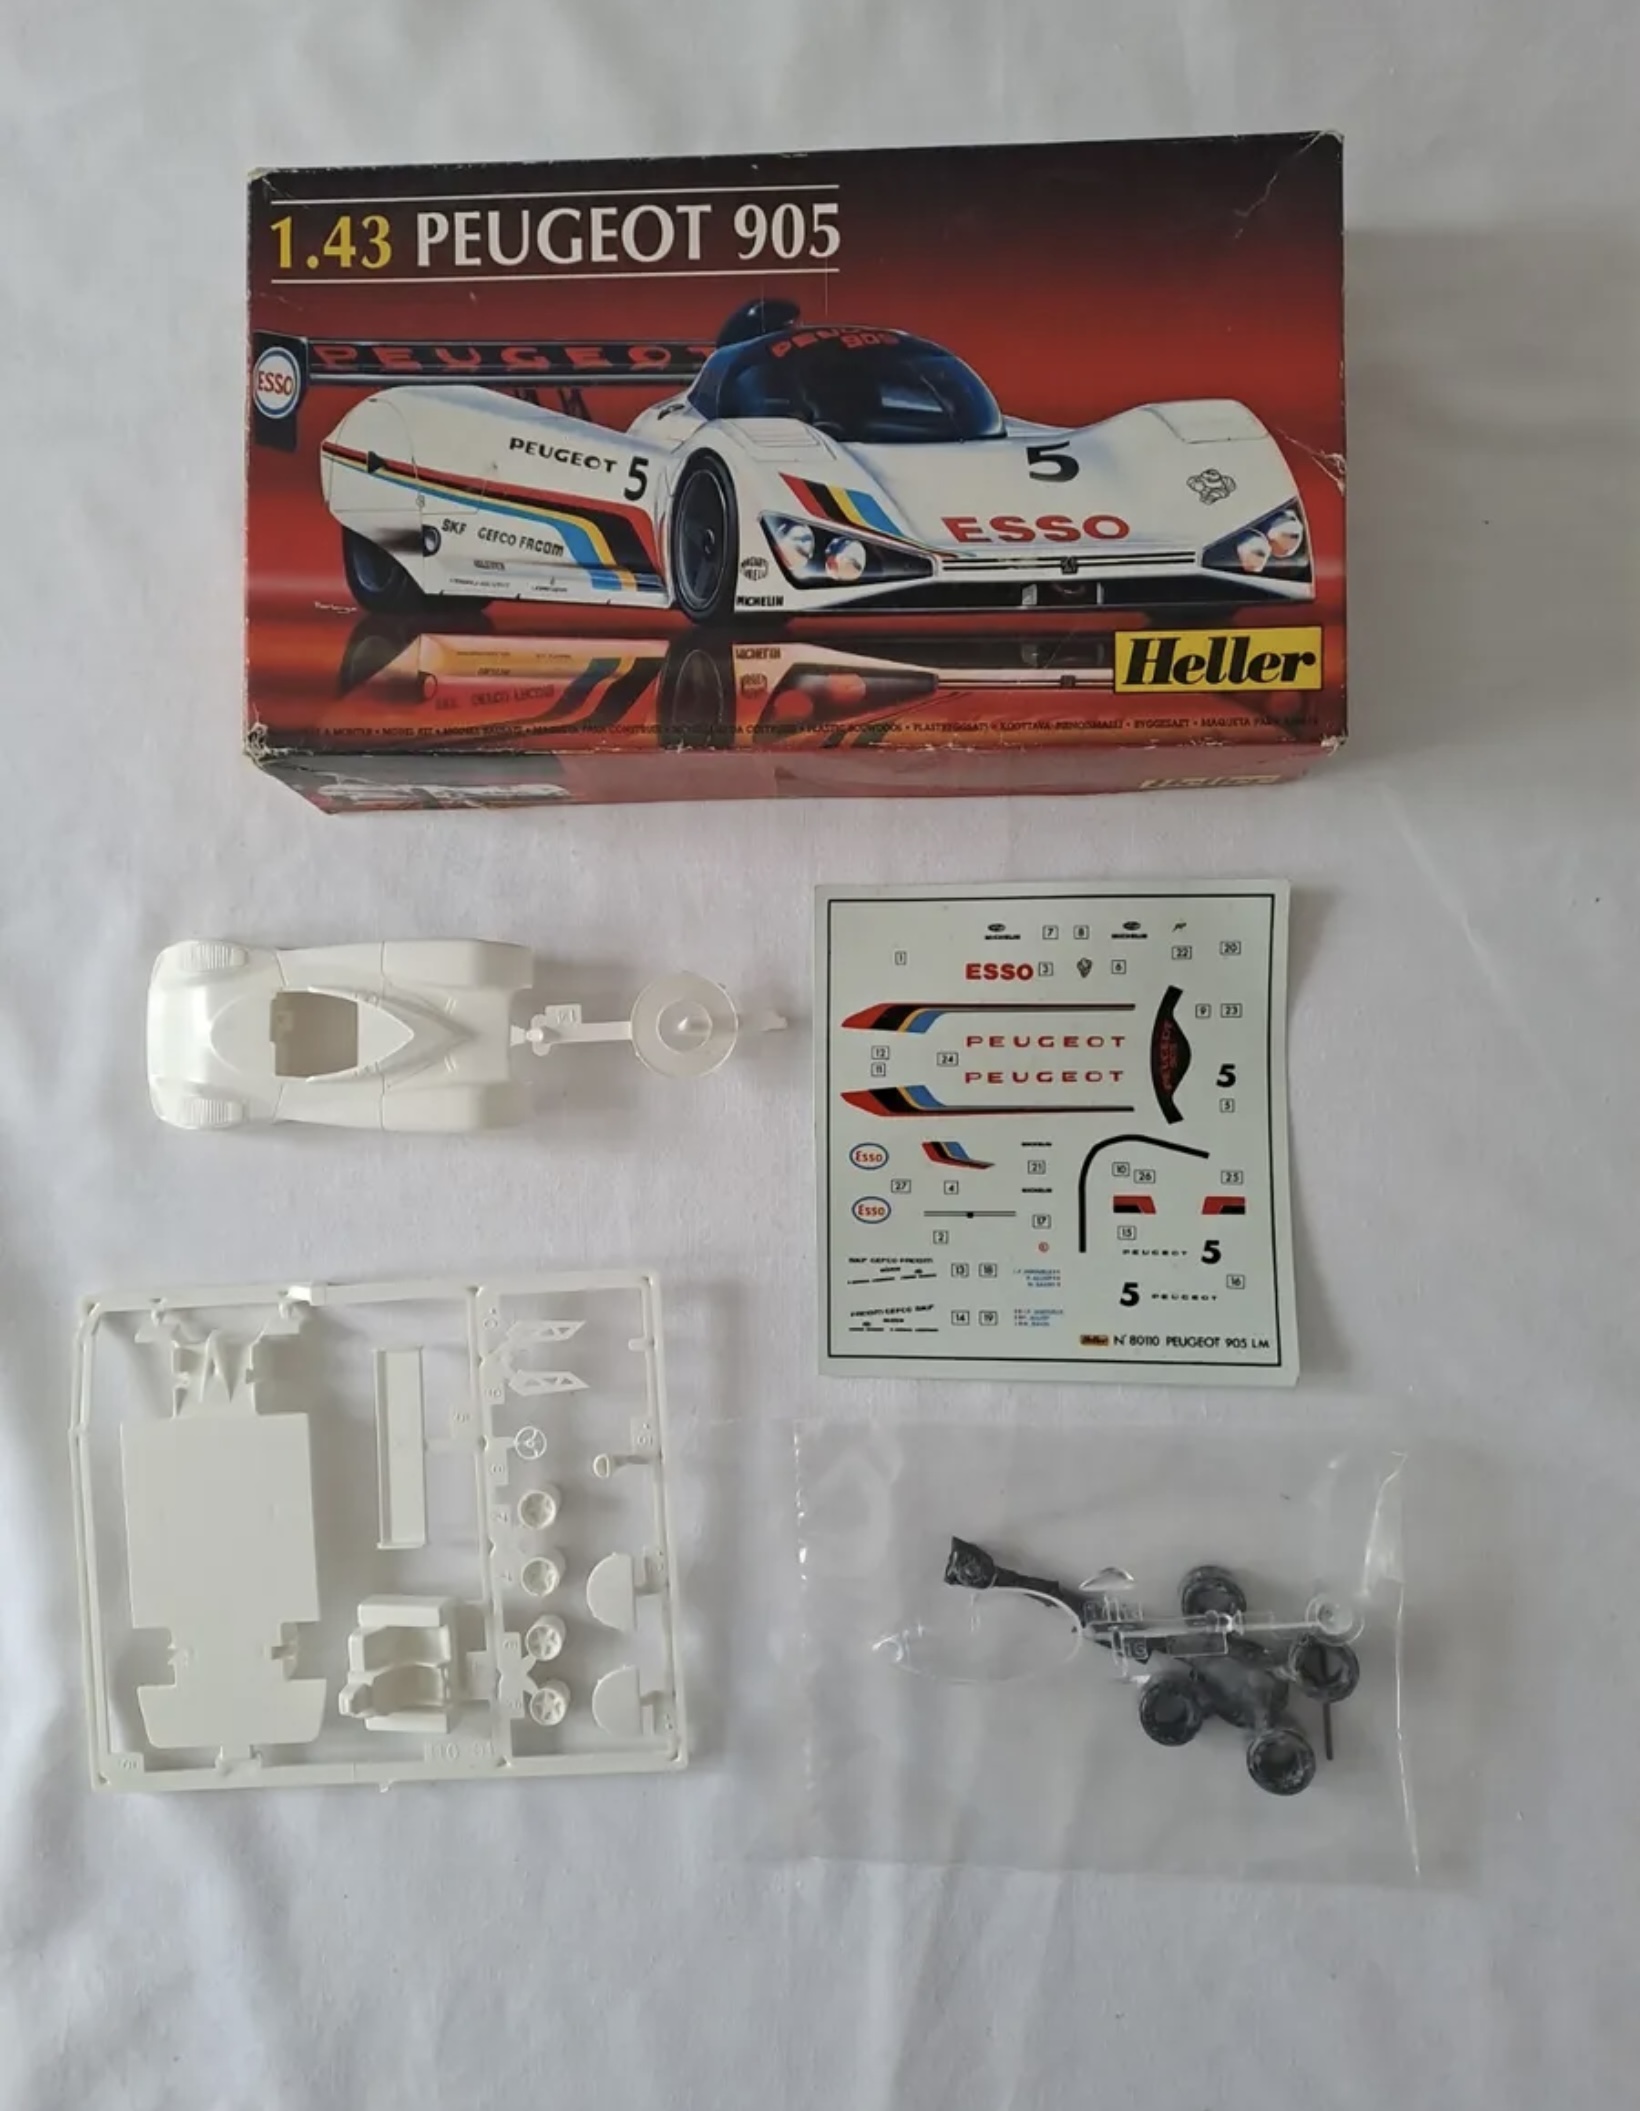
I started by examining the parts of the kit, and having done so giving the main body a coat of Halfords white primer followed by a couple of coats of gloss white. Having no prior experience of adding lighting to models, I looked to find the smallest LEDs that I could, and settled upon some 2mm LEDs which I found on eBay. By coincidence, I’d also seen a video on YouTube highlighting the use of the TP4056 circuit board, which provides the ability to charge a rechargeable battery whilst at the same time delivering the battery power to an output. This gave me the idea that the diorama base could act as a self-contained power unit, including a rechargeable battery and a USB charging port. Suitably inspired, I bought the components I needed from Amazon, and started work.
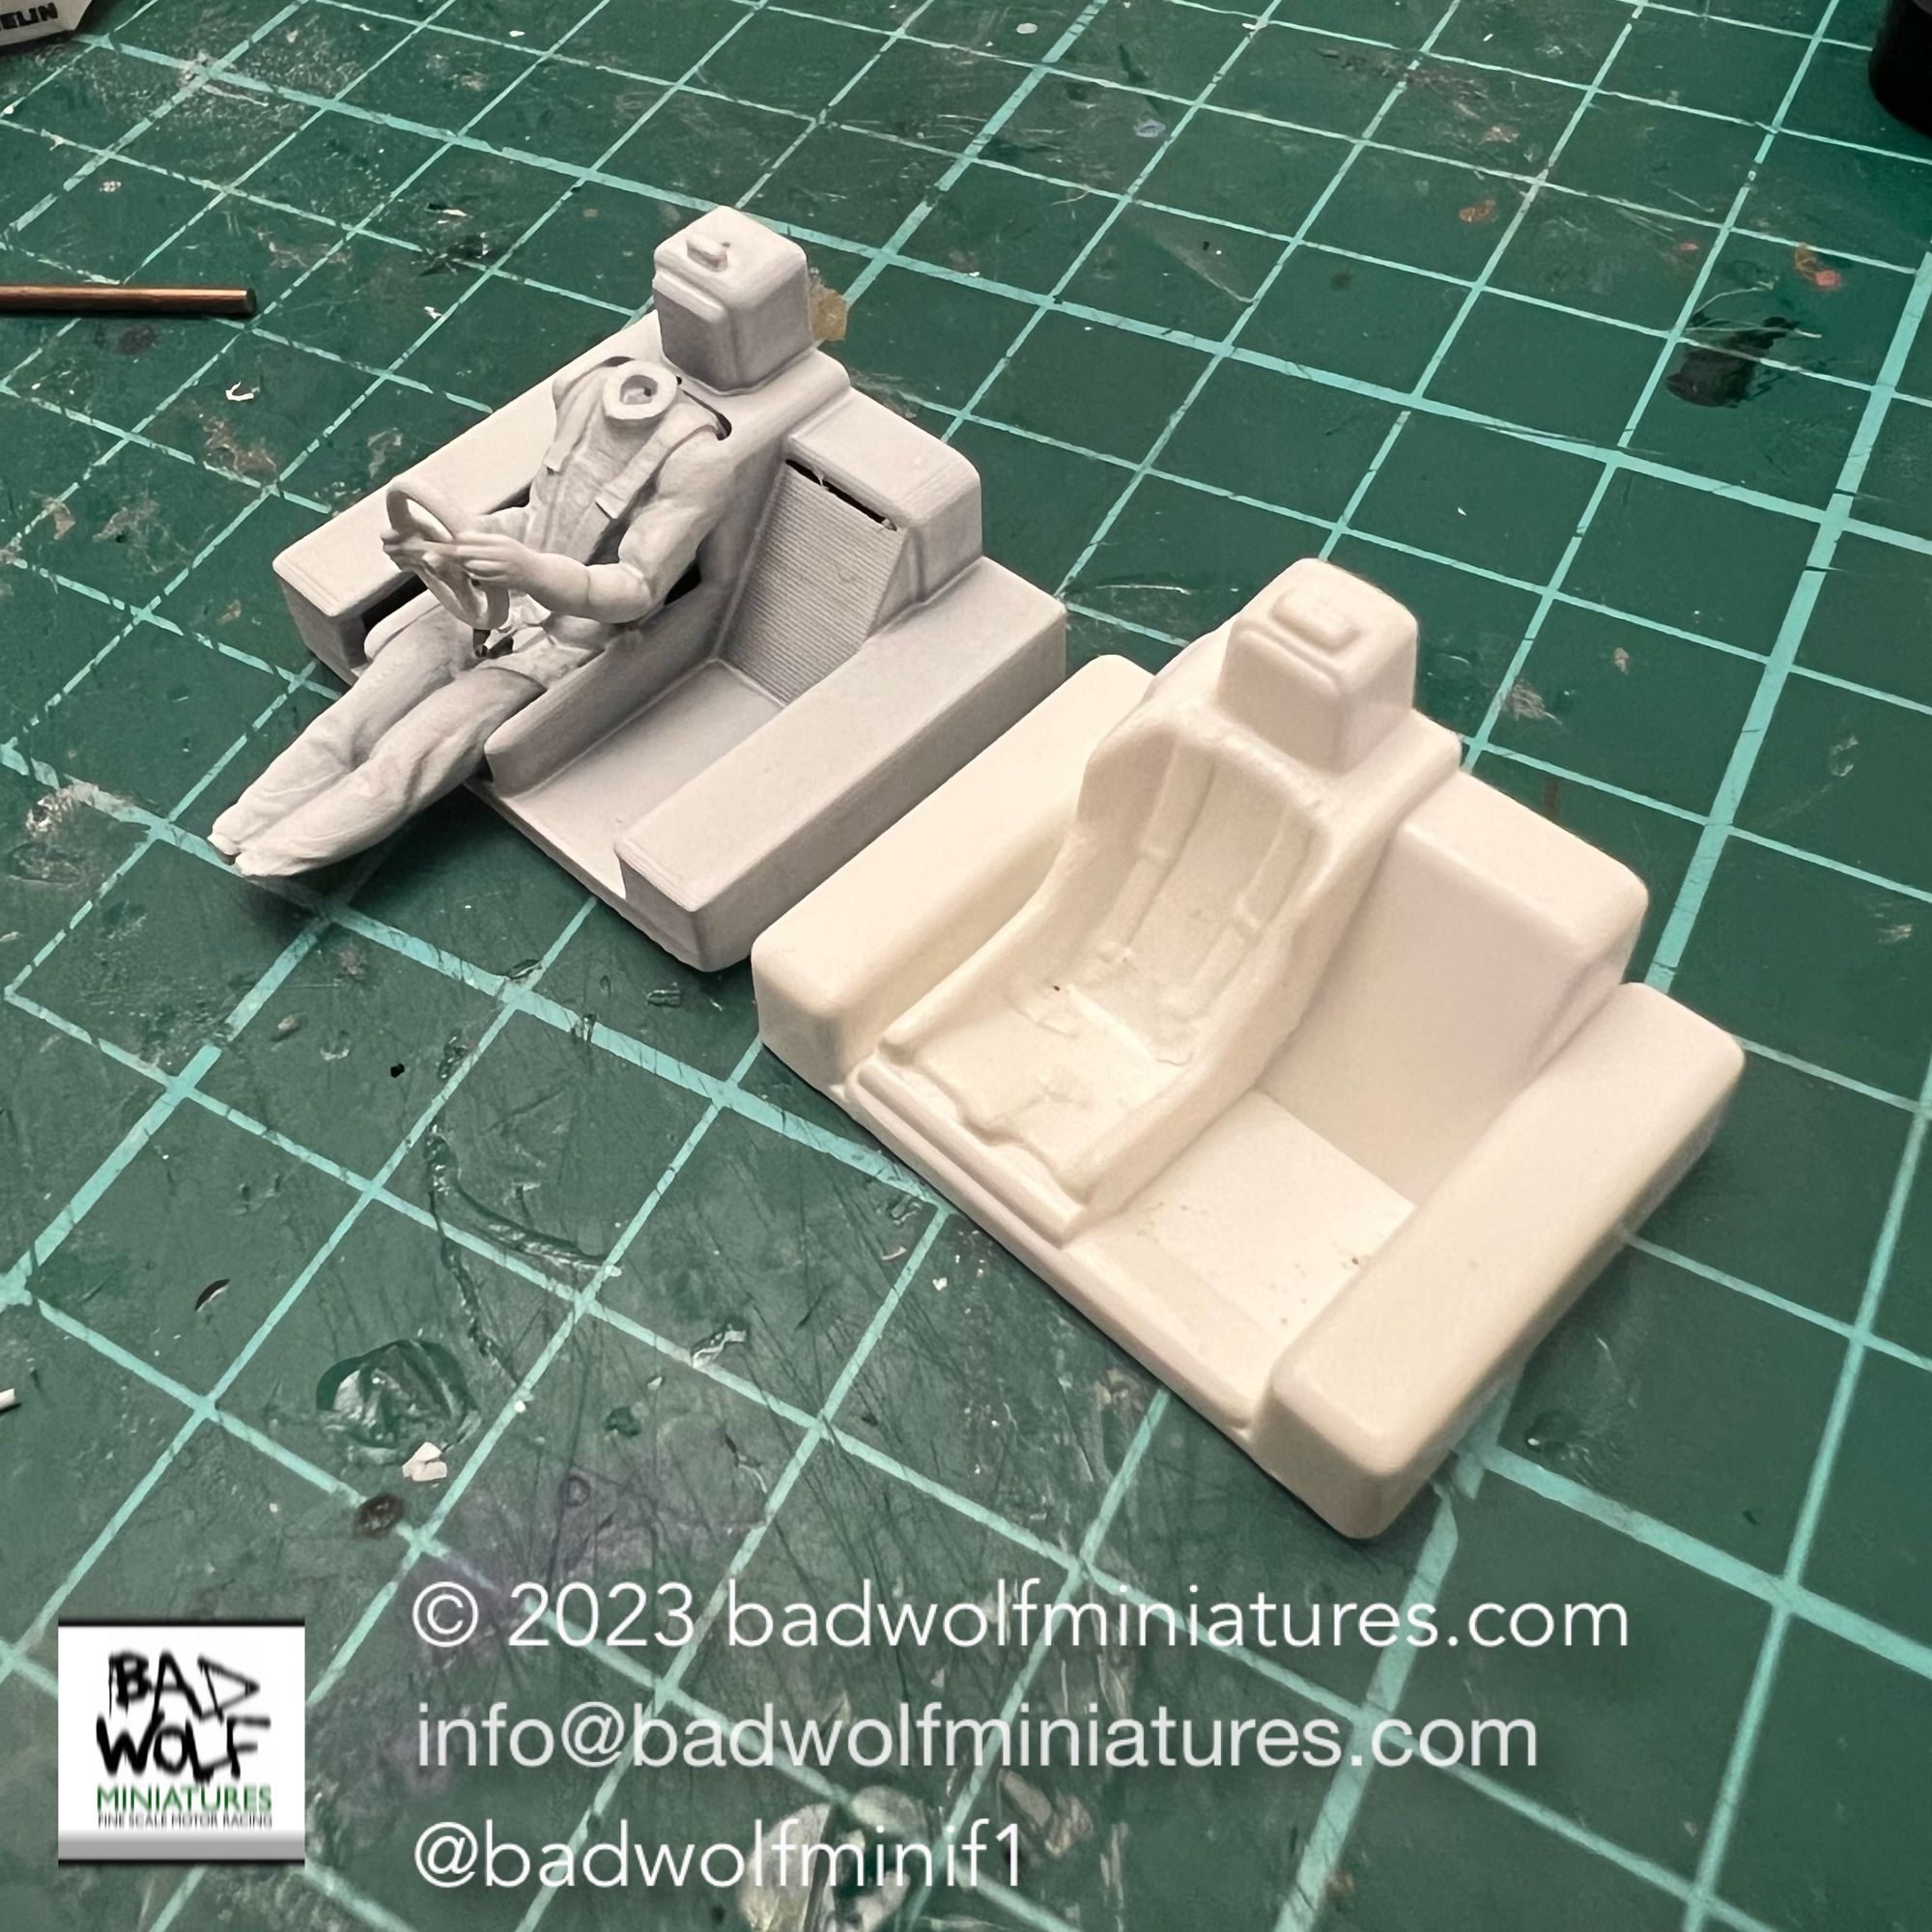
The kit itself is pretty straightforward – the body is in two pieces (the upper body and the floor), with a separate piece for the driver’s seat and a clear cast piece for the main windscreen. I knew that I wanted to add a driver to the model, and to do this a decided to 3D-print a replacement for the original part which featured an empty driving seat. I did this by carefully measuring the original using a pair of digital calipers, before then recreating it digitally using TinkerCad. Having done this, I exported the finished seat as an .stl file into Blender, where I then added the driver and seatbelts. After printing the piece I test-fitted it and was very pleased to find that it fitted perfectly. With this confirmed I was able to paint the driver figure and add some BBR carbon fiber decals to the seat surfaces. I designed some custom decals for the helmet of Philippe Alliot using Adobe Illustrator, and these were printed using my laser printer.
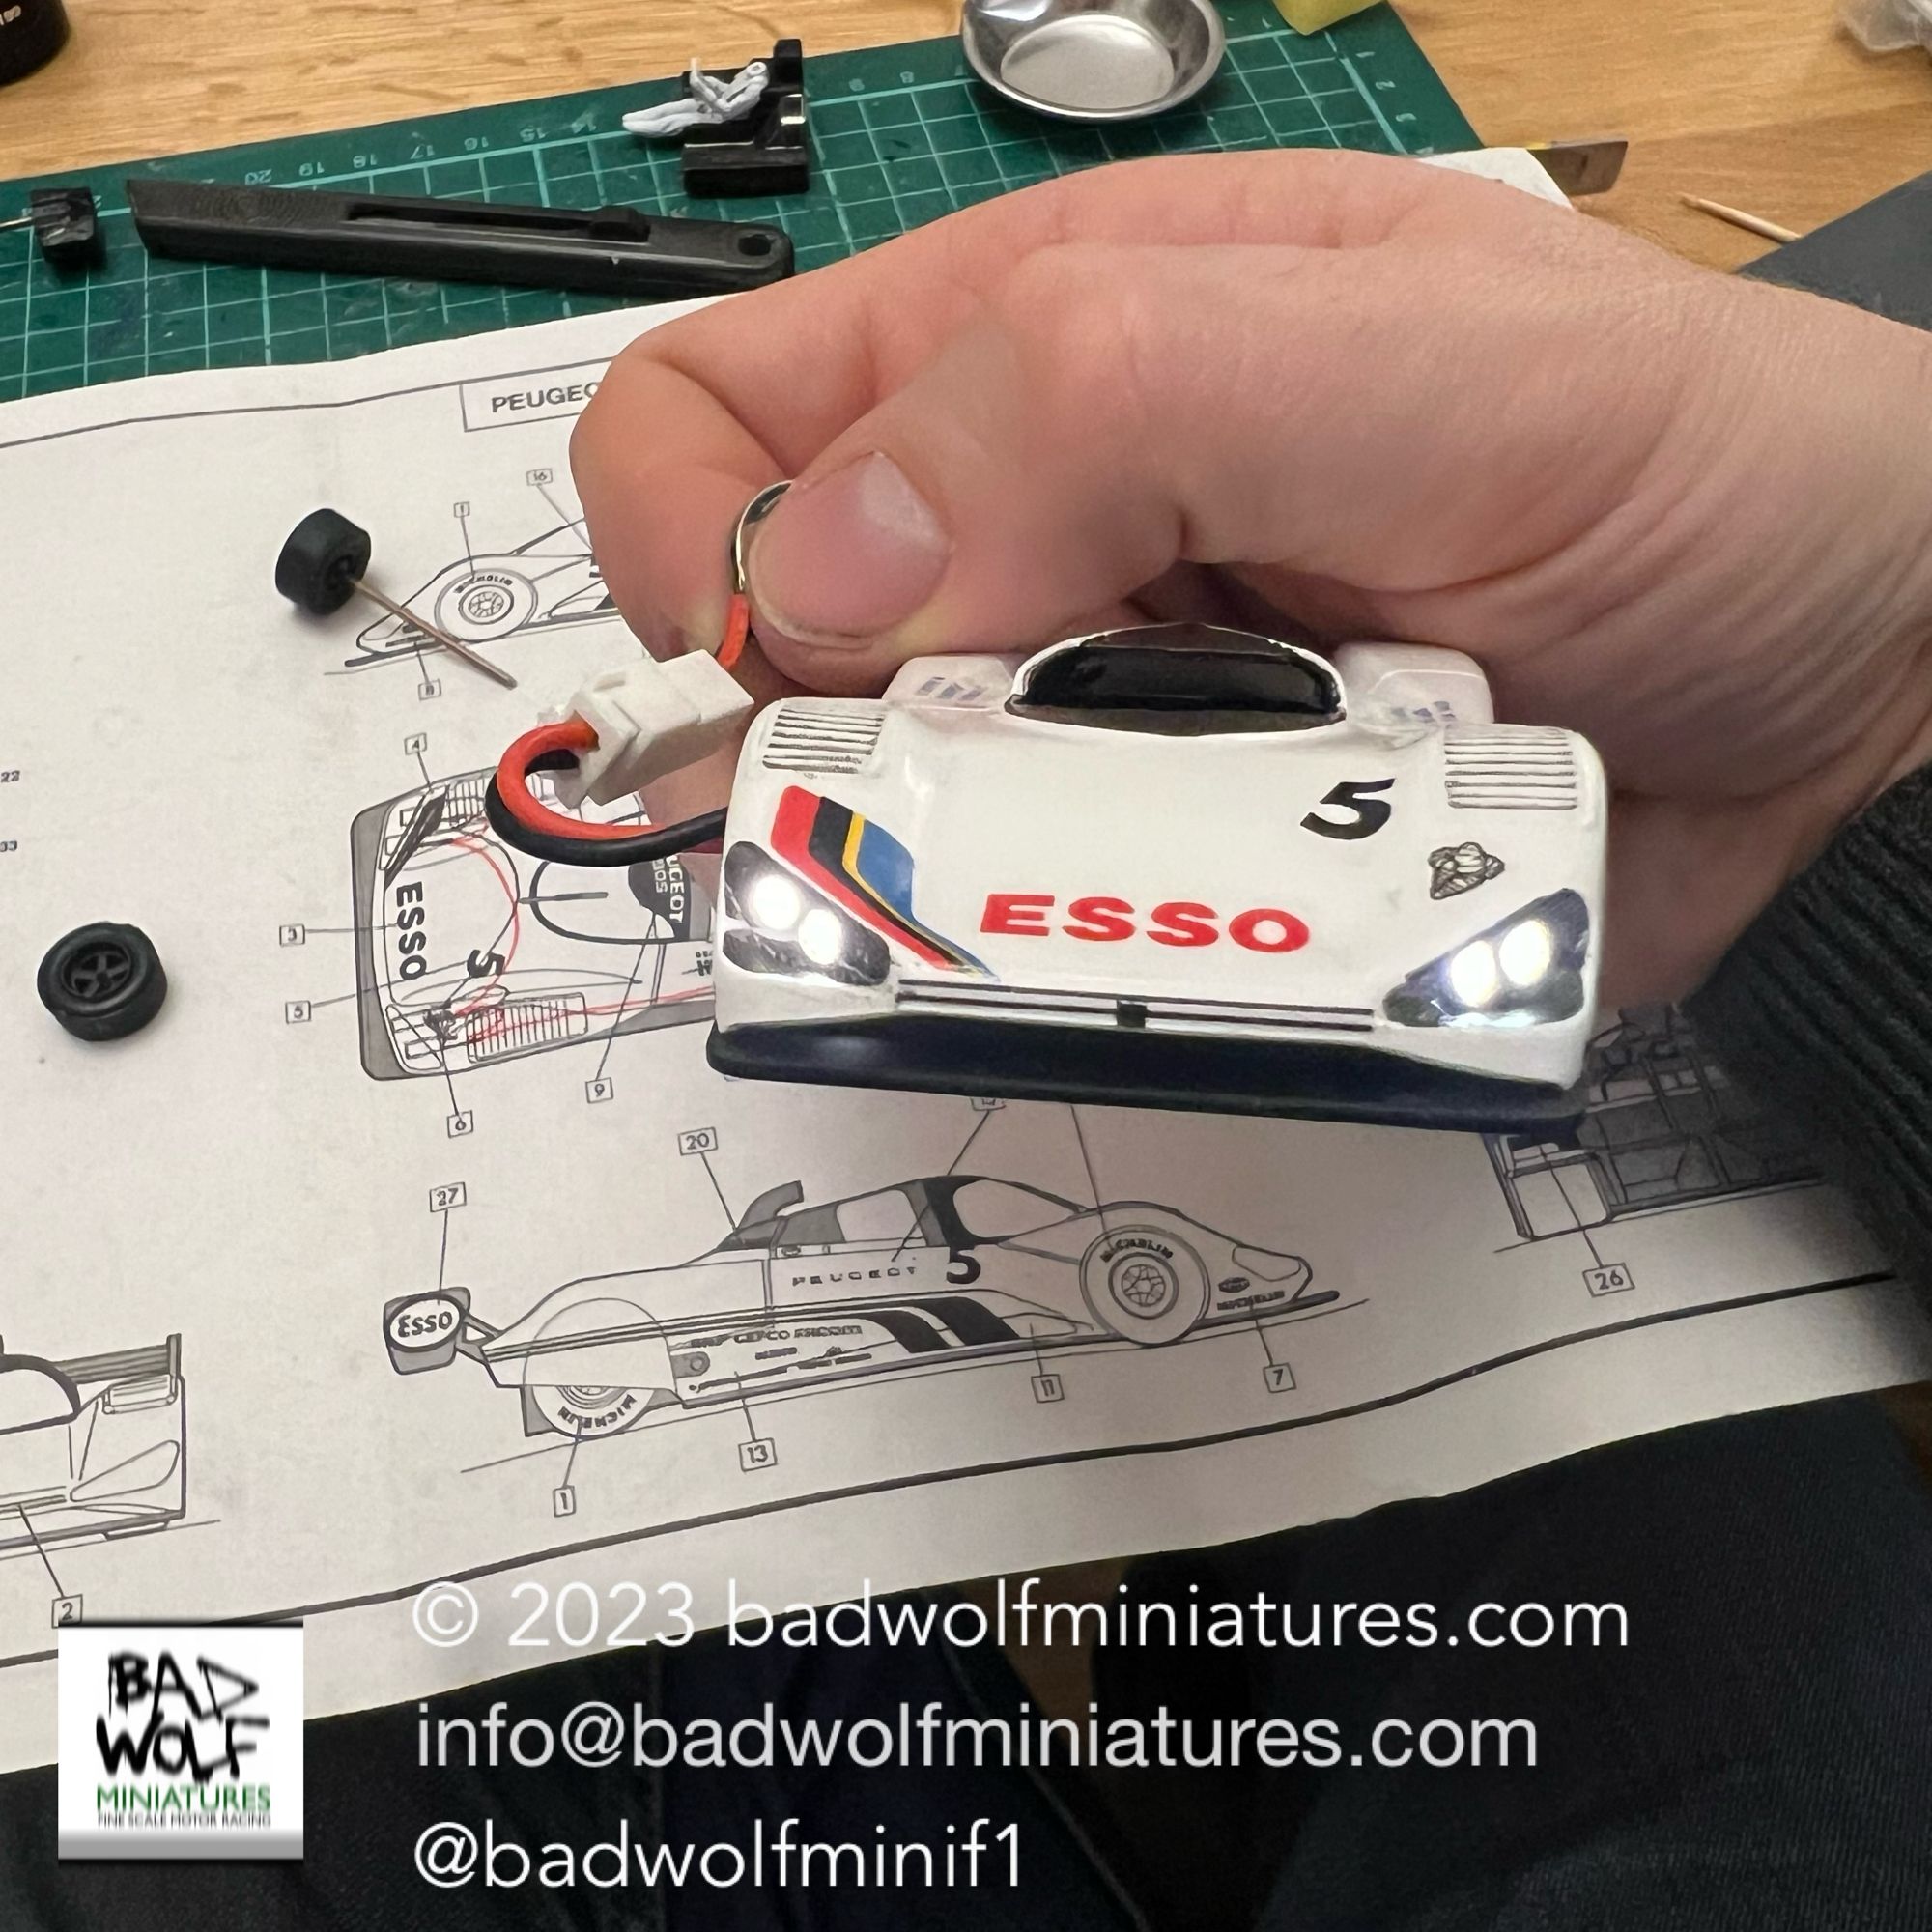
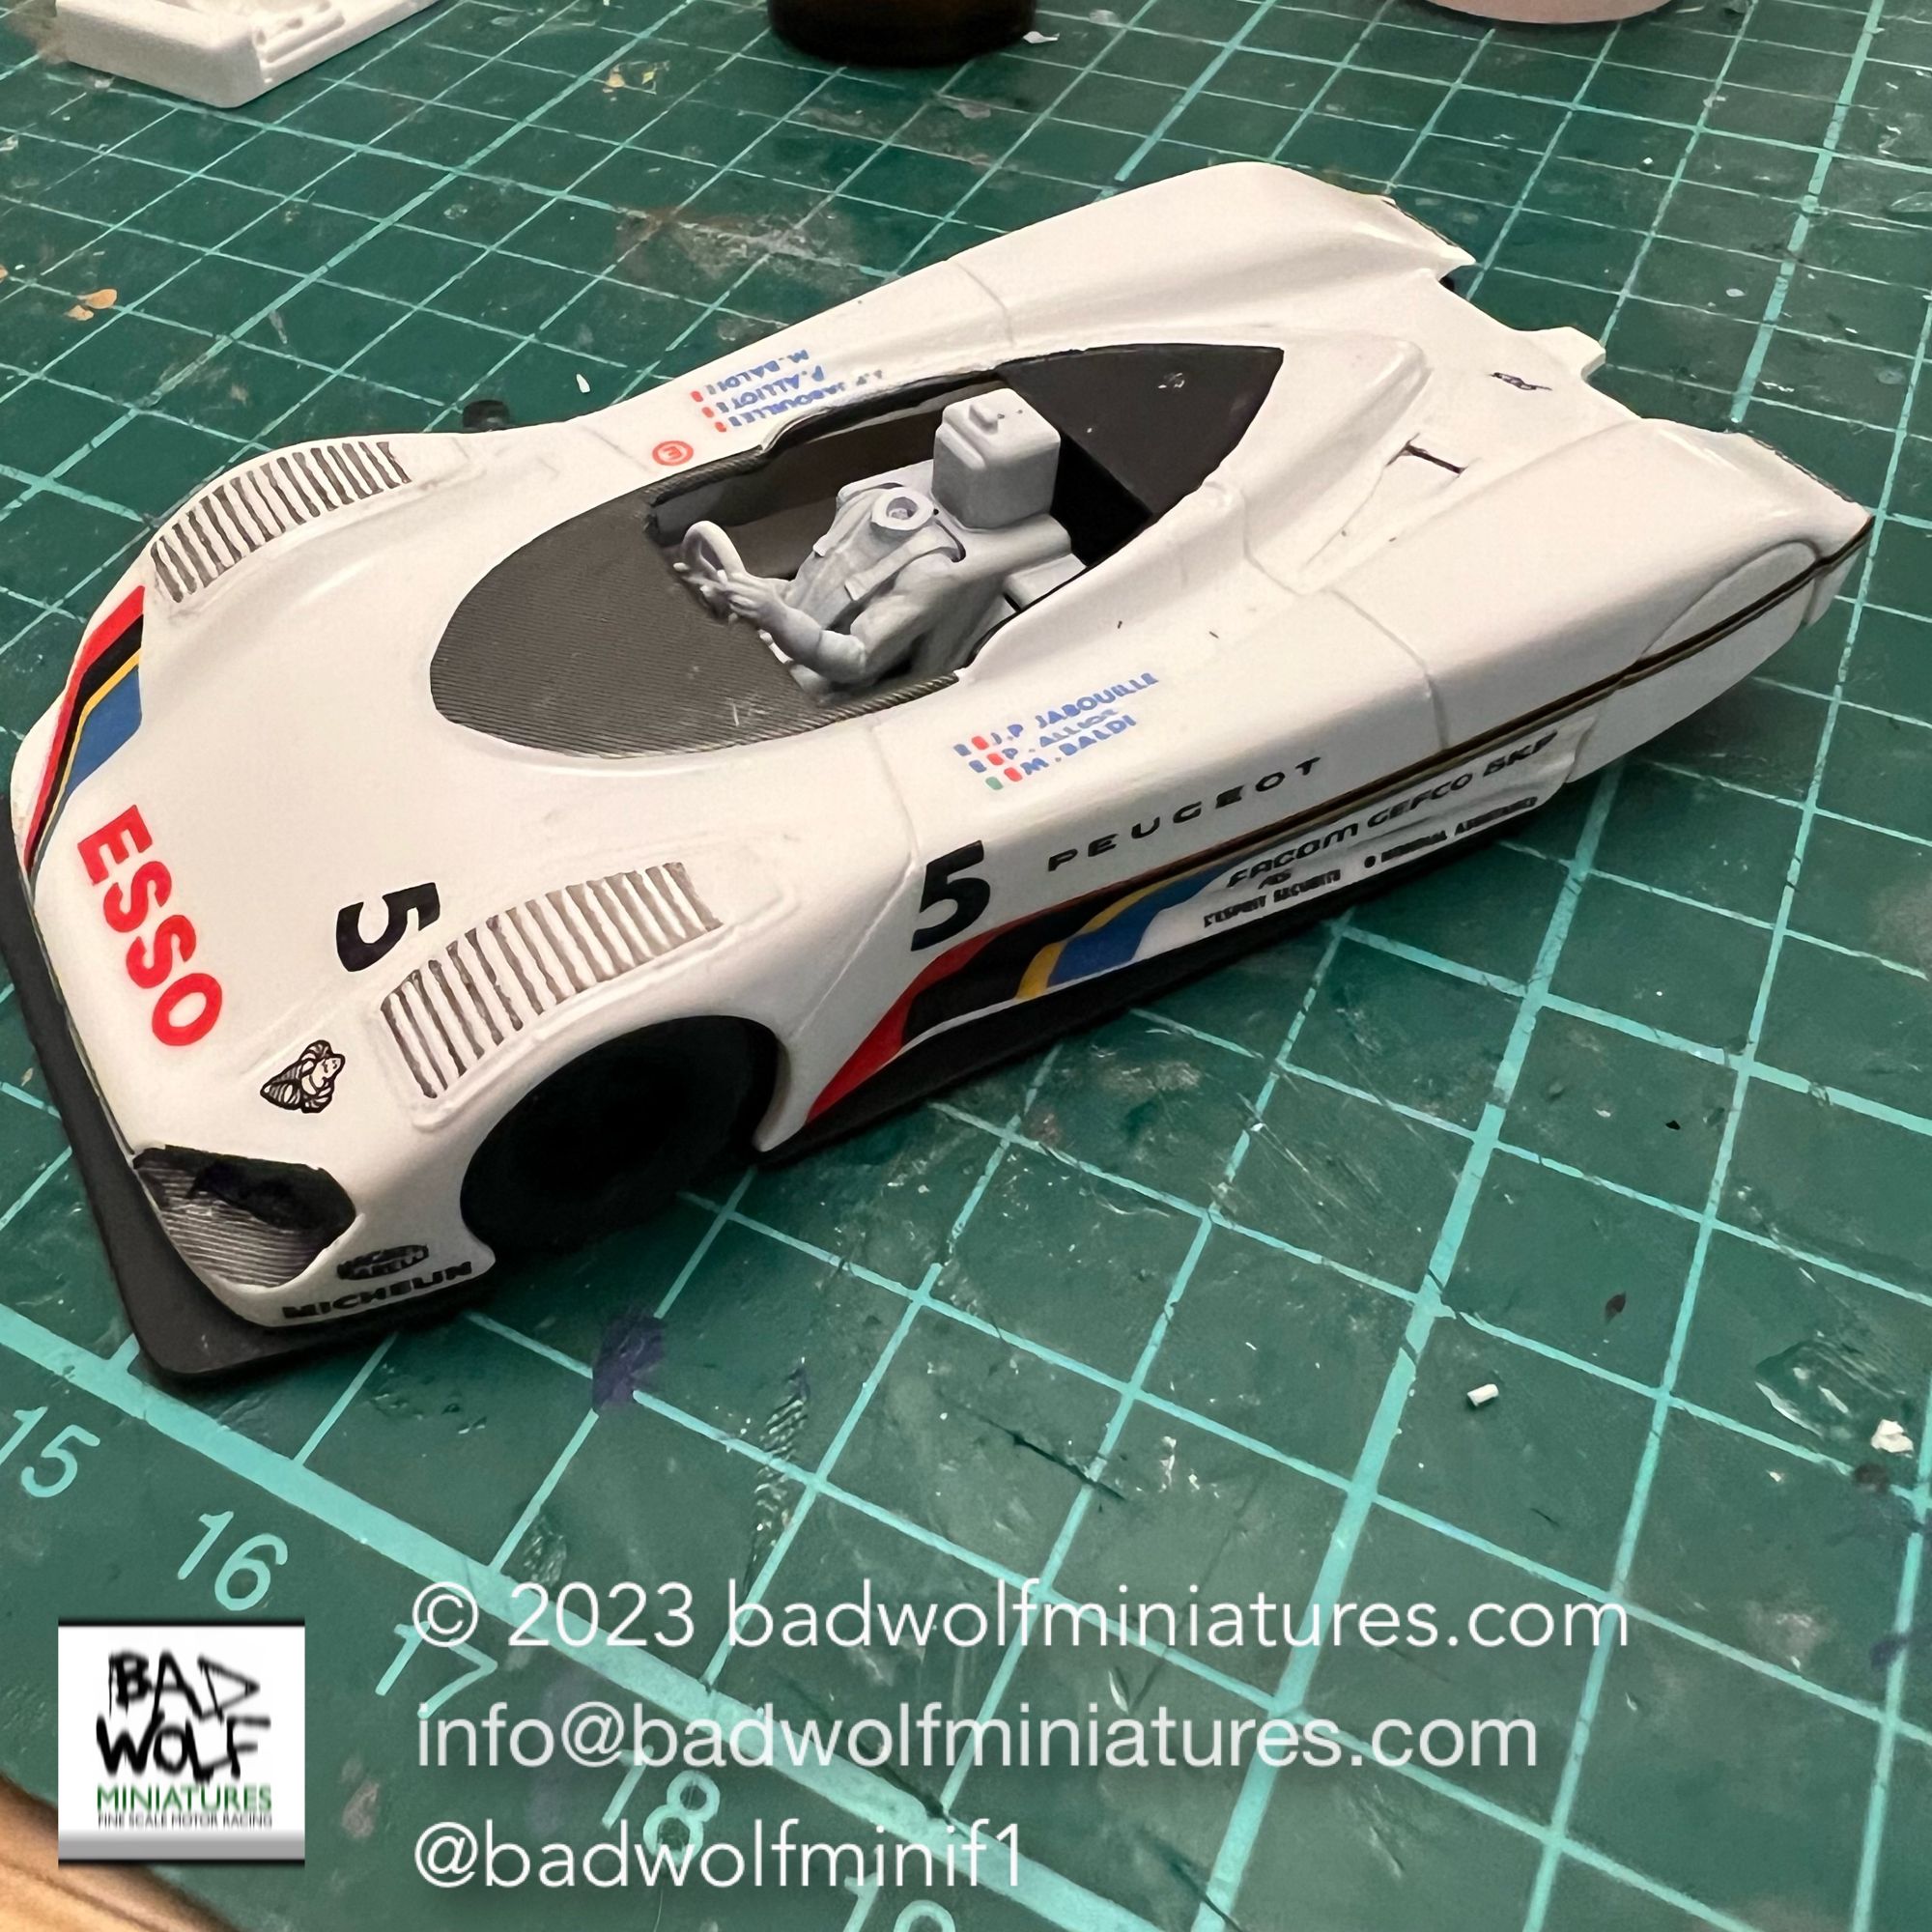
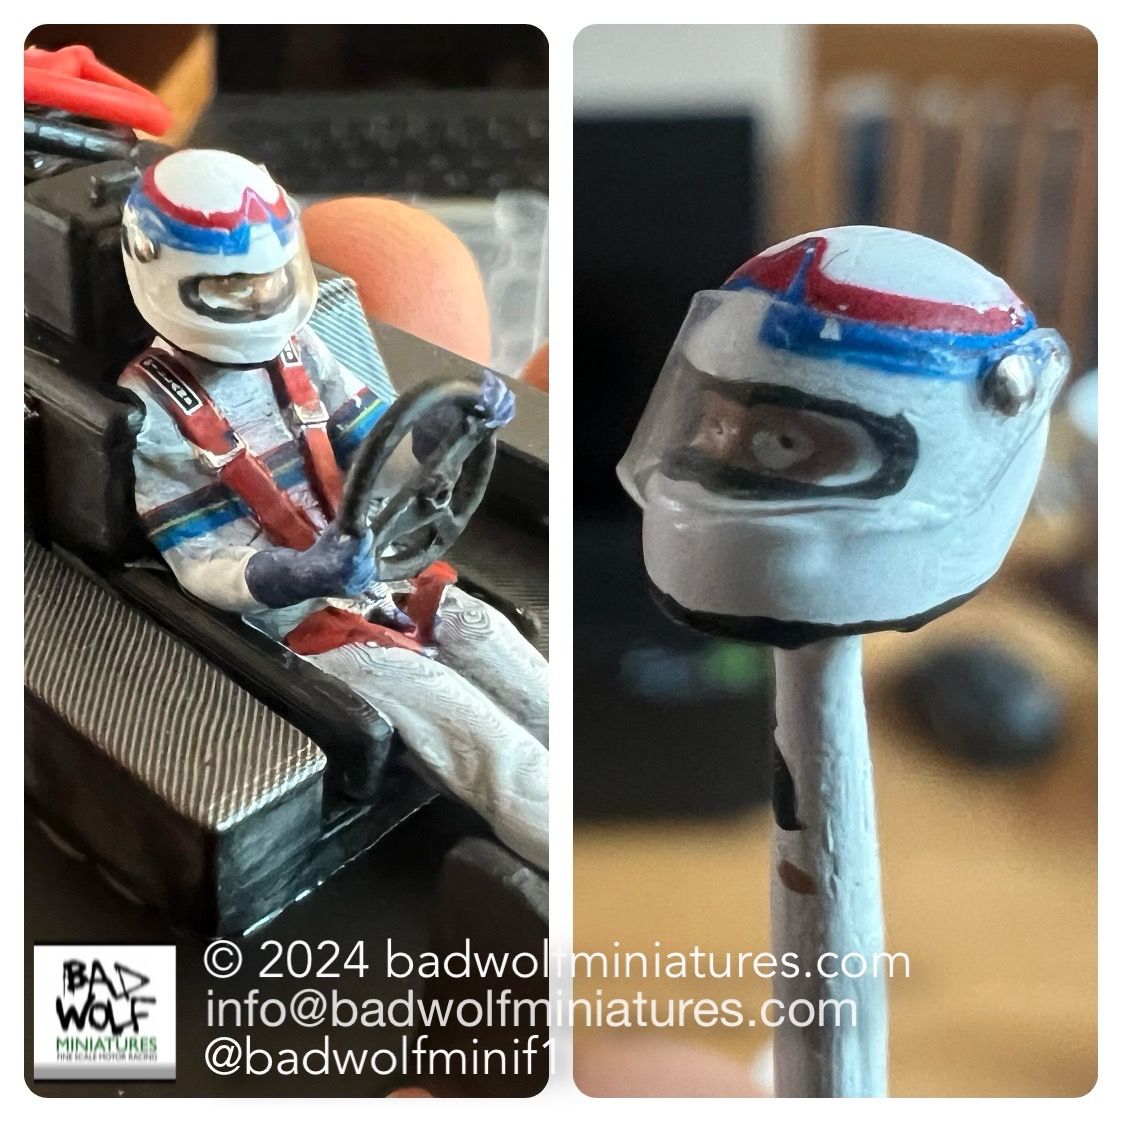
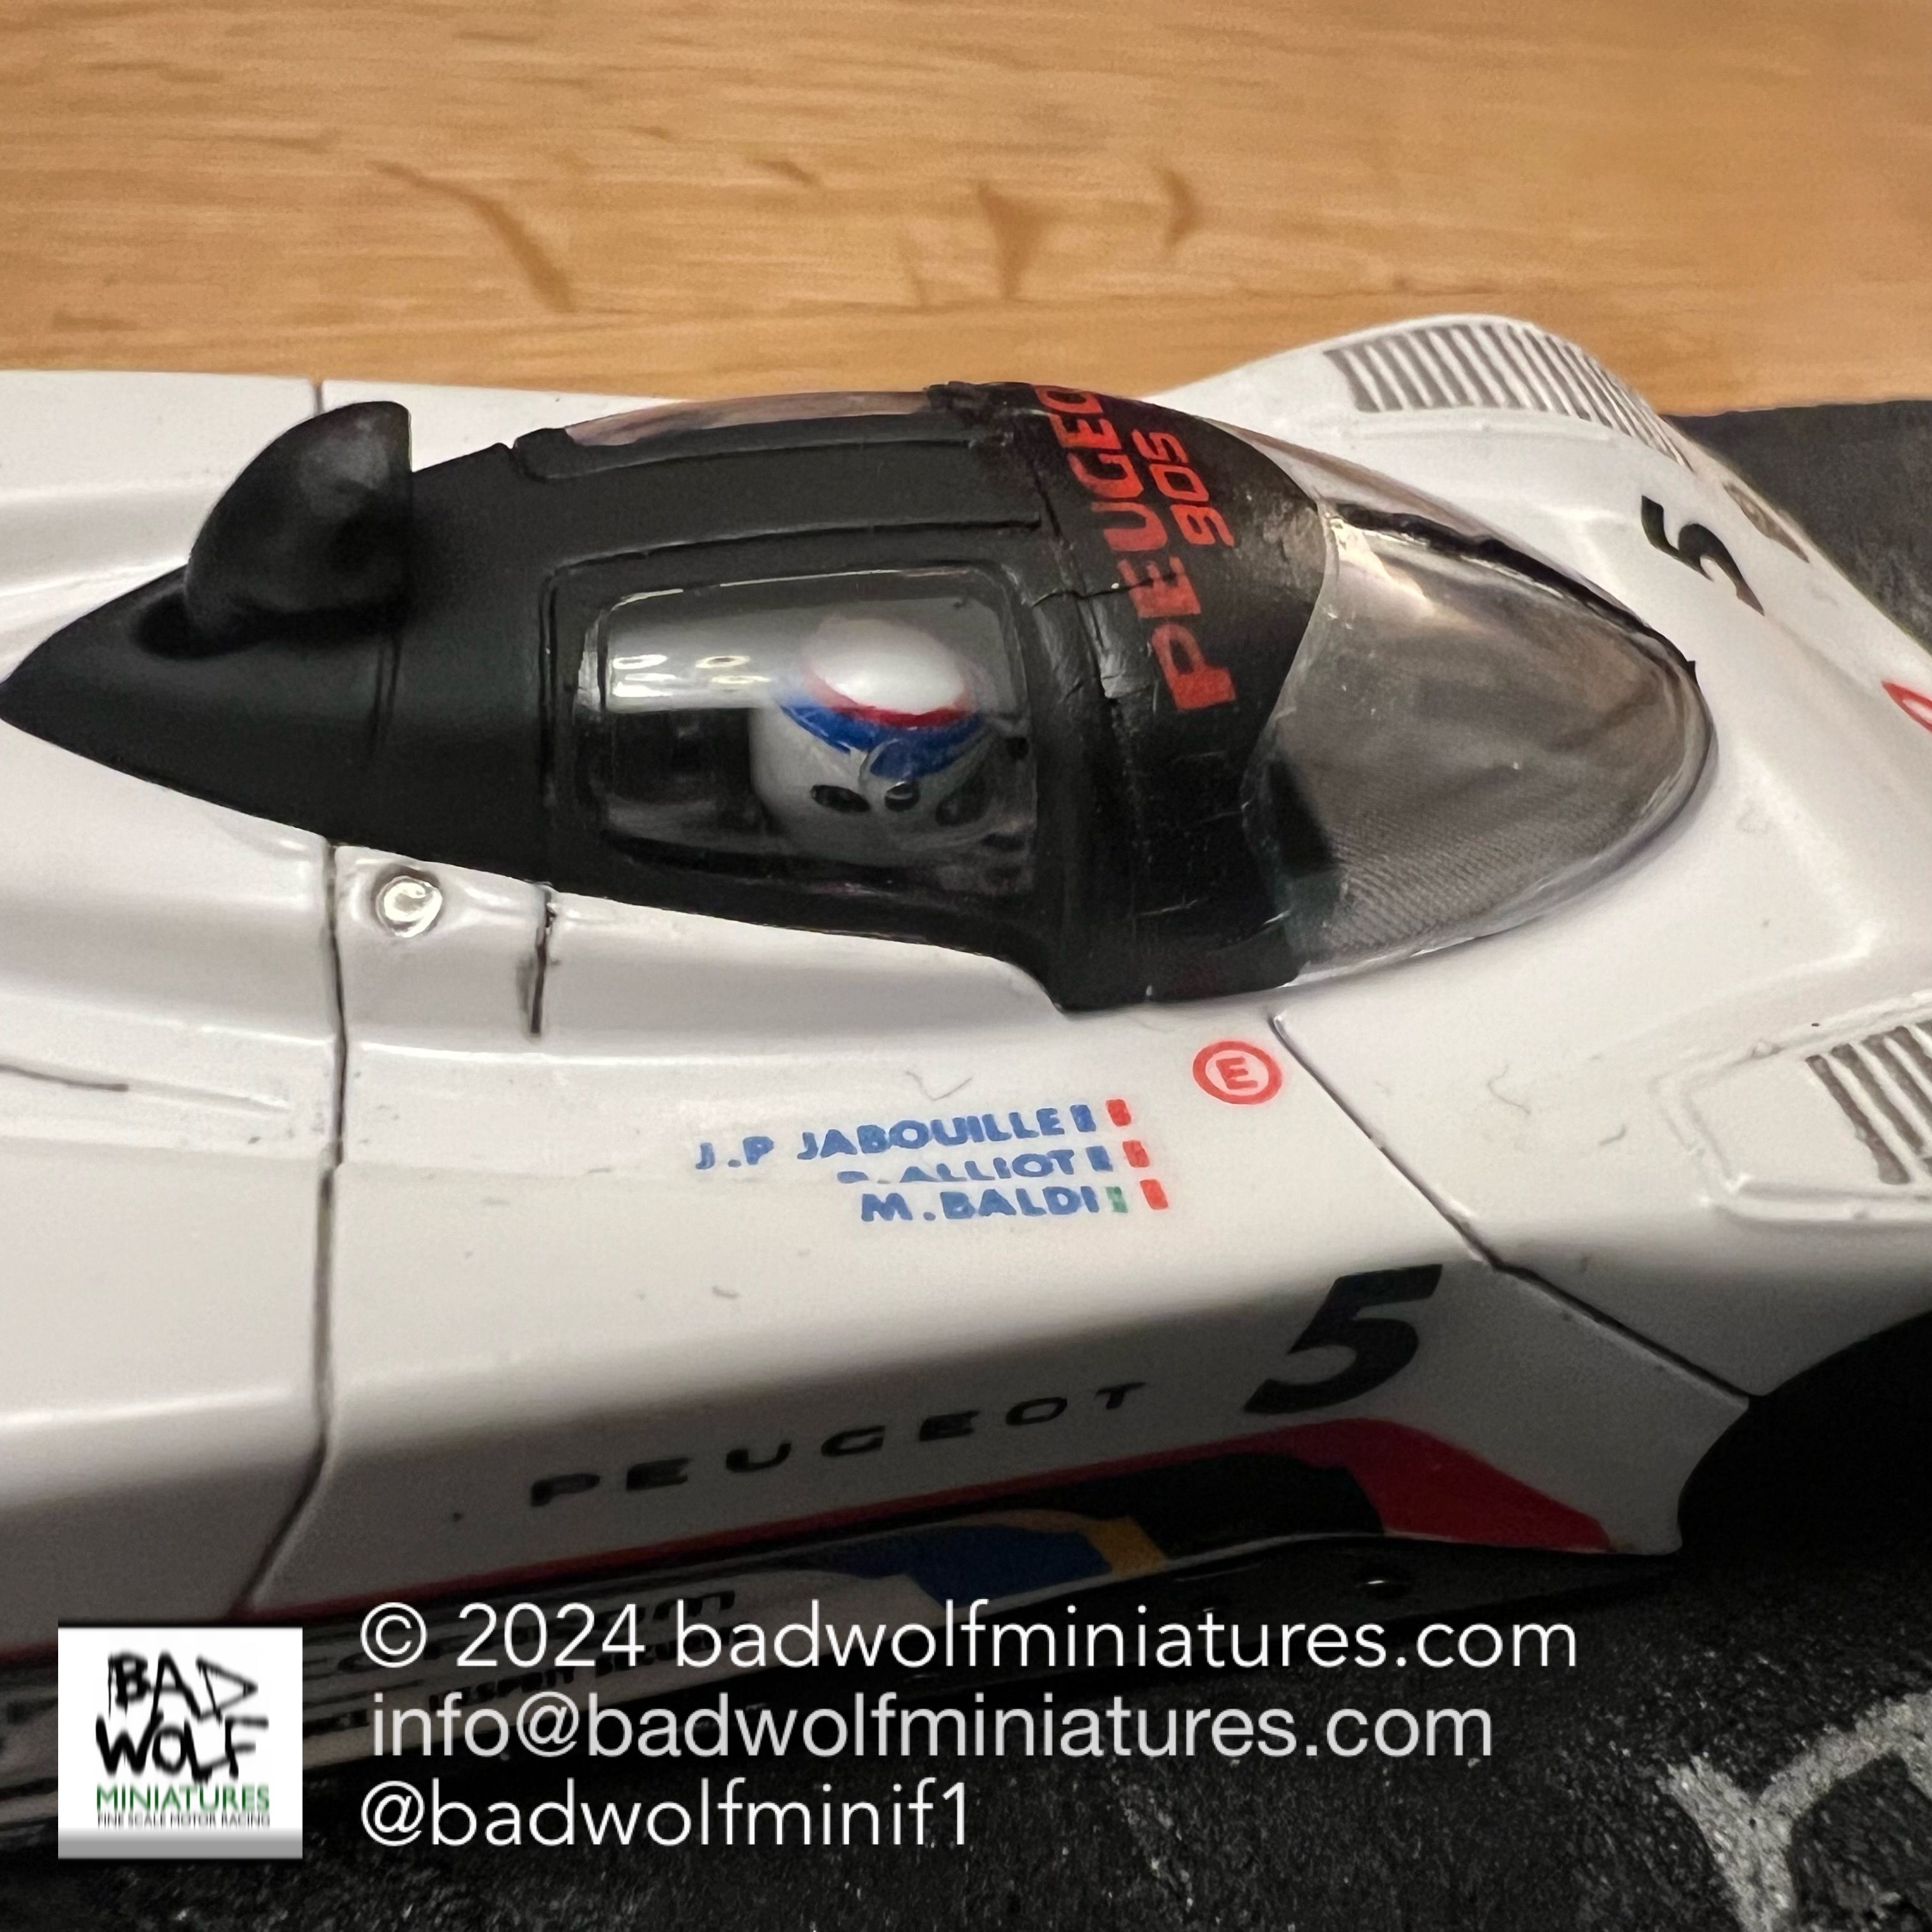
With the body painted and the decals applied, I was able to apply a few coats of clear lacquer before sanding (to conceal the elevation of the decals) and then applying a further coat. I’d read some horror stories about these old Heller decals, but was pleased to find that with the liberal application of some Microsol they confirmed to the body shape quite well, and they didn’t react adversely to the lacquer either.
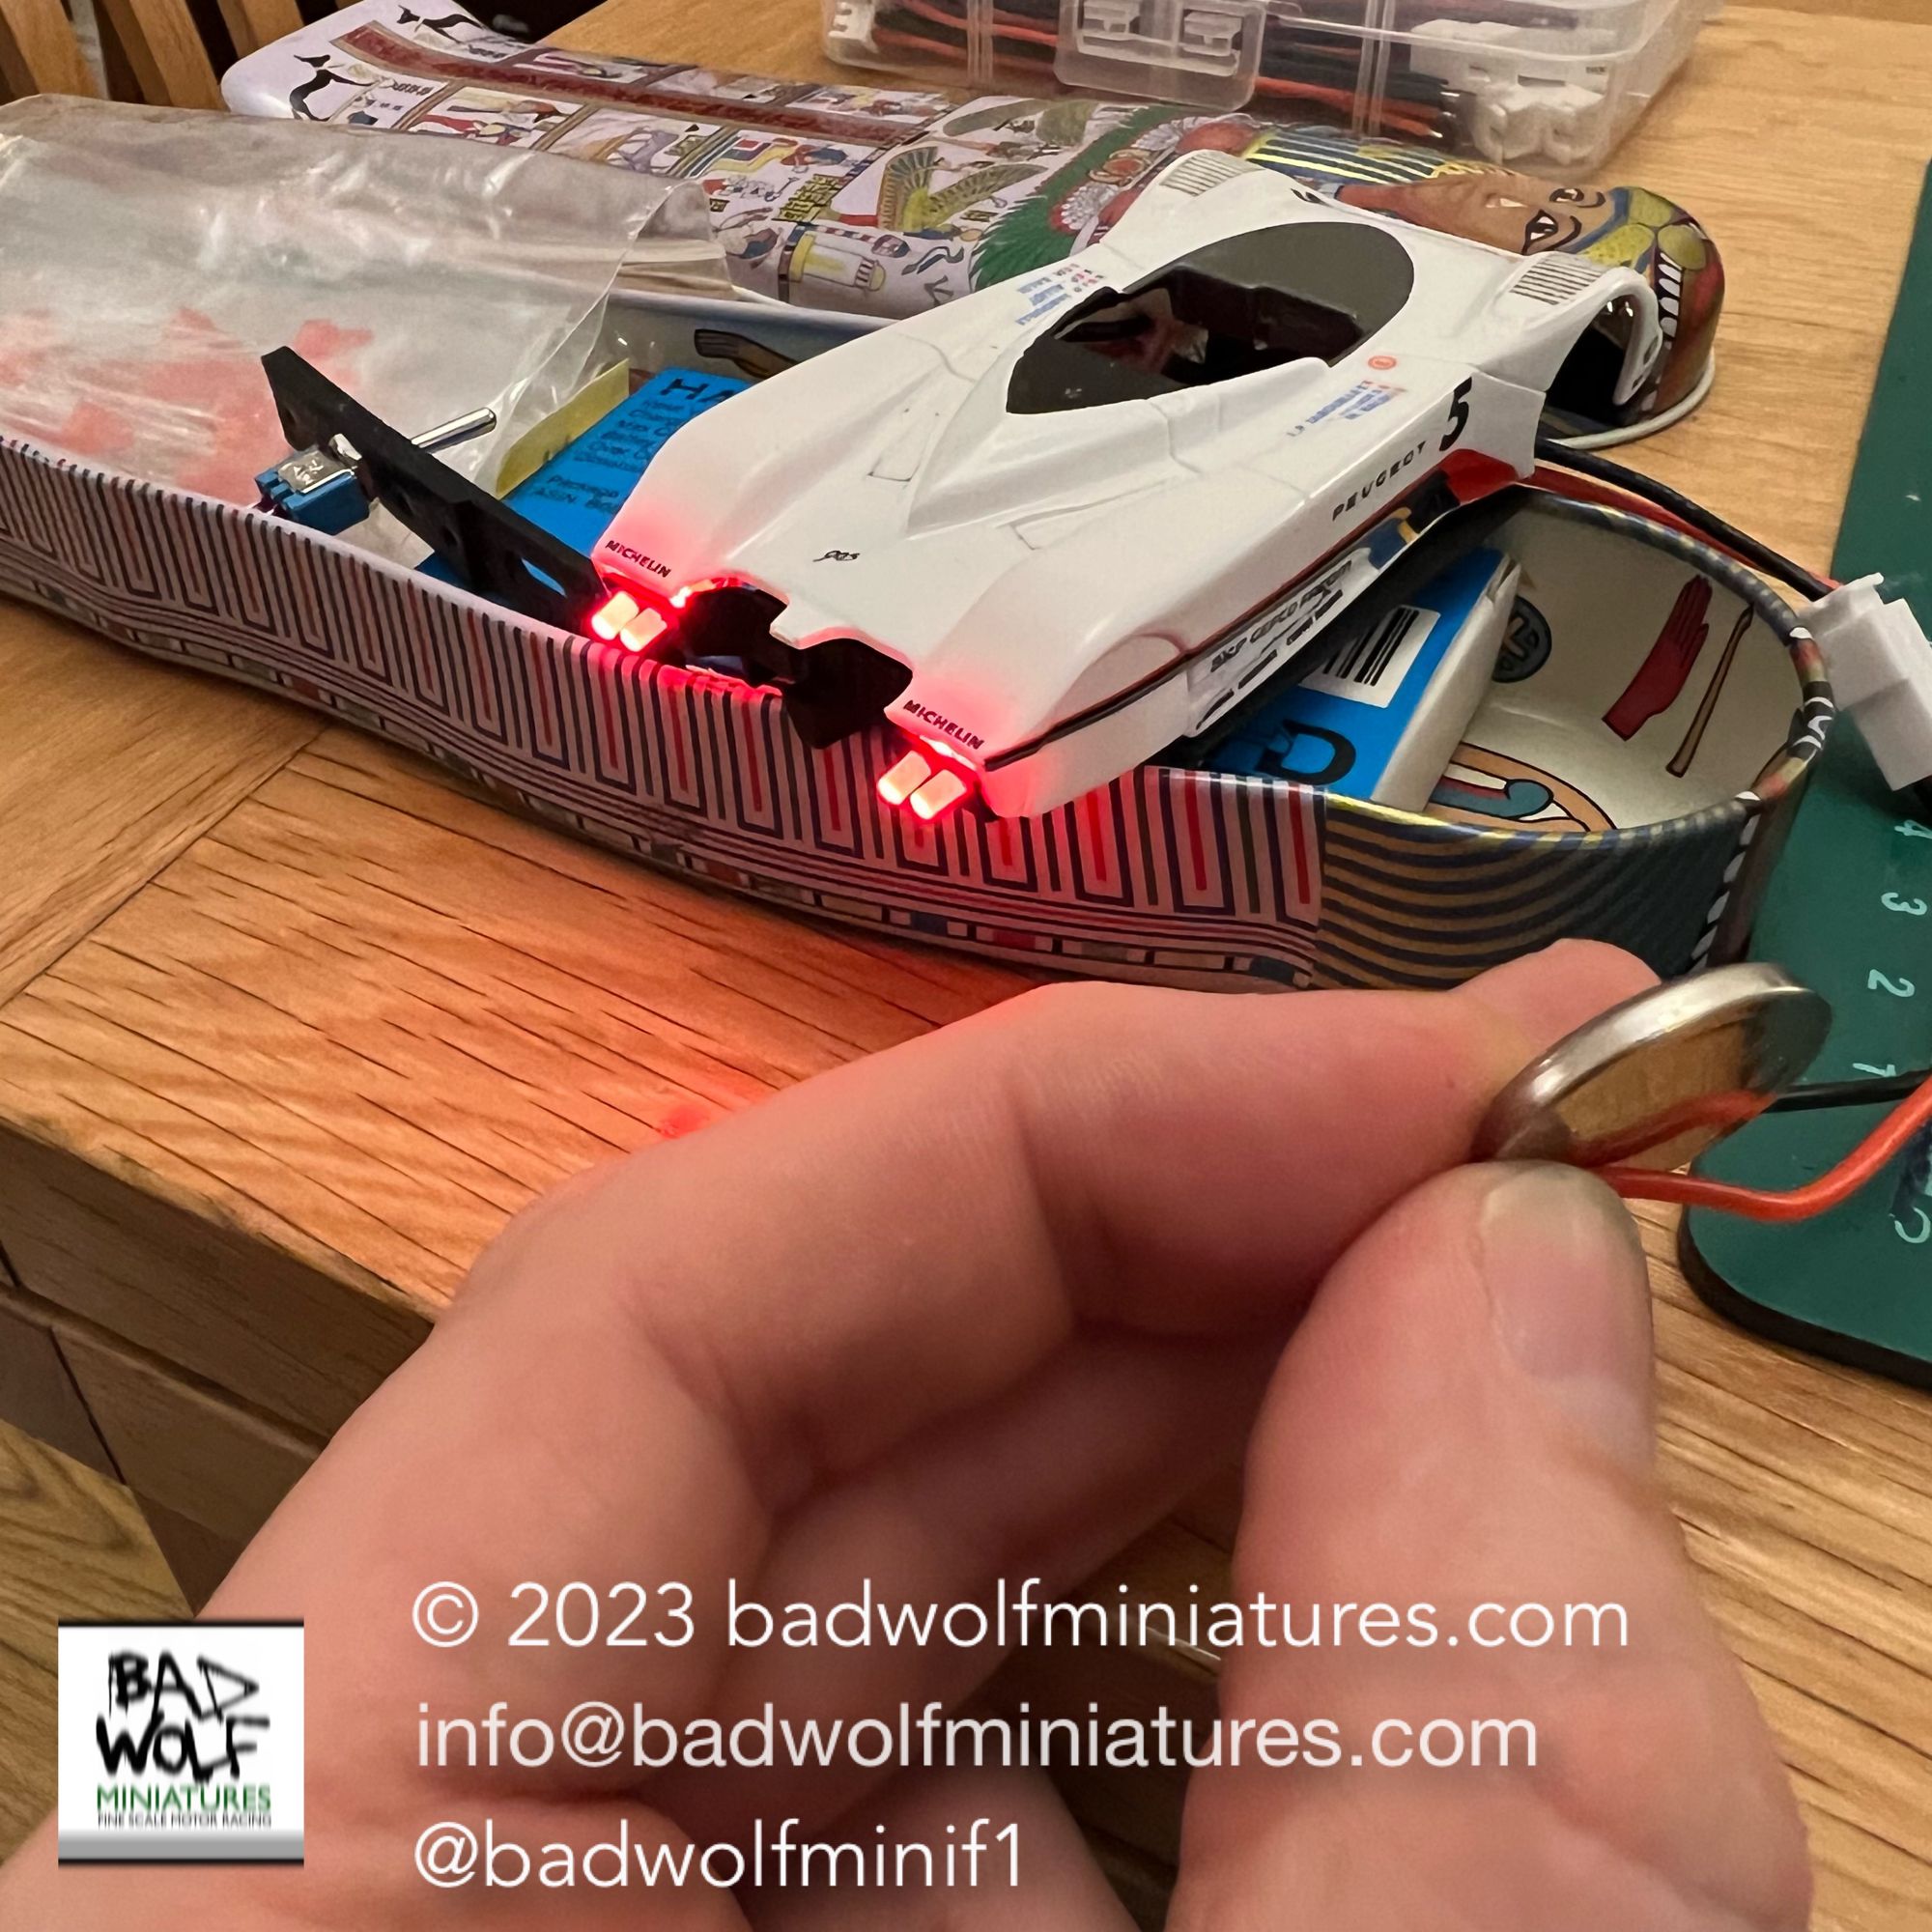
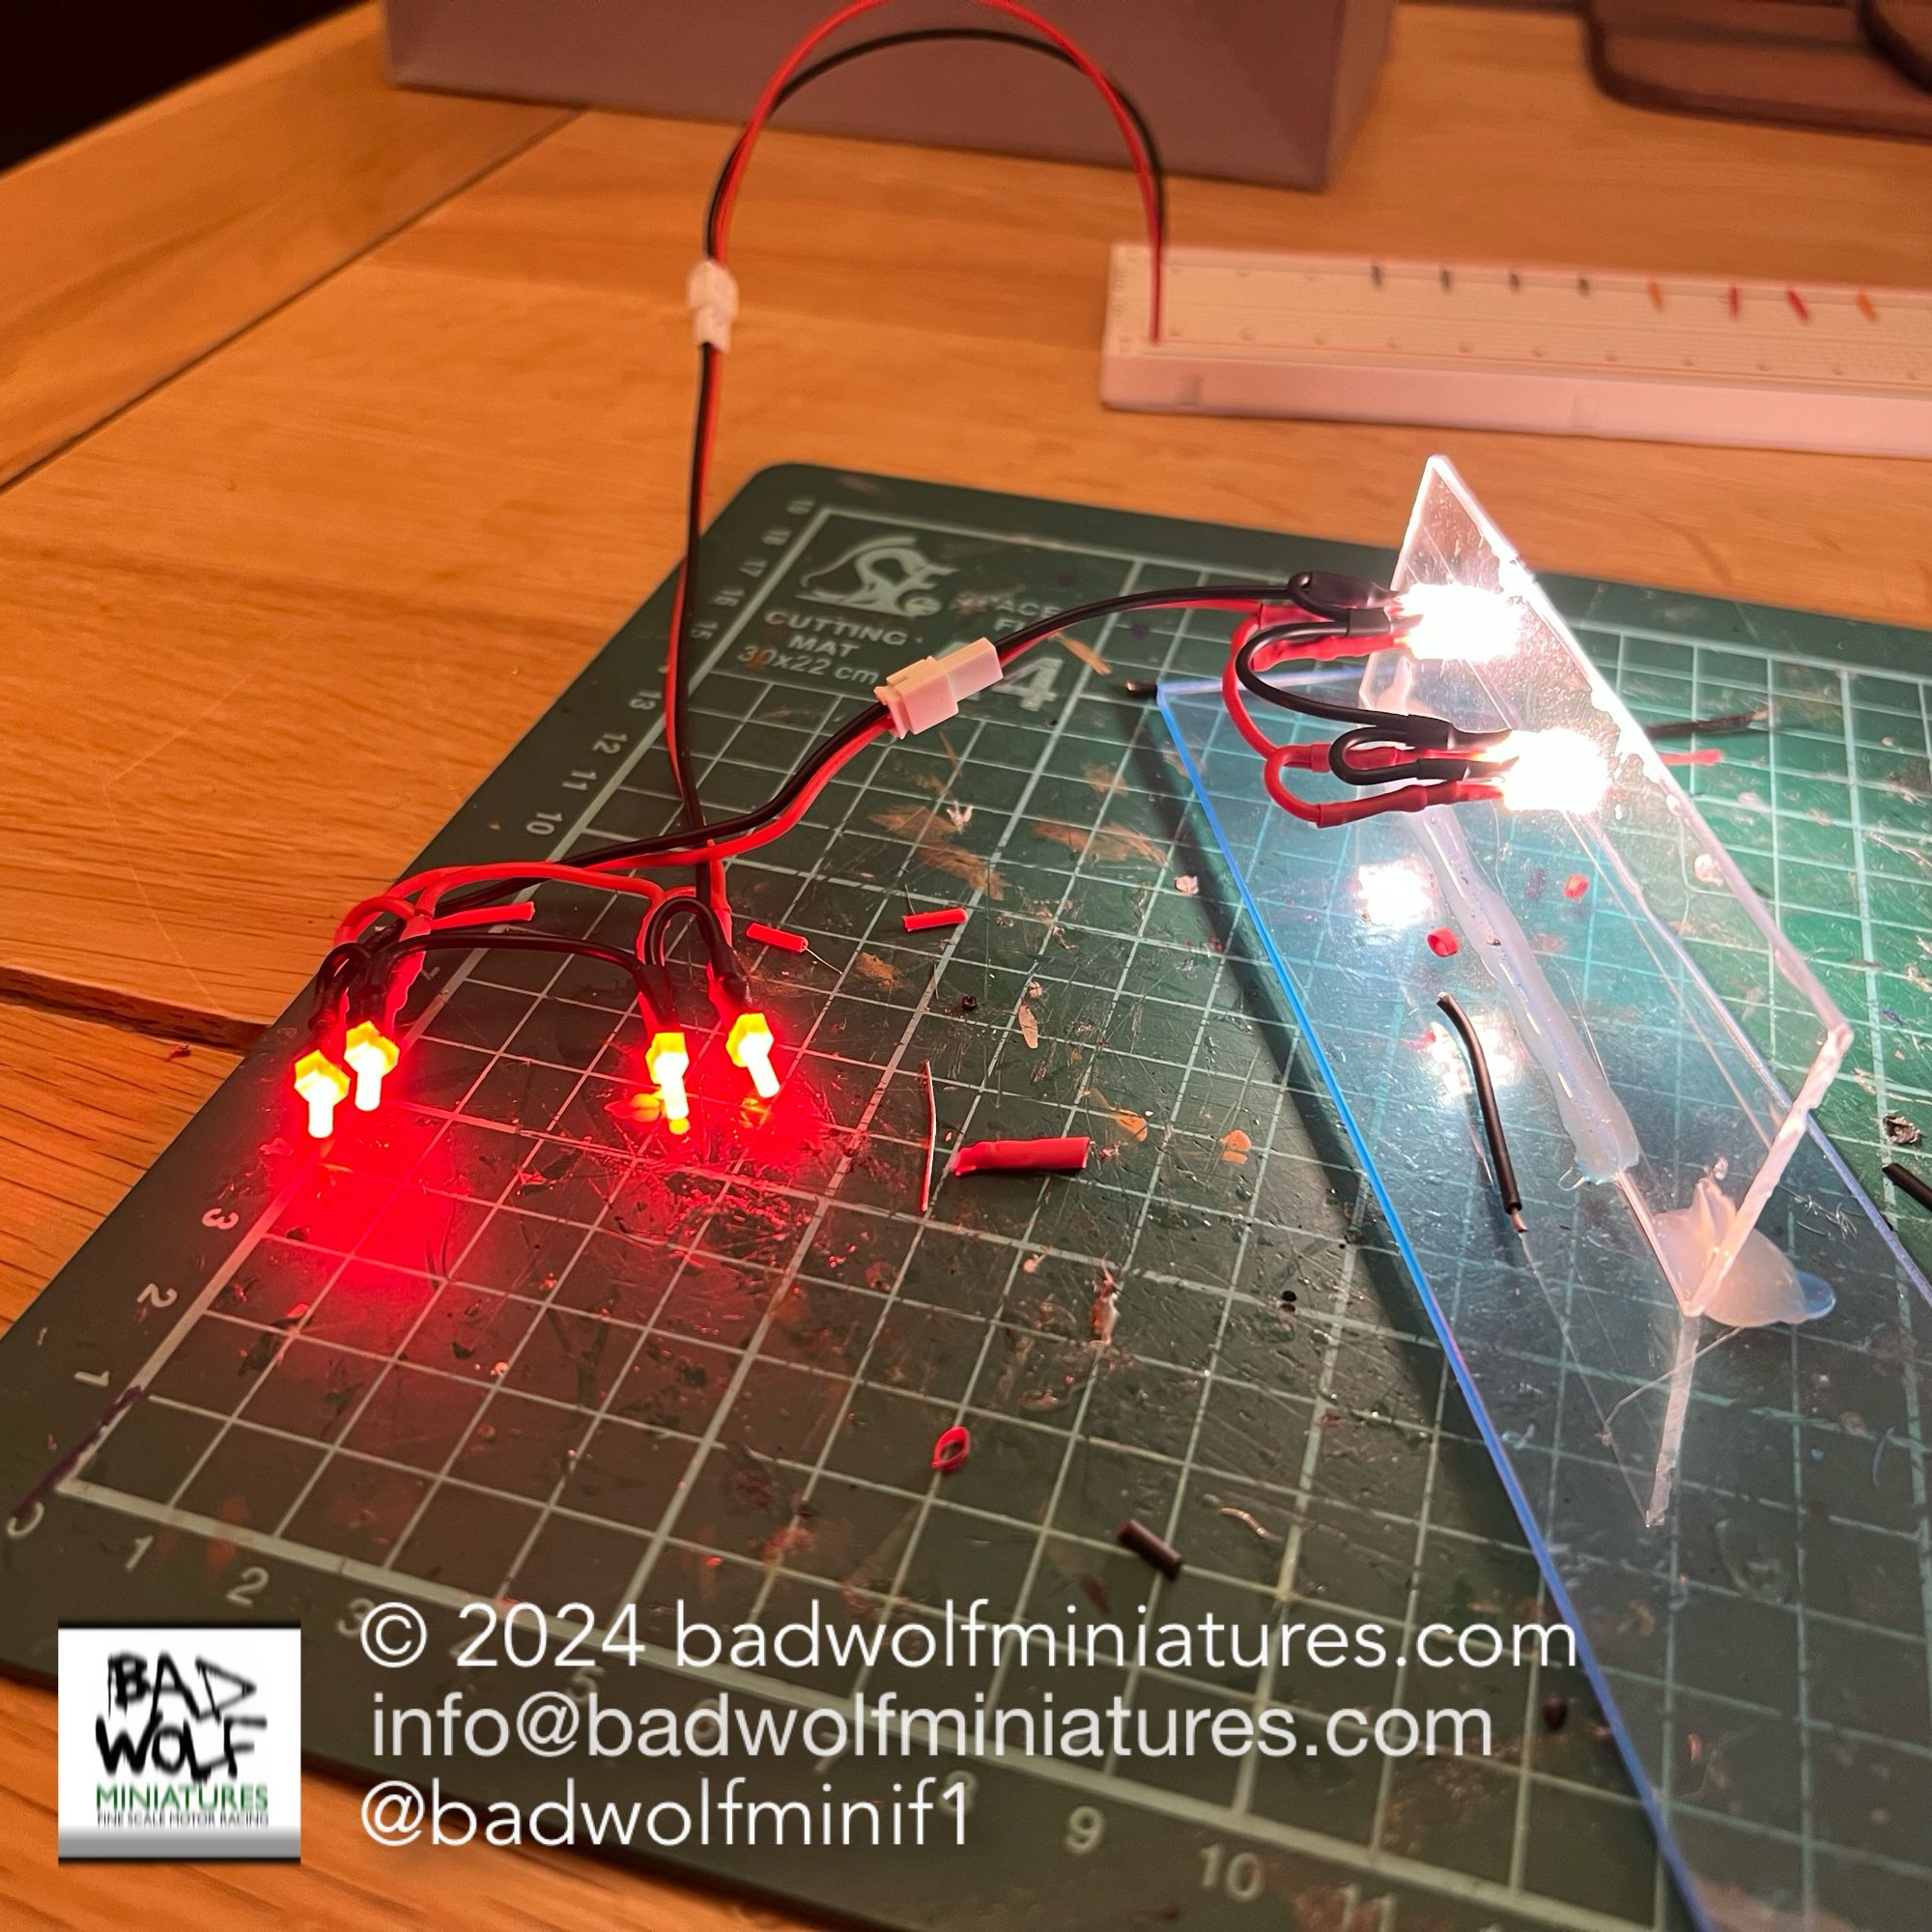
With the body now taking shape, I turned my attention to the lighting. I knew that the confines of the car were going to be pretty cramped, and I was also wary of using a soldering iron in close proximity to the car itself (which, being a thin plastic cast, would very easily melt or deform). To avoid any pitfalls I measured the position of the headlights in the bodywork and built a jig out of some spare pieces of clear acrylic. This meant that I’d be able to undertake all the soldering work without the risk of ruining the car itself.
Soldering…. not my greatest strength, but also something I was determined to try. Thankfully, the initial electrics work was quite successful and I was able to put together 2x wiring looms (one for the front lights and 1x for the rear lights), without too much difficulty.
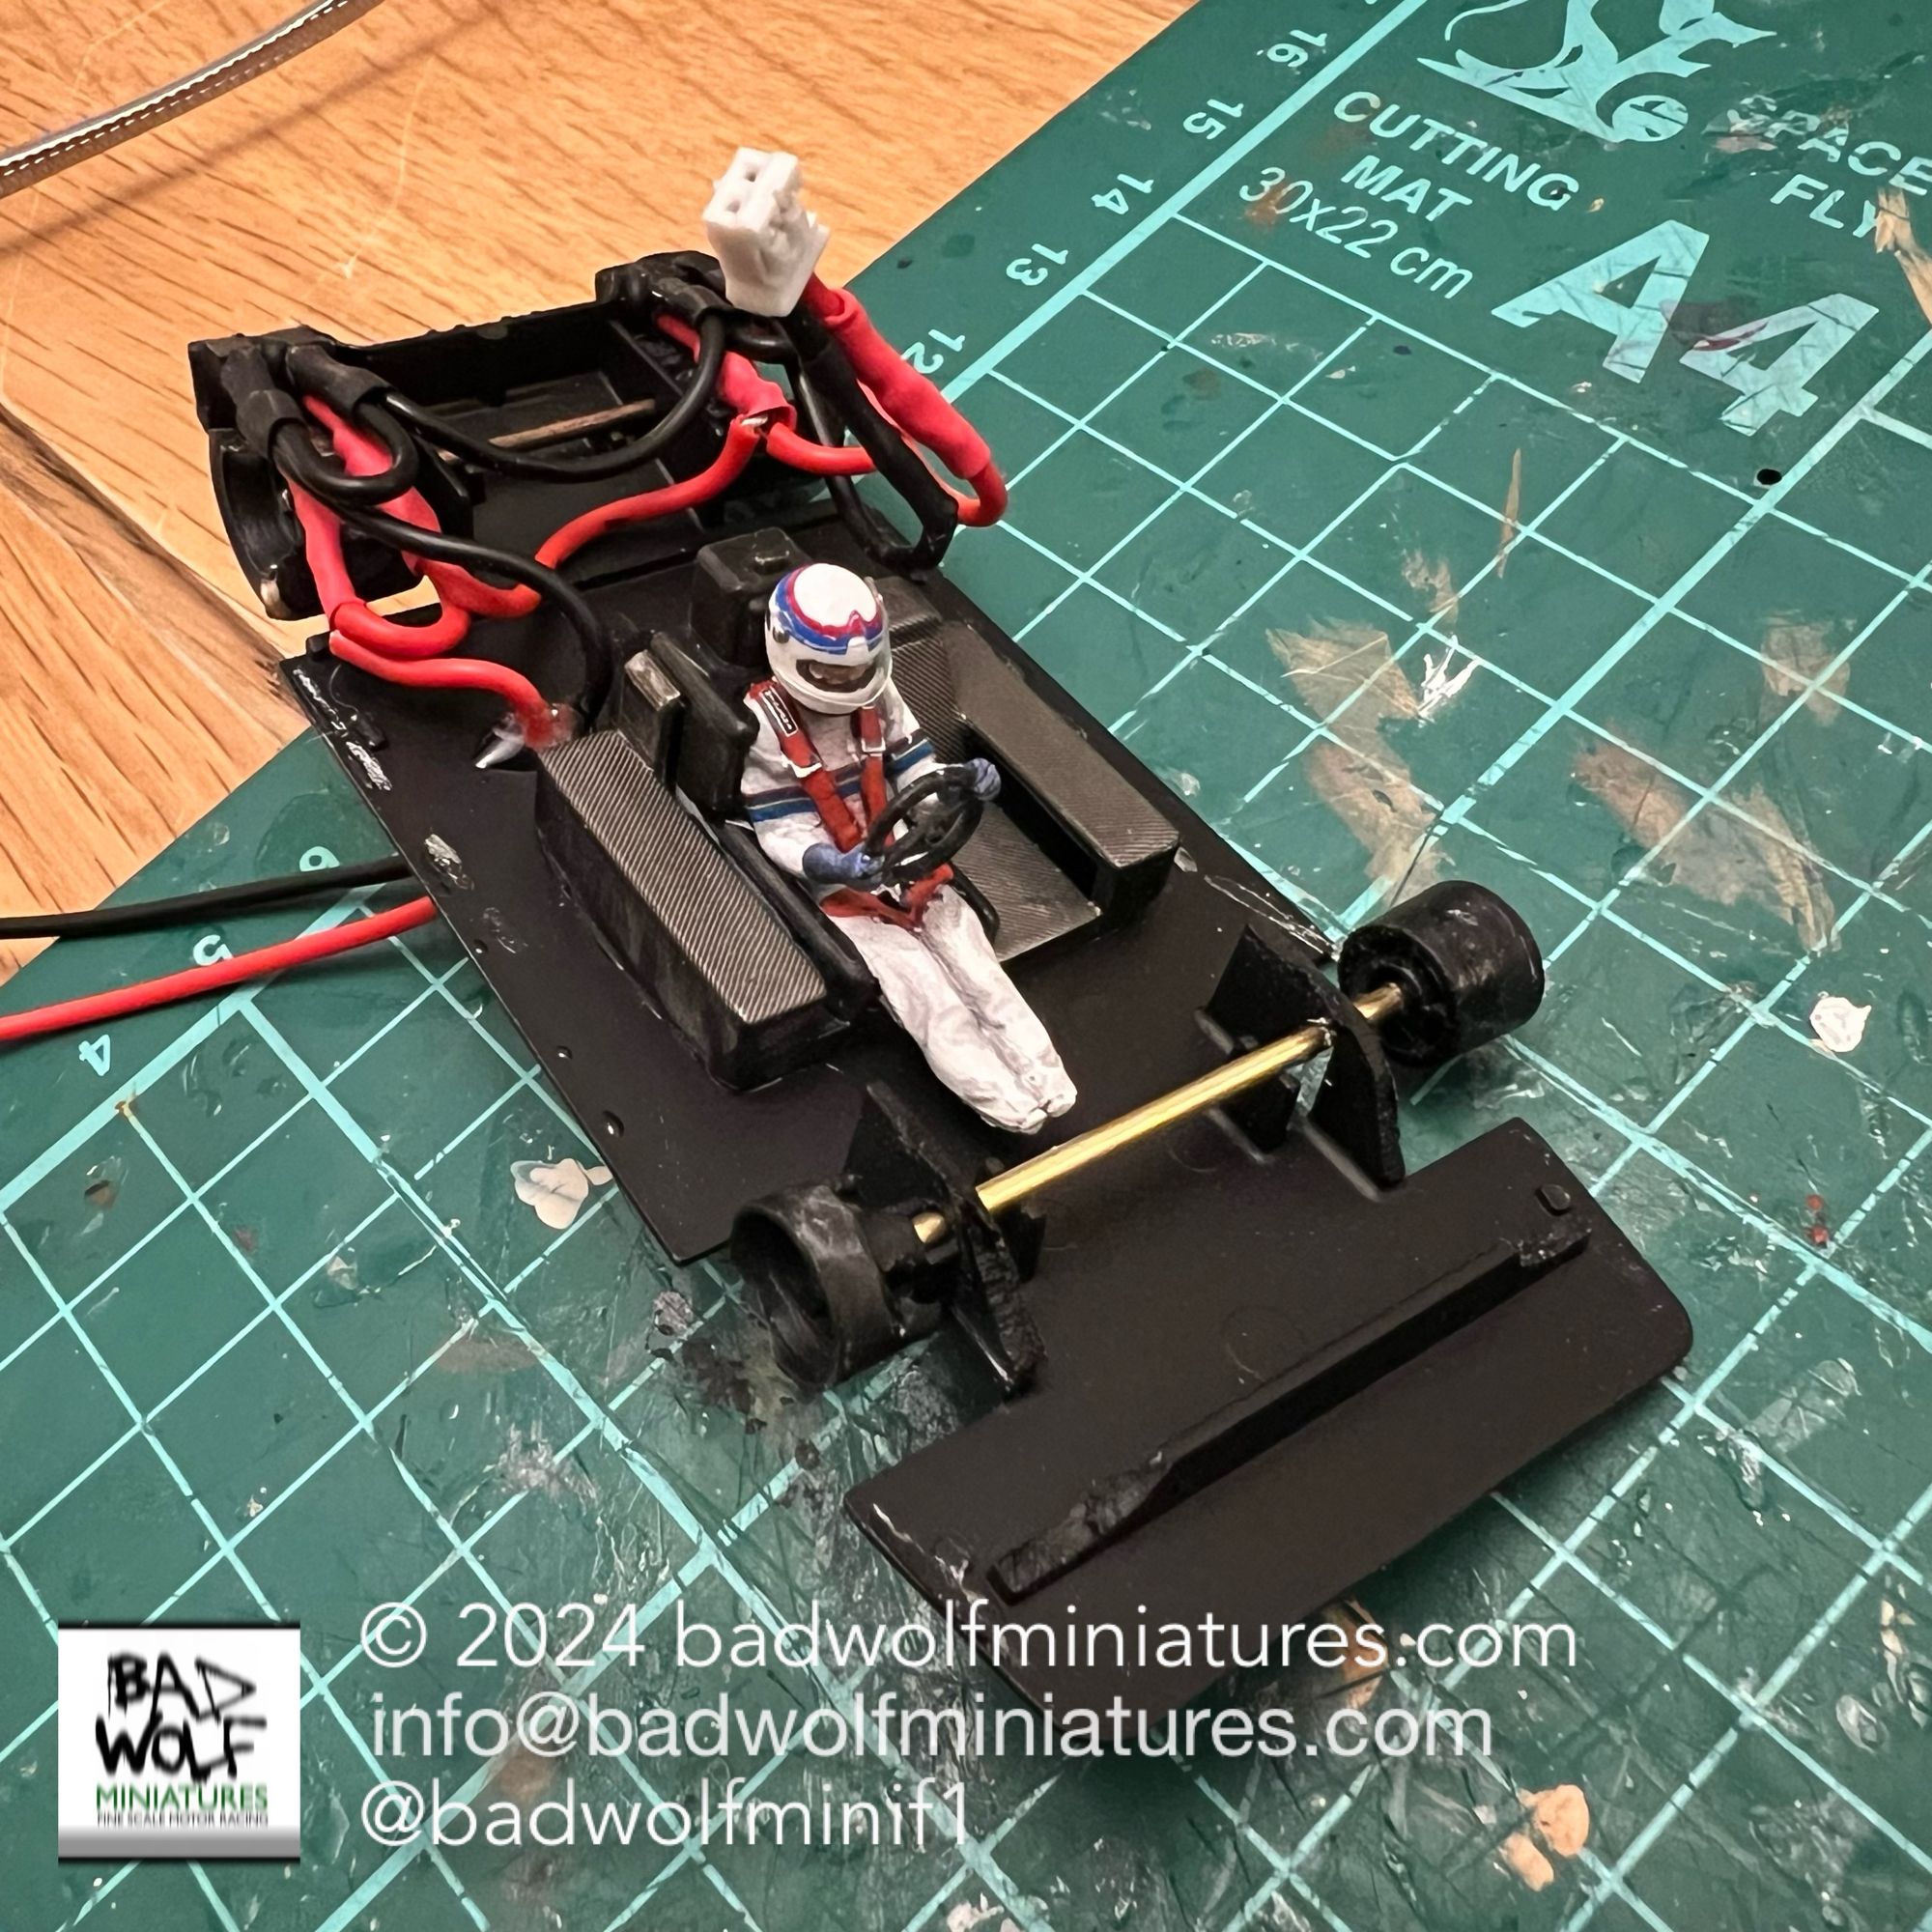
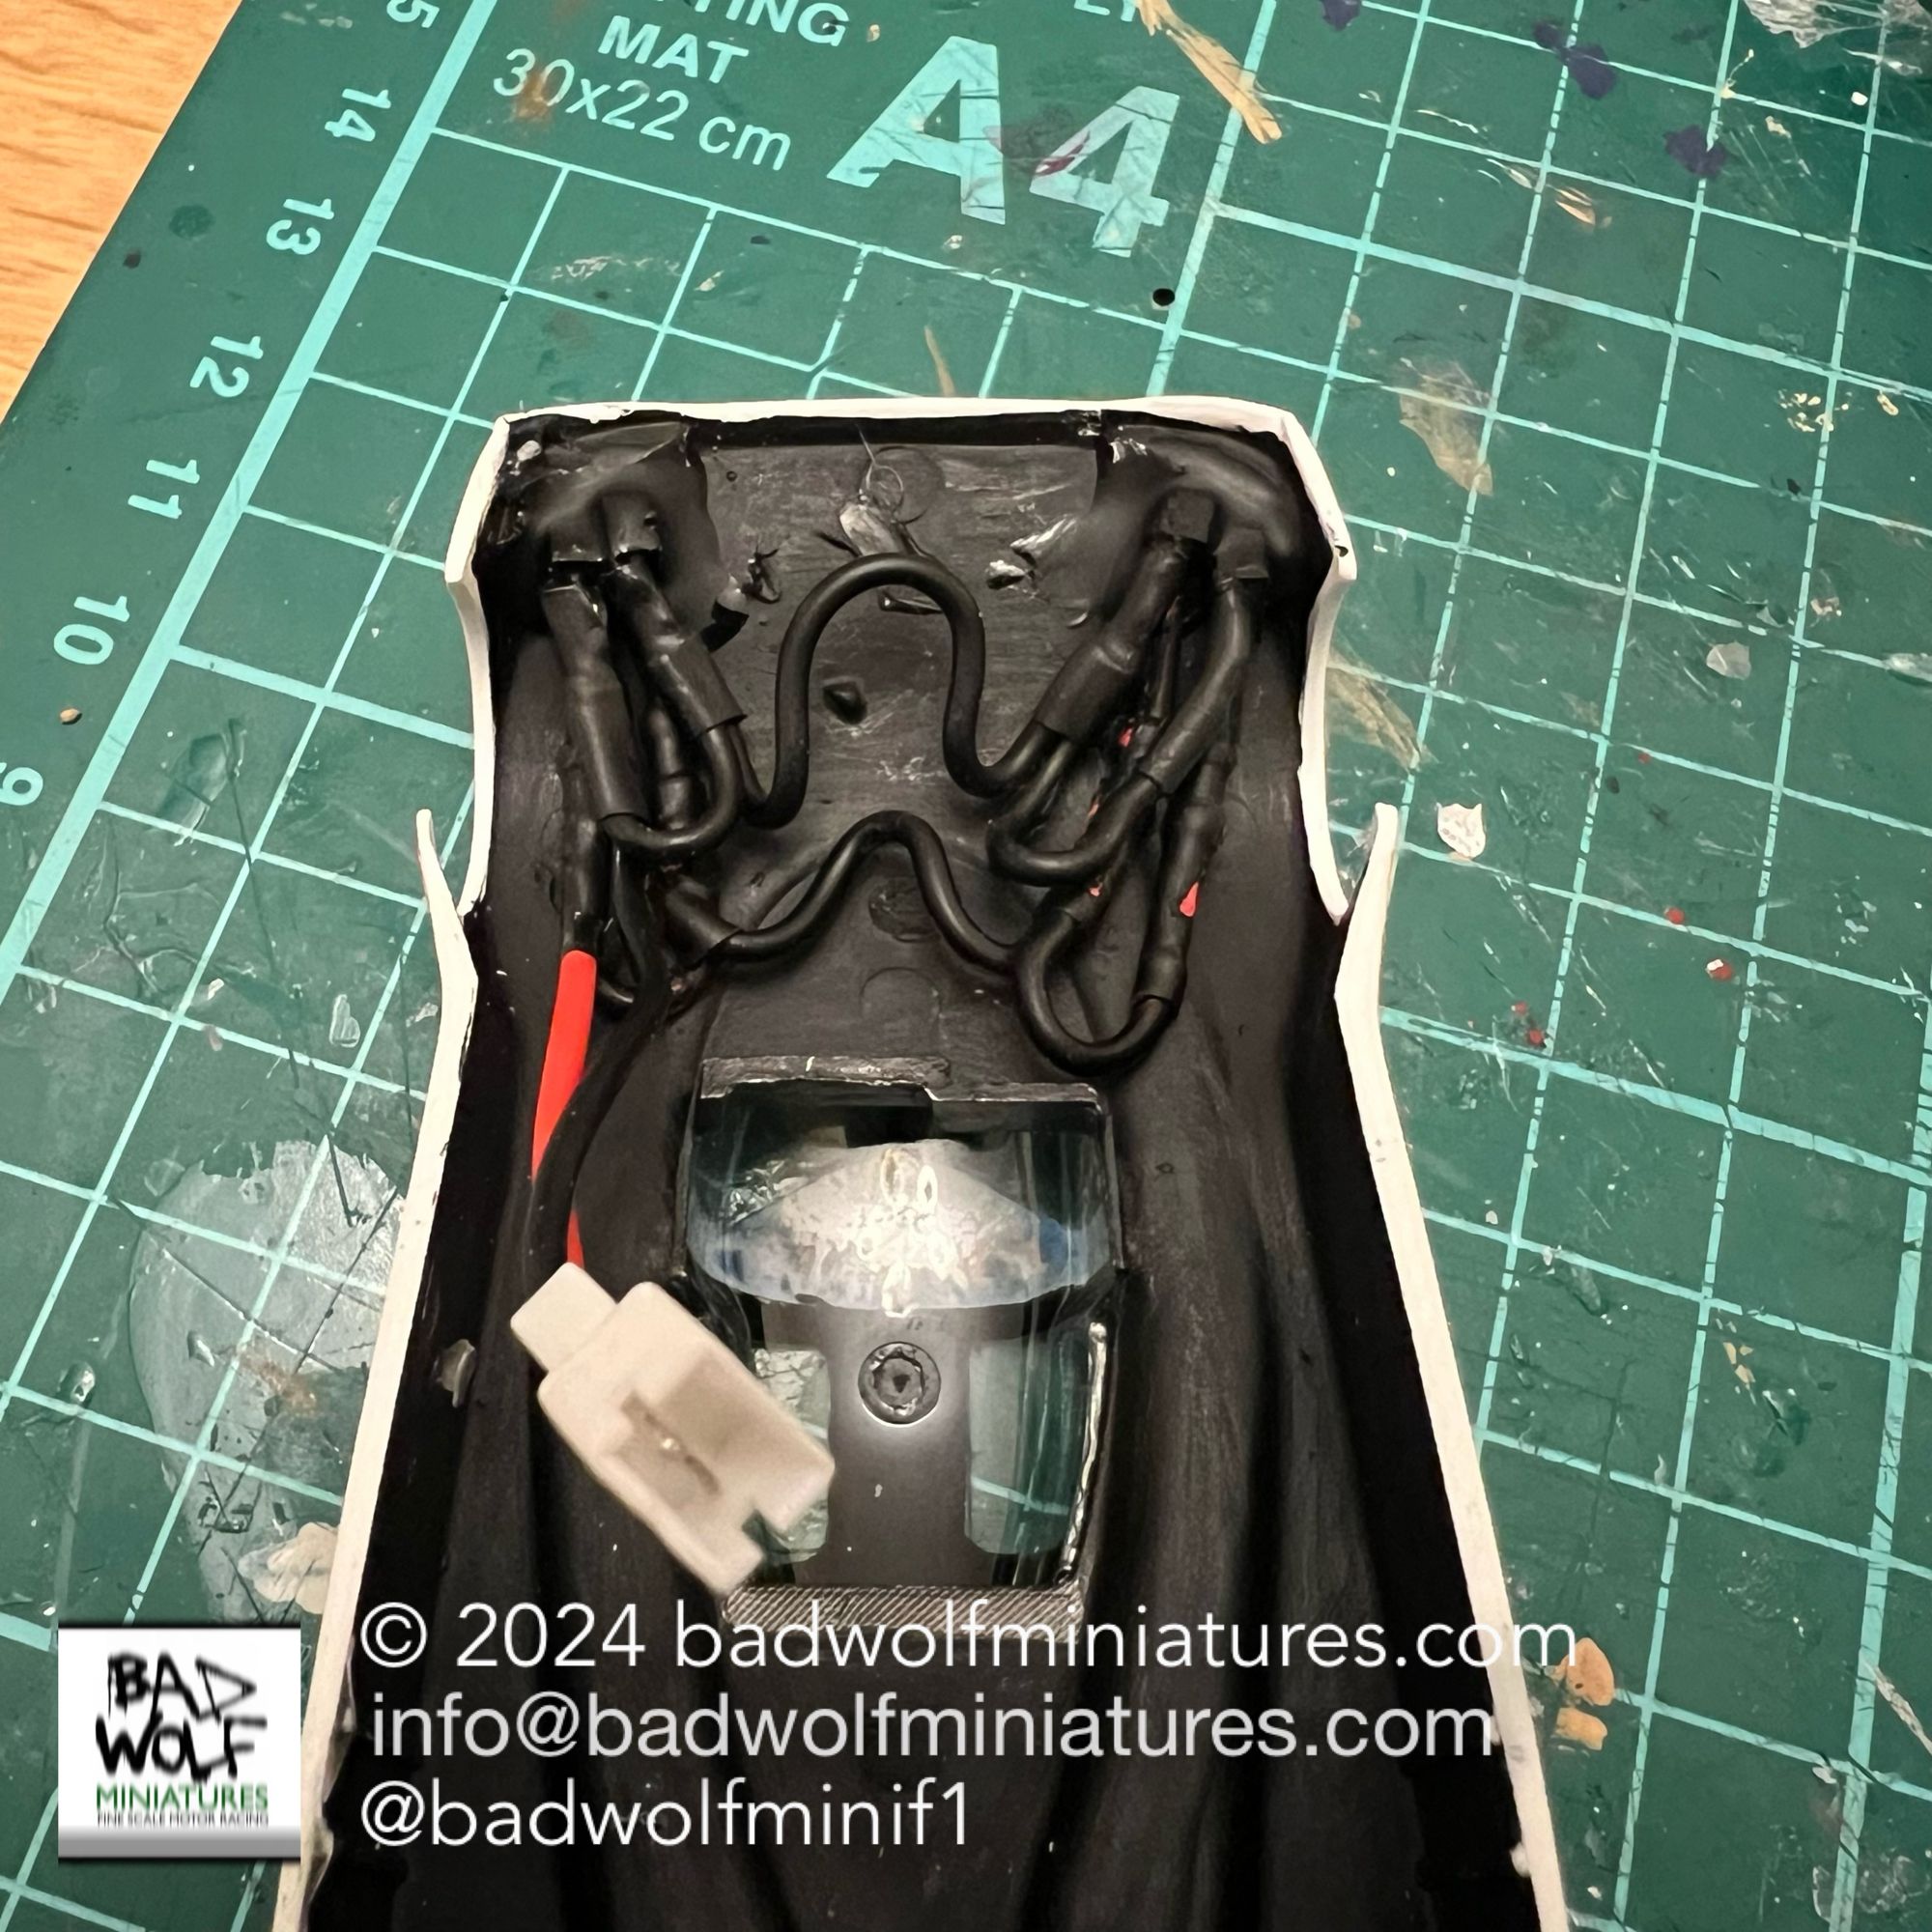
The inner confines of the car are pretty tight, which meant that even the addition of some very thin lighting wires meant that the two halves of the body would not close. To get around this, I cut away the upper half of both back tires, which allowed the clearance required for the rear lights. At the front, I cut away the tires on the inner sides, thereby allowing more room inside the body but maintaining the external appearance of a full tire and wheel.
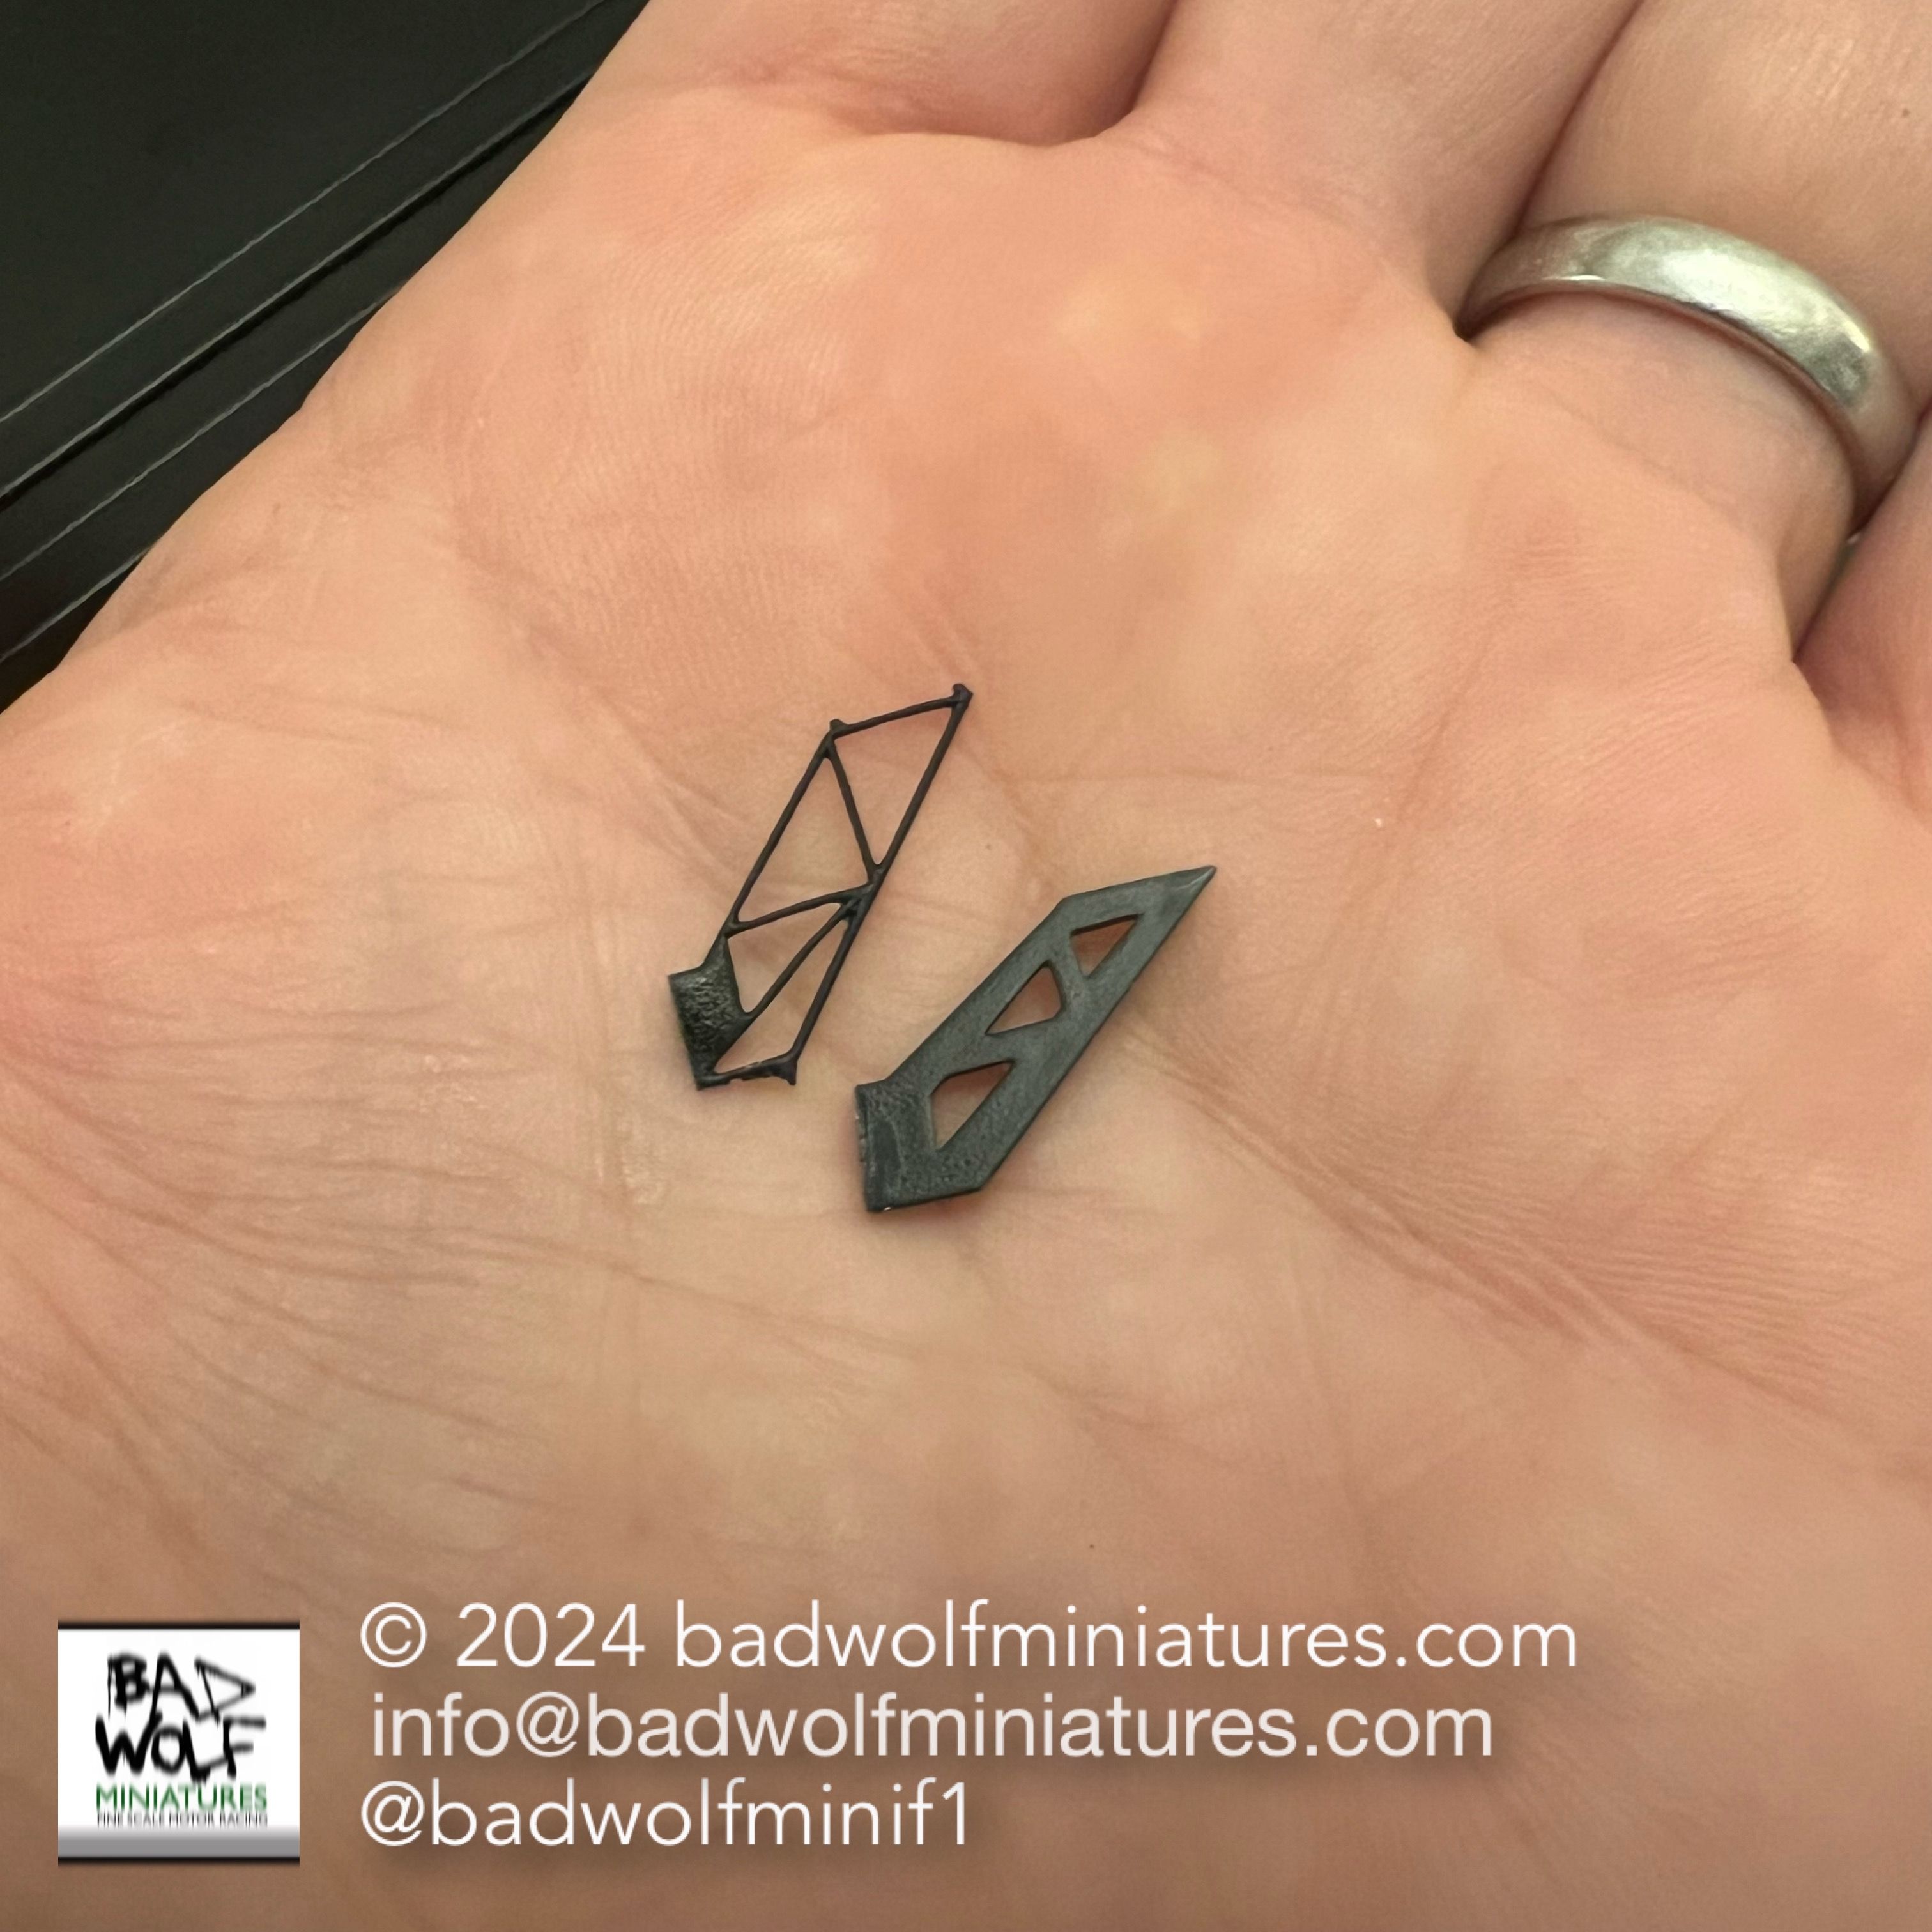
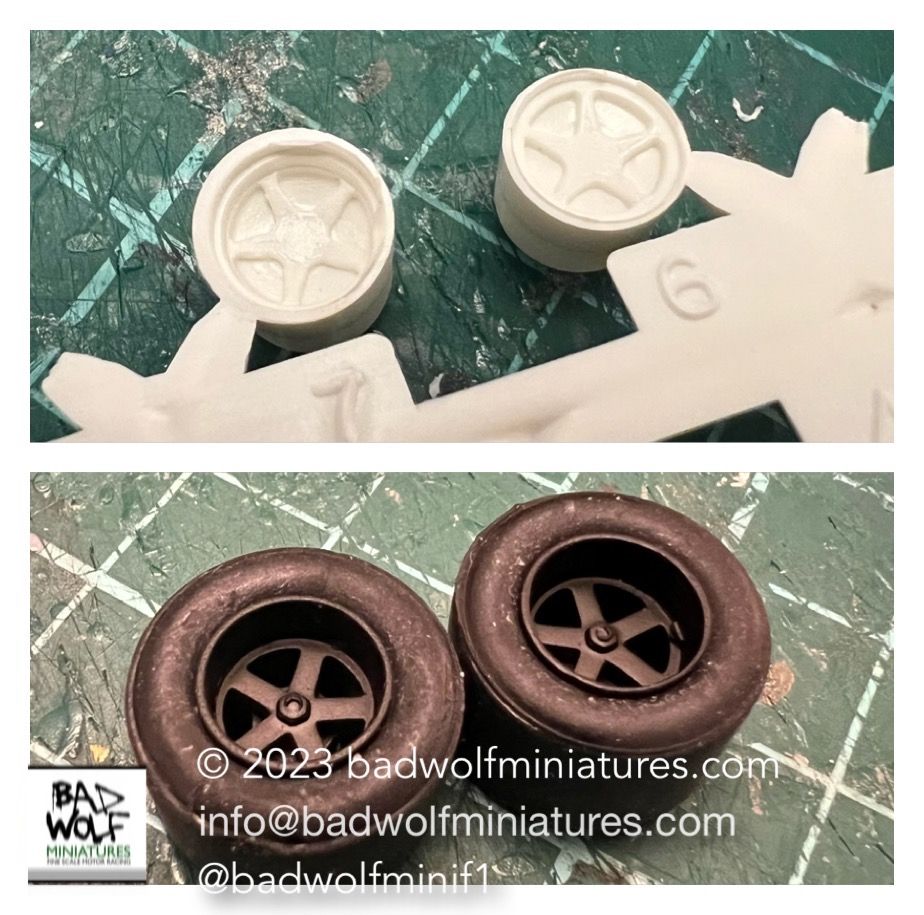
I afound that the kit-parts for the wheels and rear-wing supports were lacking in details and were a bit “chunky”. I therefore measured both and re-designed more accurate replacement parts using TinkerCad & Blender, which I was then able to 3D-print and add to the model.
With the car finished, I was then able to turn my attention to the diorama base. I spent a long time measuring and drawing-out the installation of the battery and electrical controls. Once I was satisfied with the size of the internal space required, I was able to to draw-out the size of a.) the internal cavity required, and b.) a cover that I would install to the underside of the base, which would be used to allow access to the battery. These were plotted-out using TinkerCad, and then exported as SVG files. I then fired-up my Ortur laser cutter, which I used to mark-out the shape and size of the cavity required to the underside of the oak base, and to cut-out the battery cover from a piece of 2mm black acrylic.
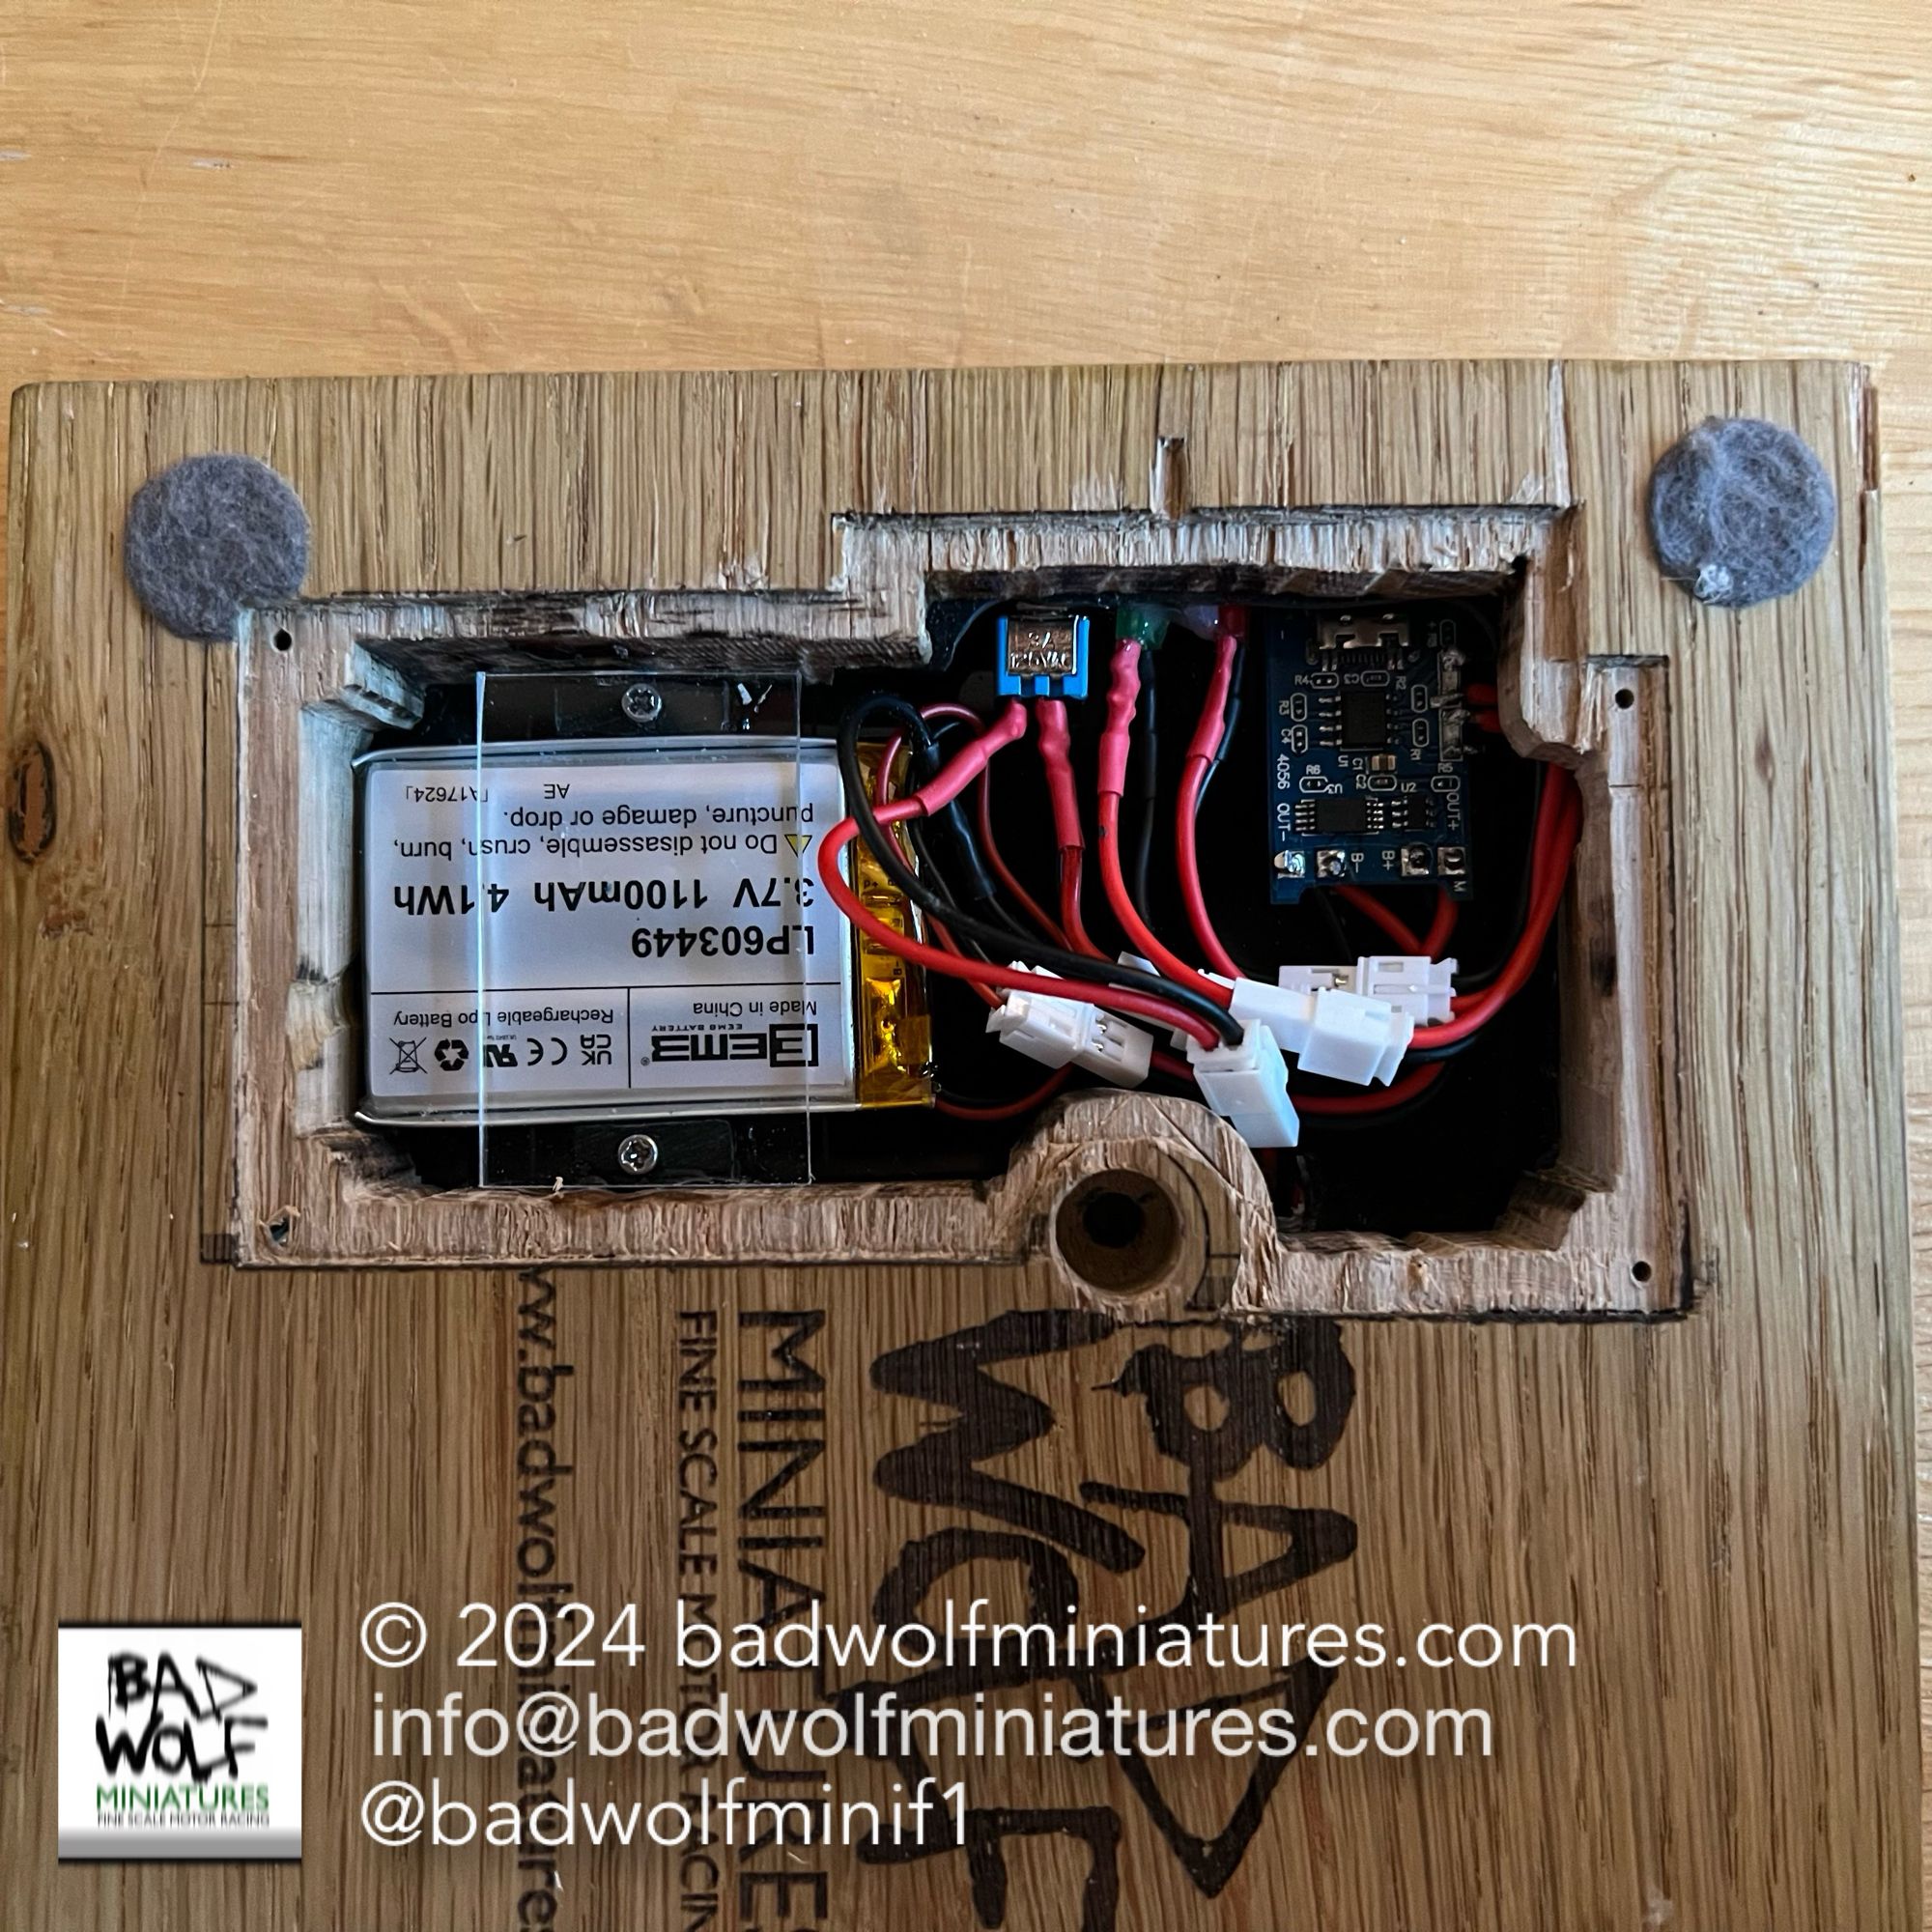
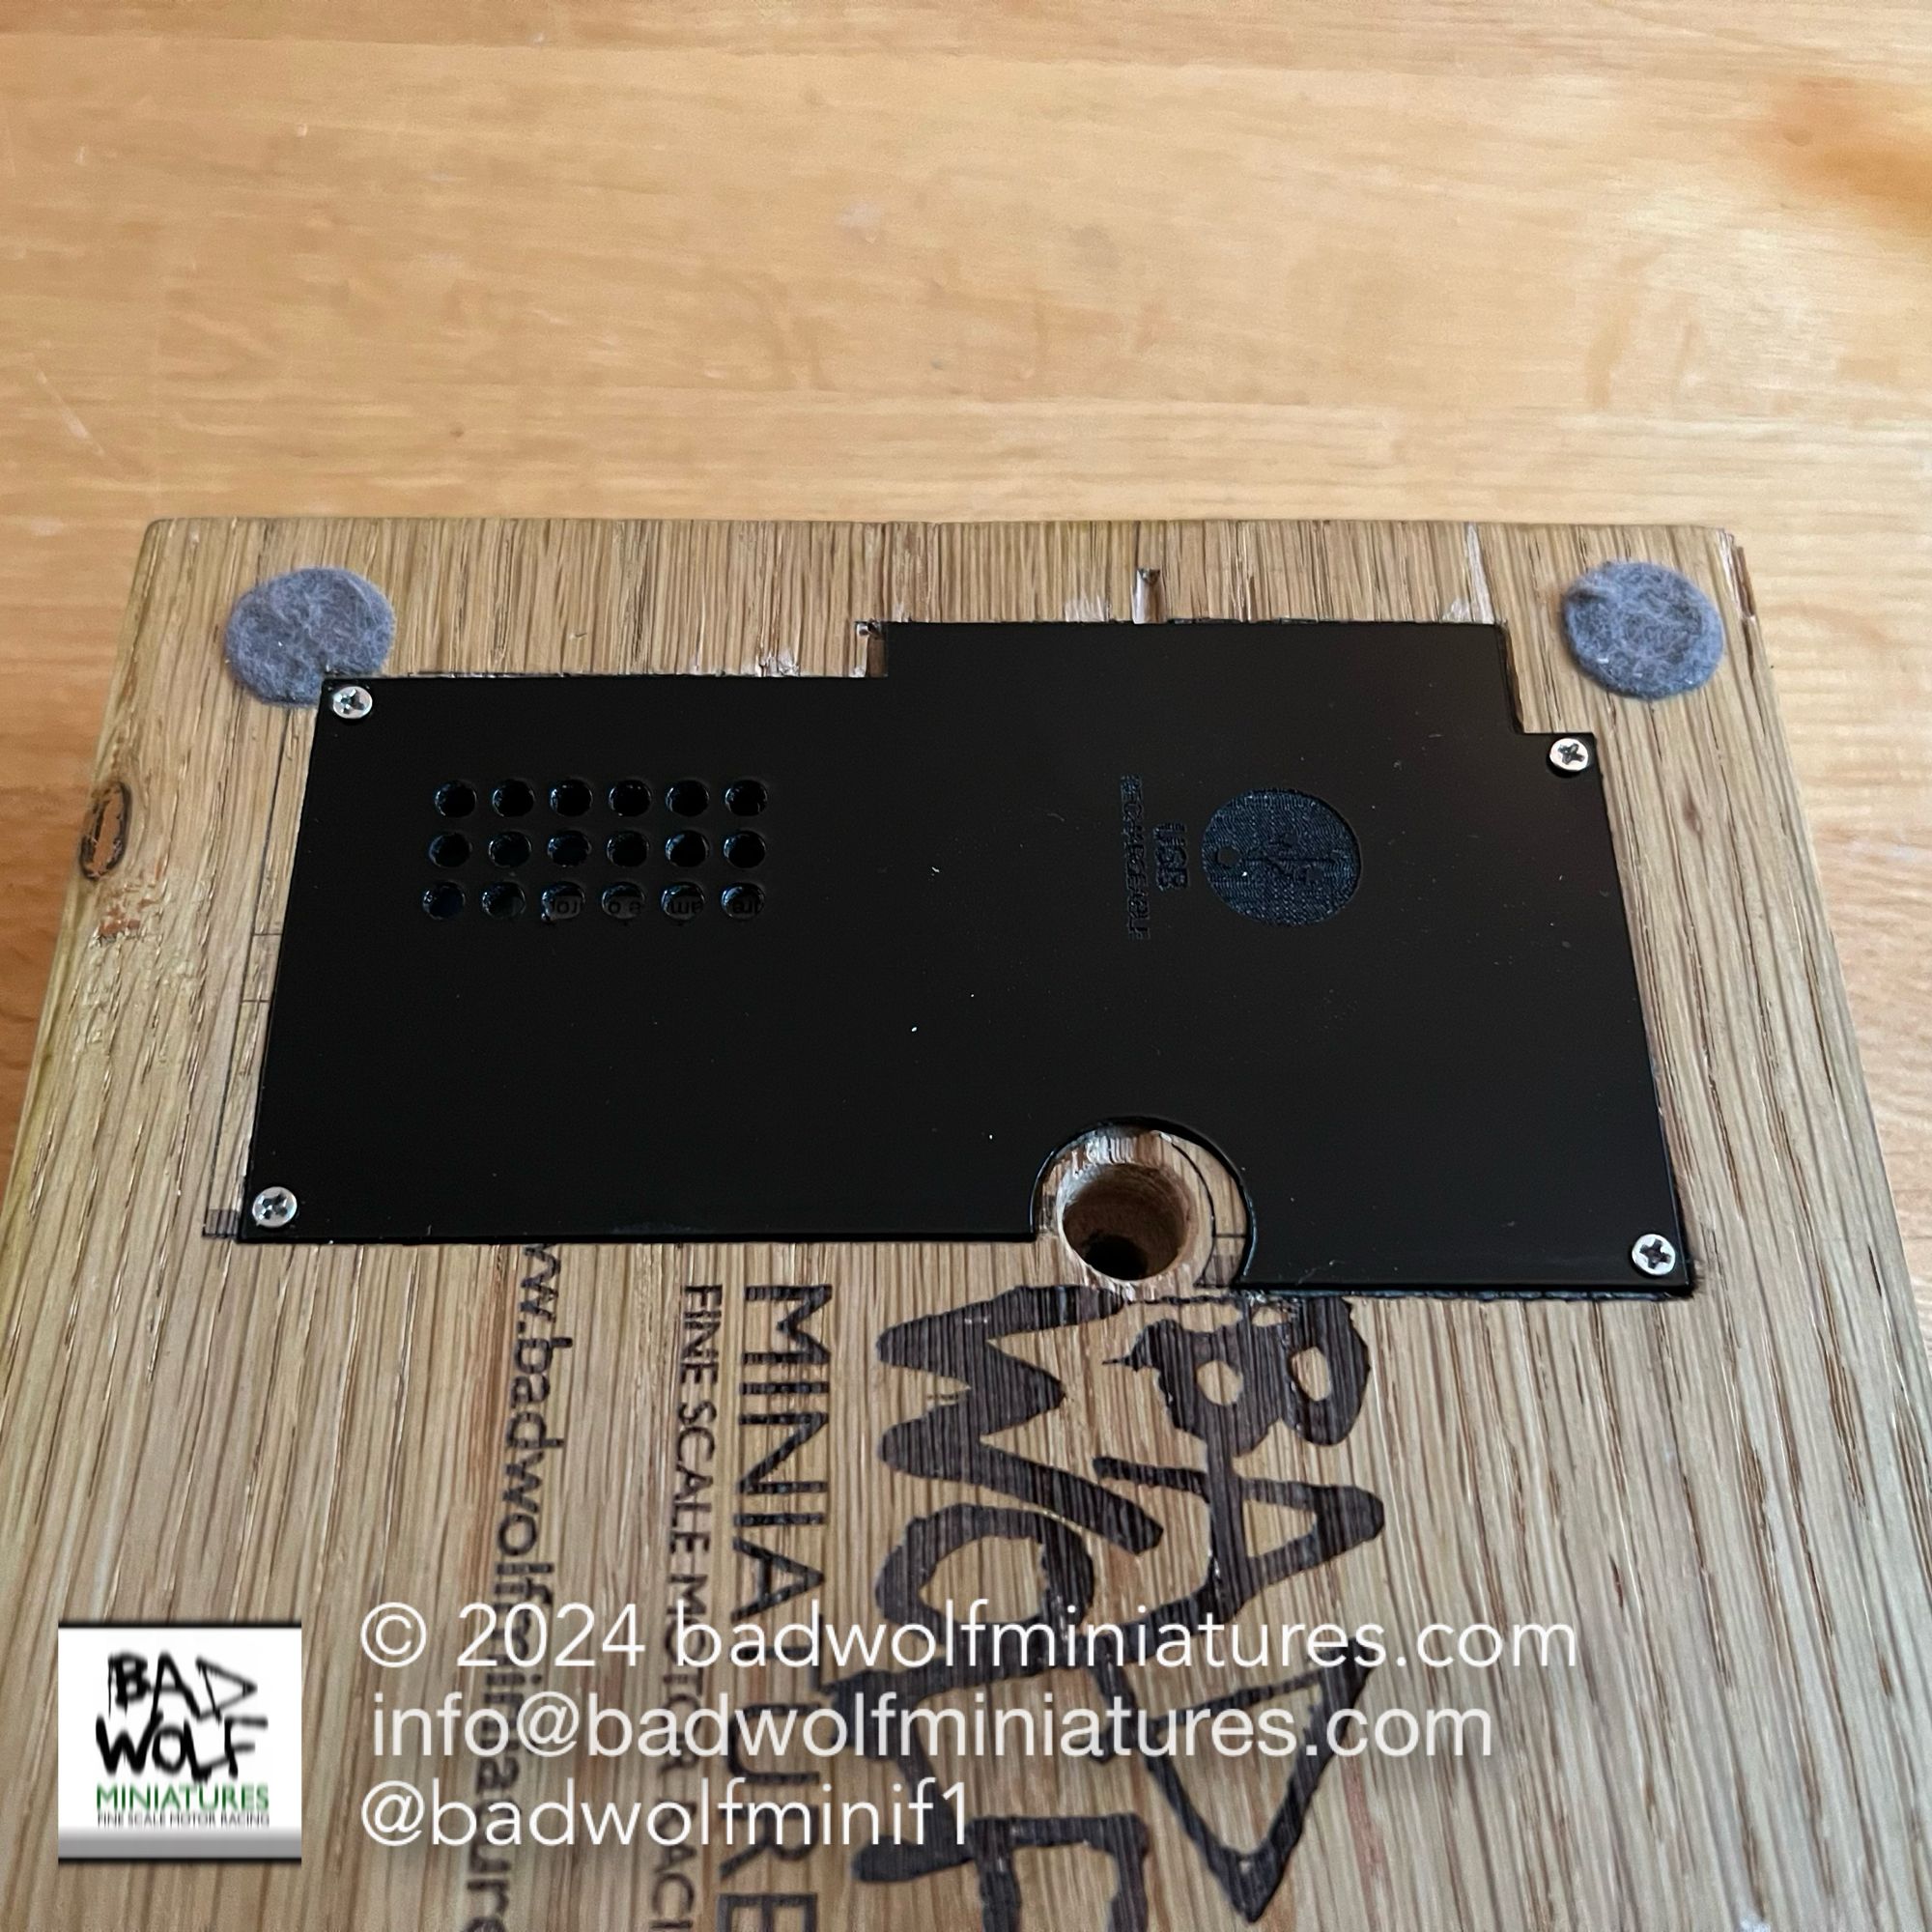
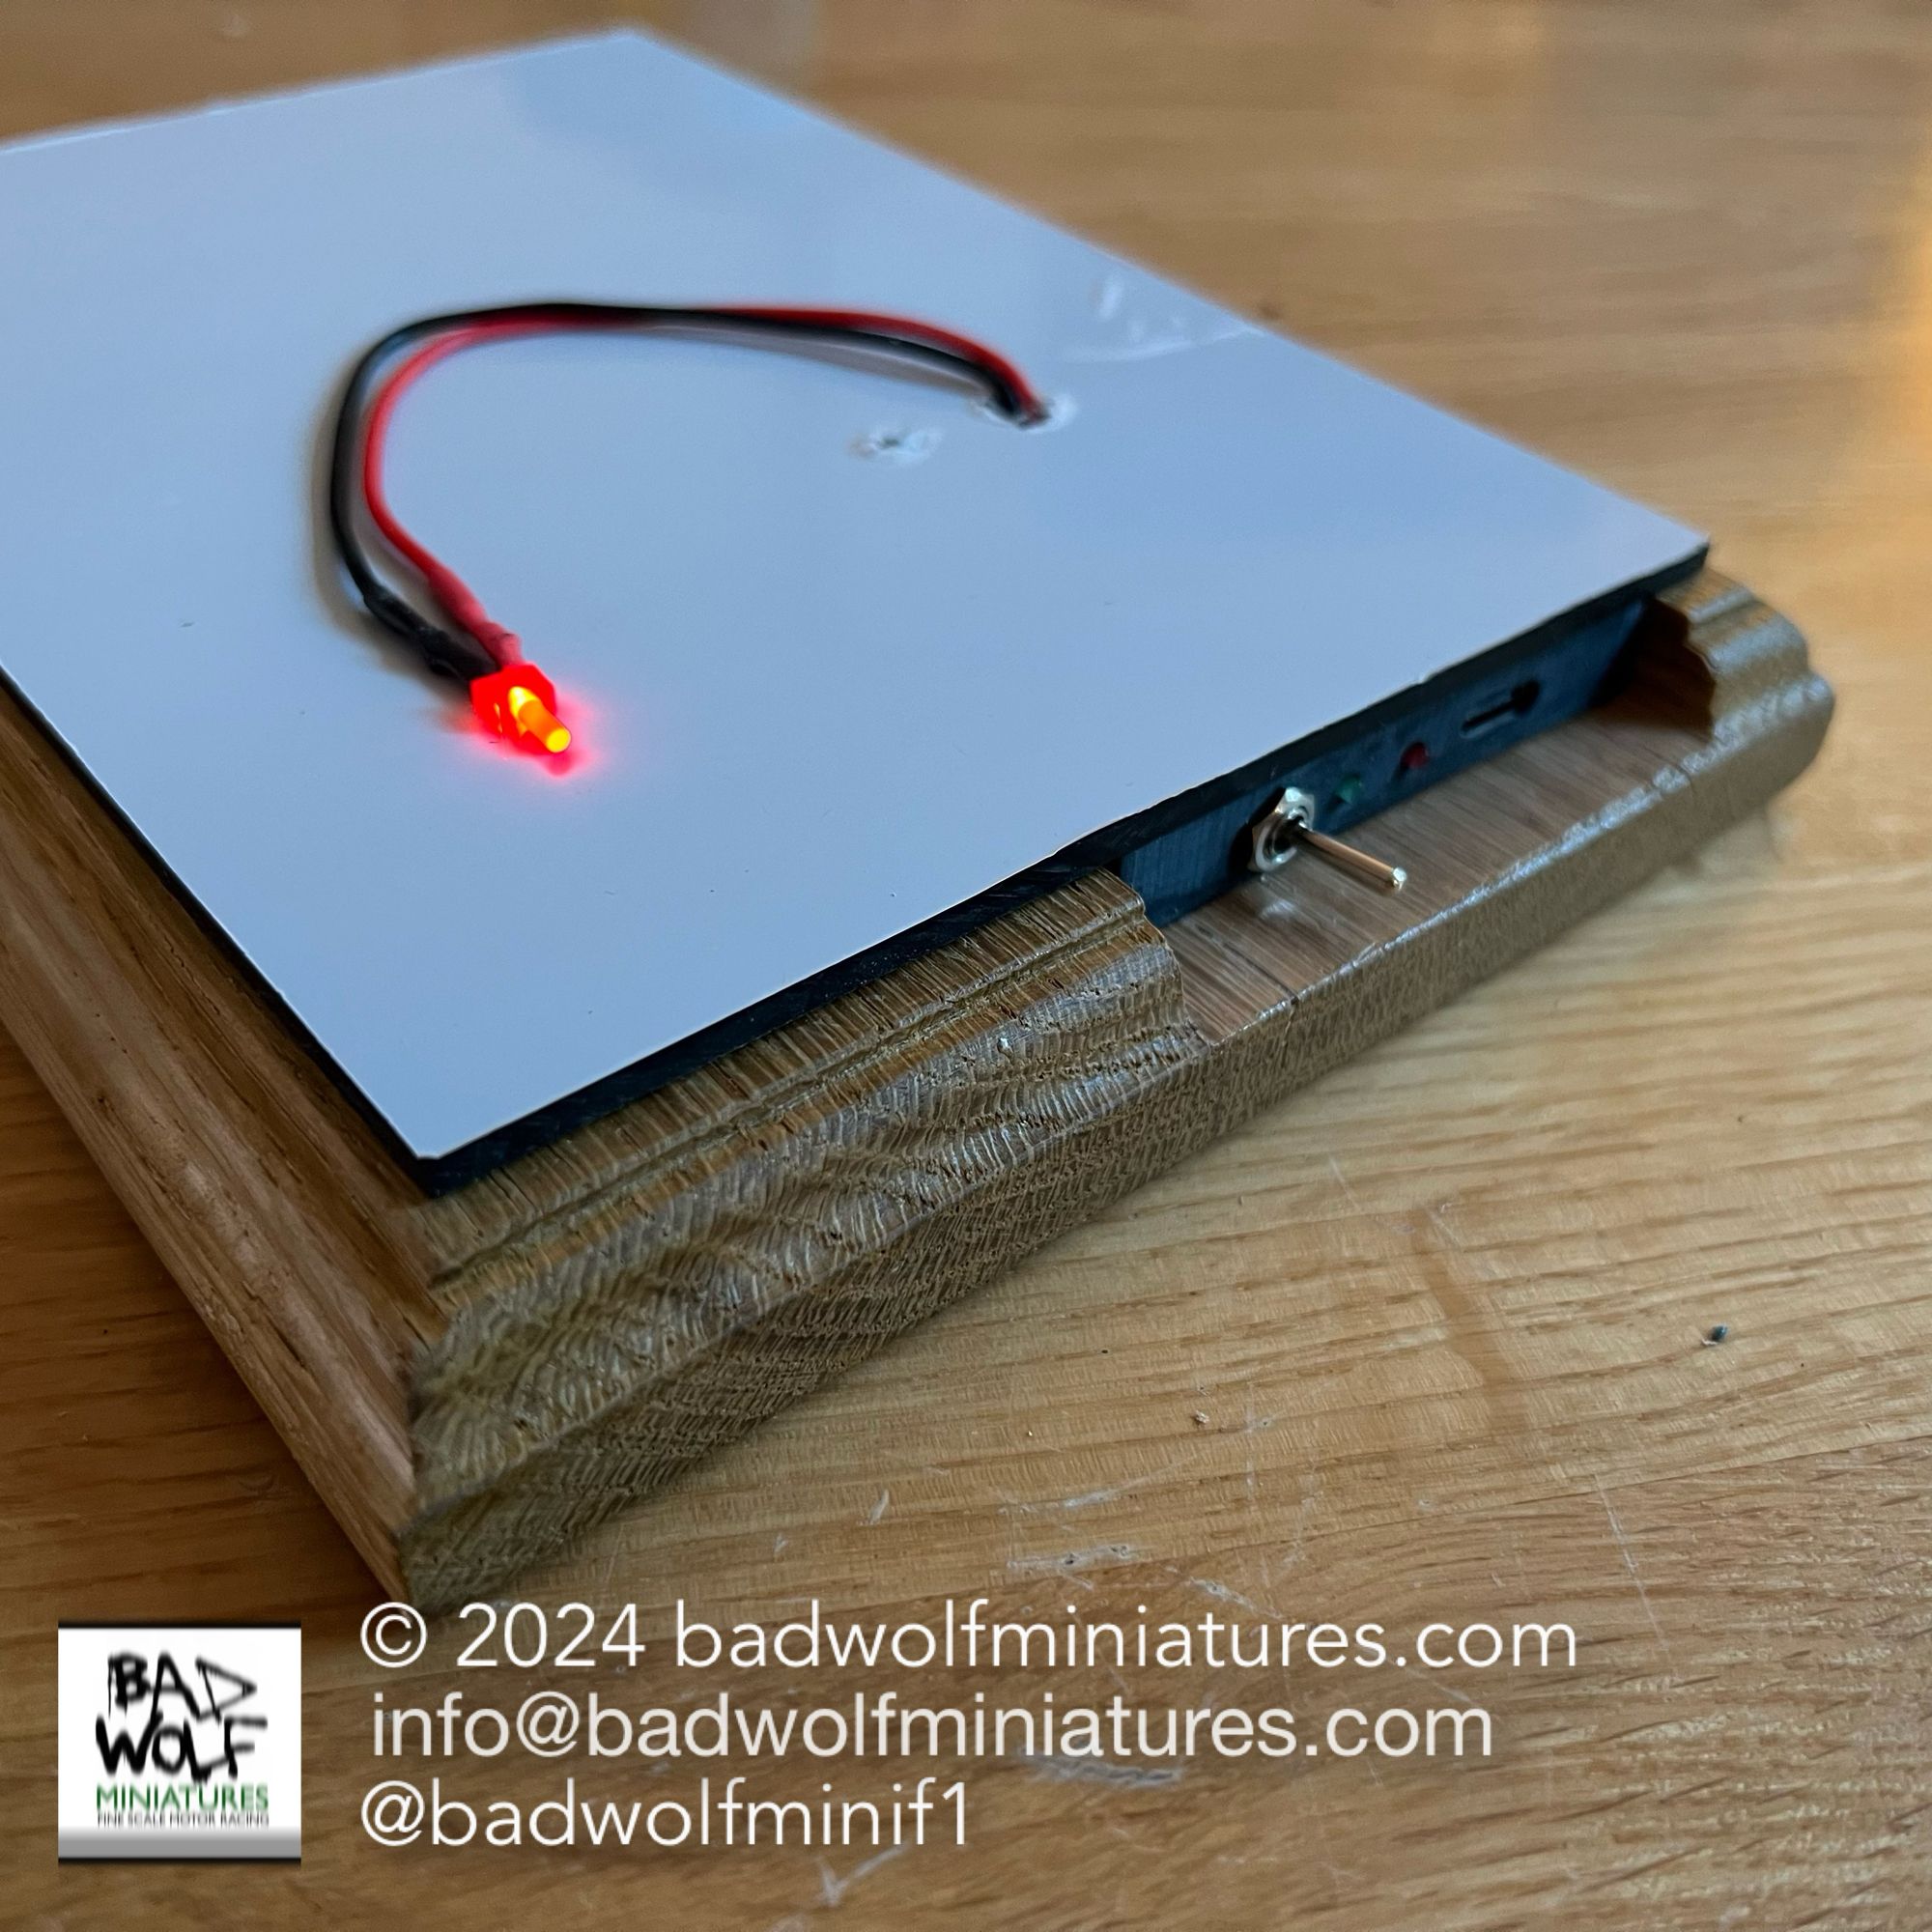
The inner hole was then cut-out using a drill and jigsaw, and the recess for the battery cover chiseled-out by hand. The control panel (which houses the switch, USB charging port and LEDs which confirm that the battery is either charging or fully charged), was designed in TinkerCad (before being 3D-printed), and the recess required in the oak base was cut by hand using a saw, and then chiseled and sanded to give an acceptable finish.
With the hardware installed, I then turned my attention to adding the road surface itself, which was created from some Javis Scenics cork which was glued to the acrylic base using some Gorilla Glue. Once this was dried, I used the wonderful Asphalt diorama paint from AK Interactive to simulate the tarmac before then adding some road markings using my airbrush. The section to the side of the road was painted using some “Muddy Ground” (again from AK Interactive”), before some static grass was added. I decided that I wanted some Armco barrier to the side of the track, and I designed a specific piece in Blender (based on the “square edged” design that I had seen in reference photographs from the Le Mans circuit). This was then 3D-printed before being painted. I tried out some chipping techniques on the yellow part of the barrier, using some of my wife’s hairspray which added a more realistic weathered look to the Armco than would’ve otherwise been the case.
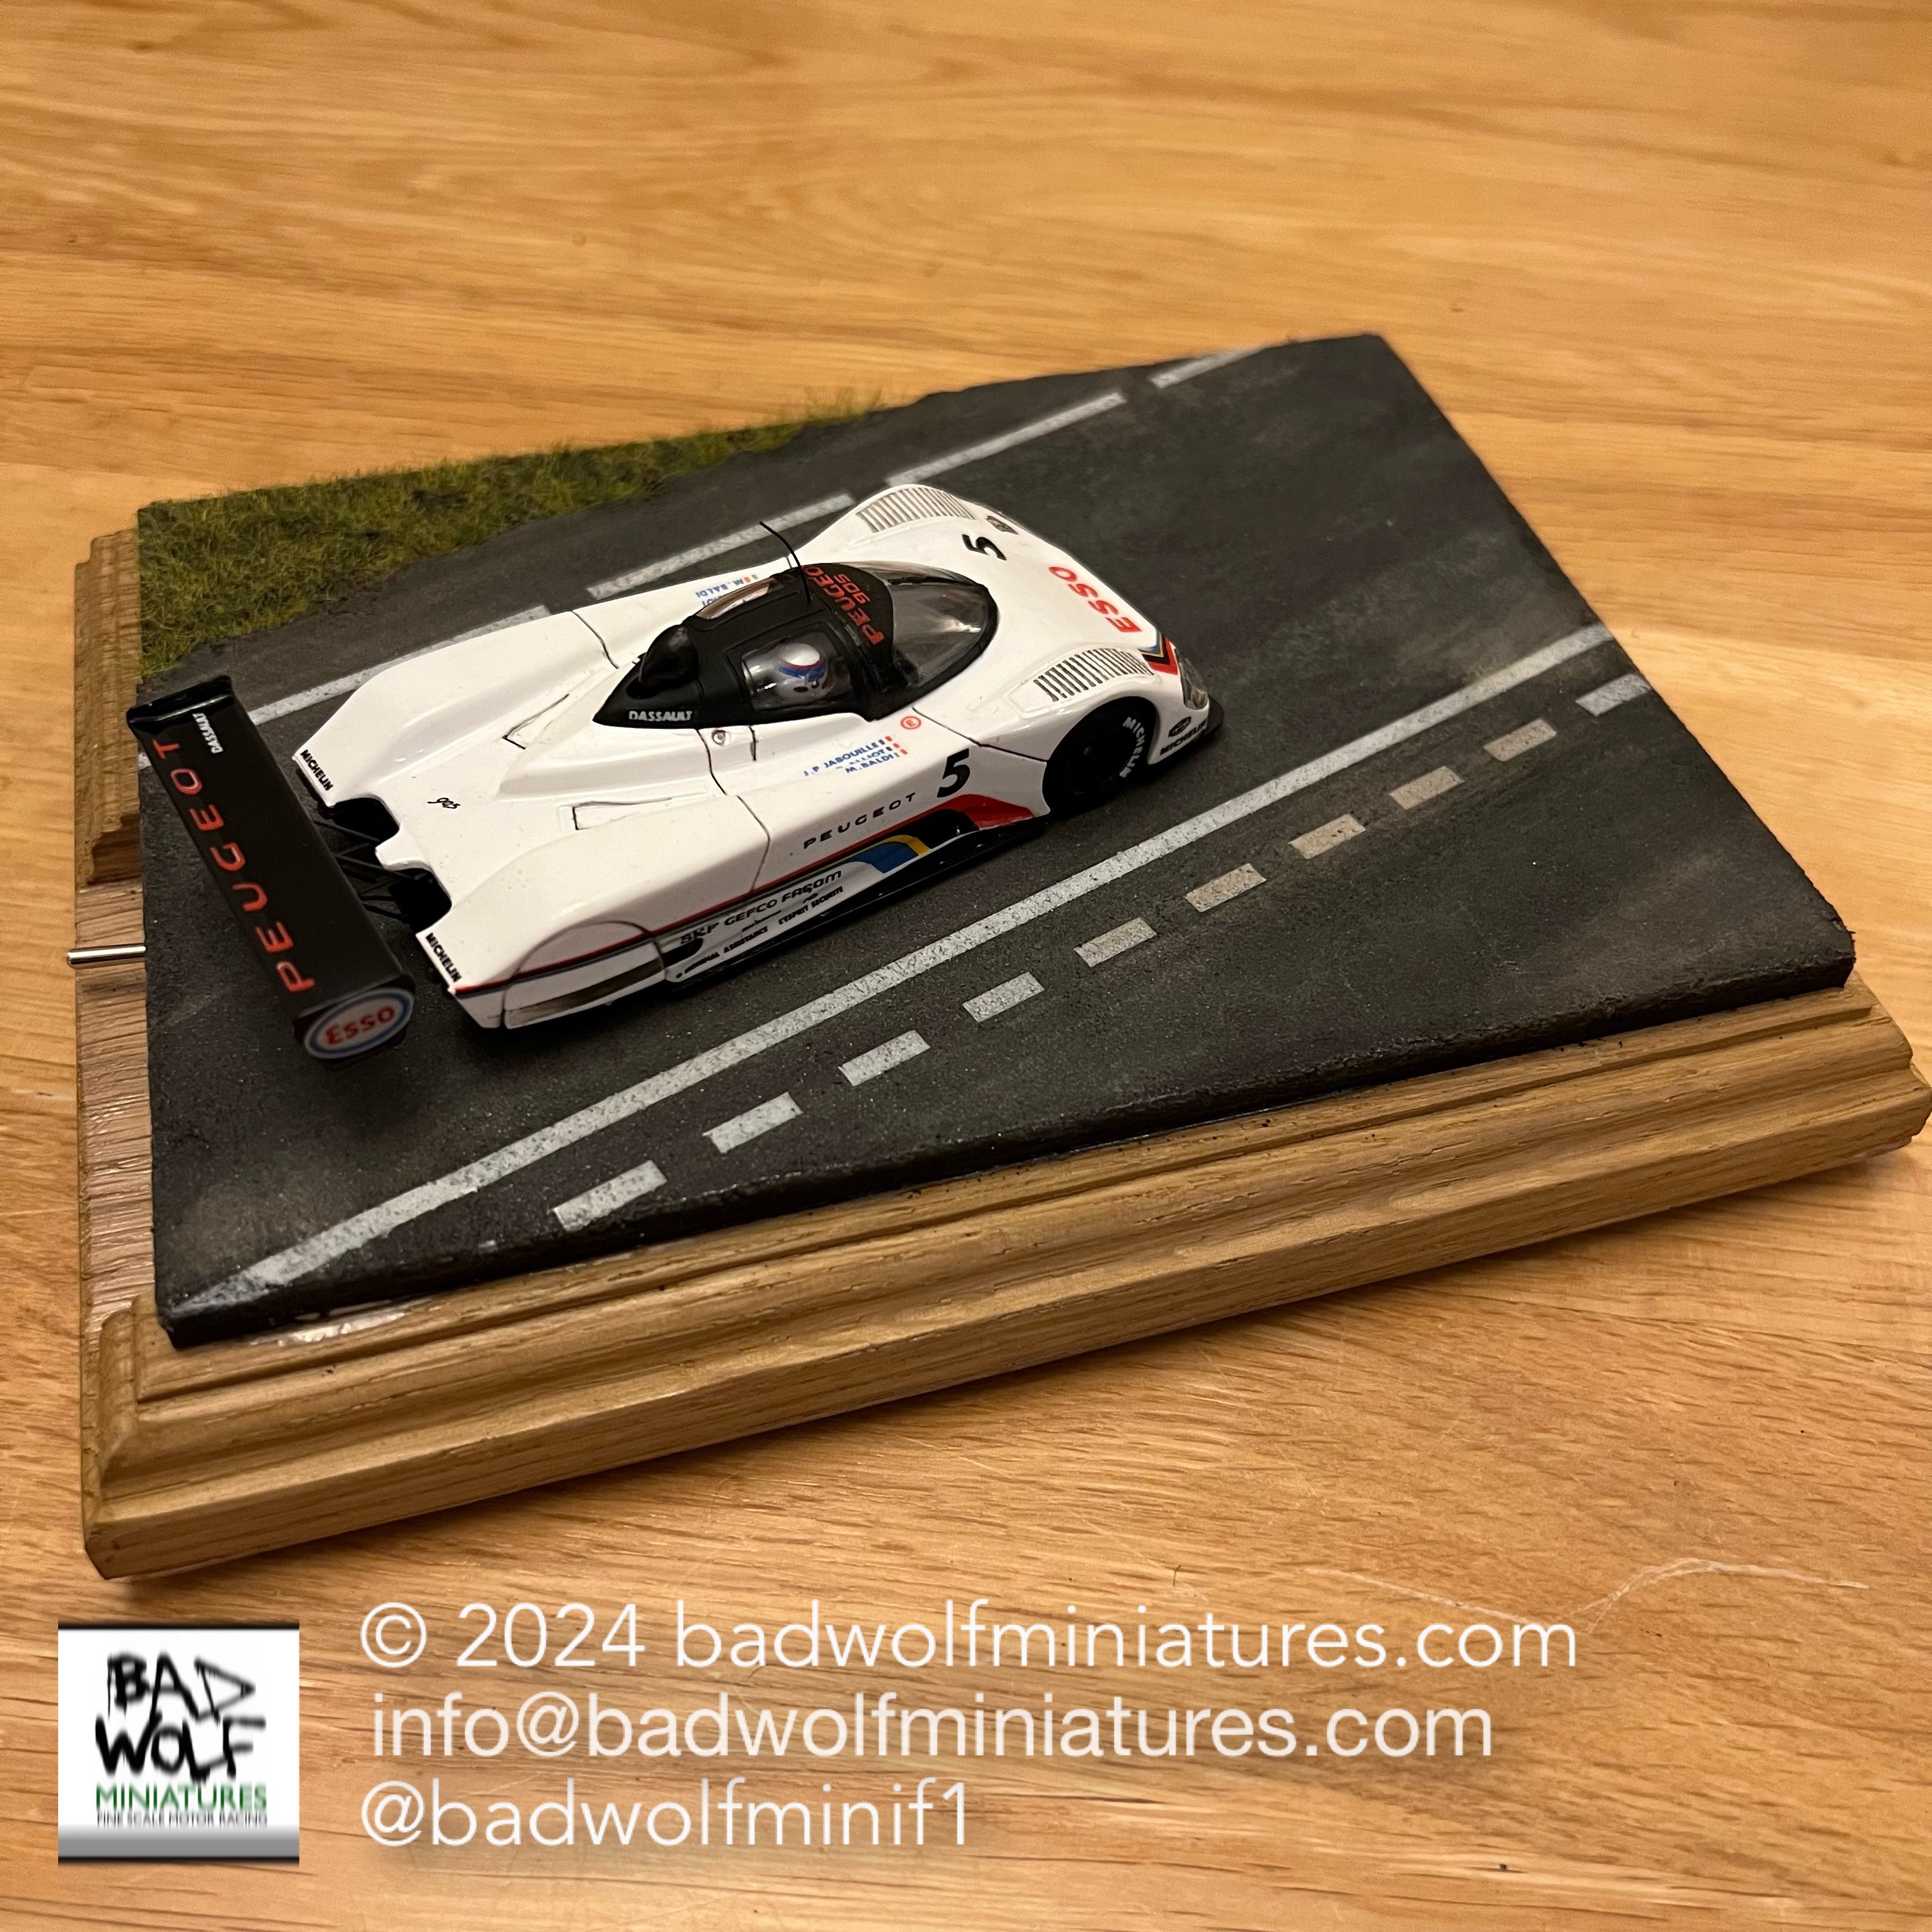
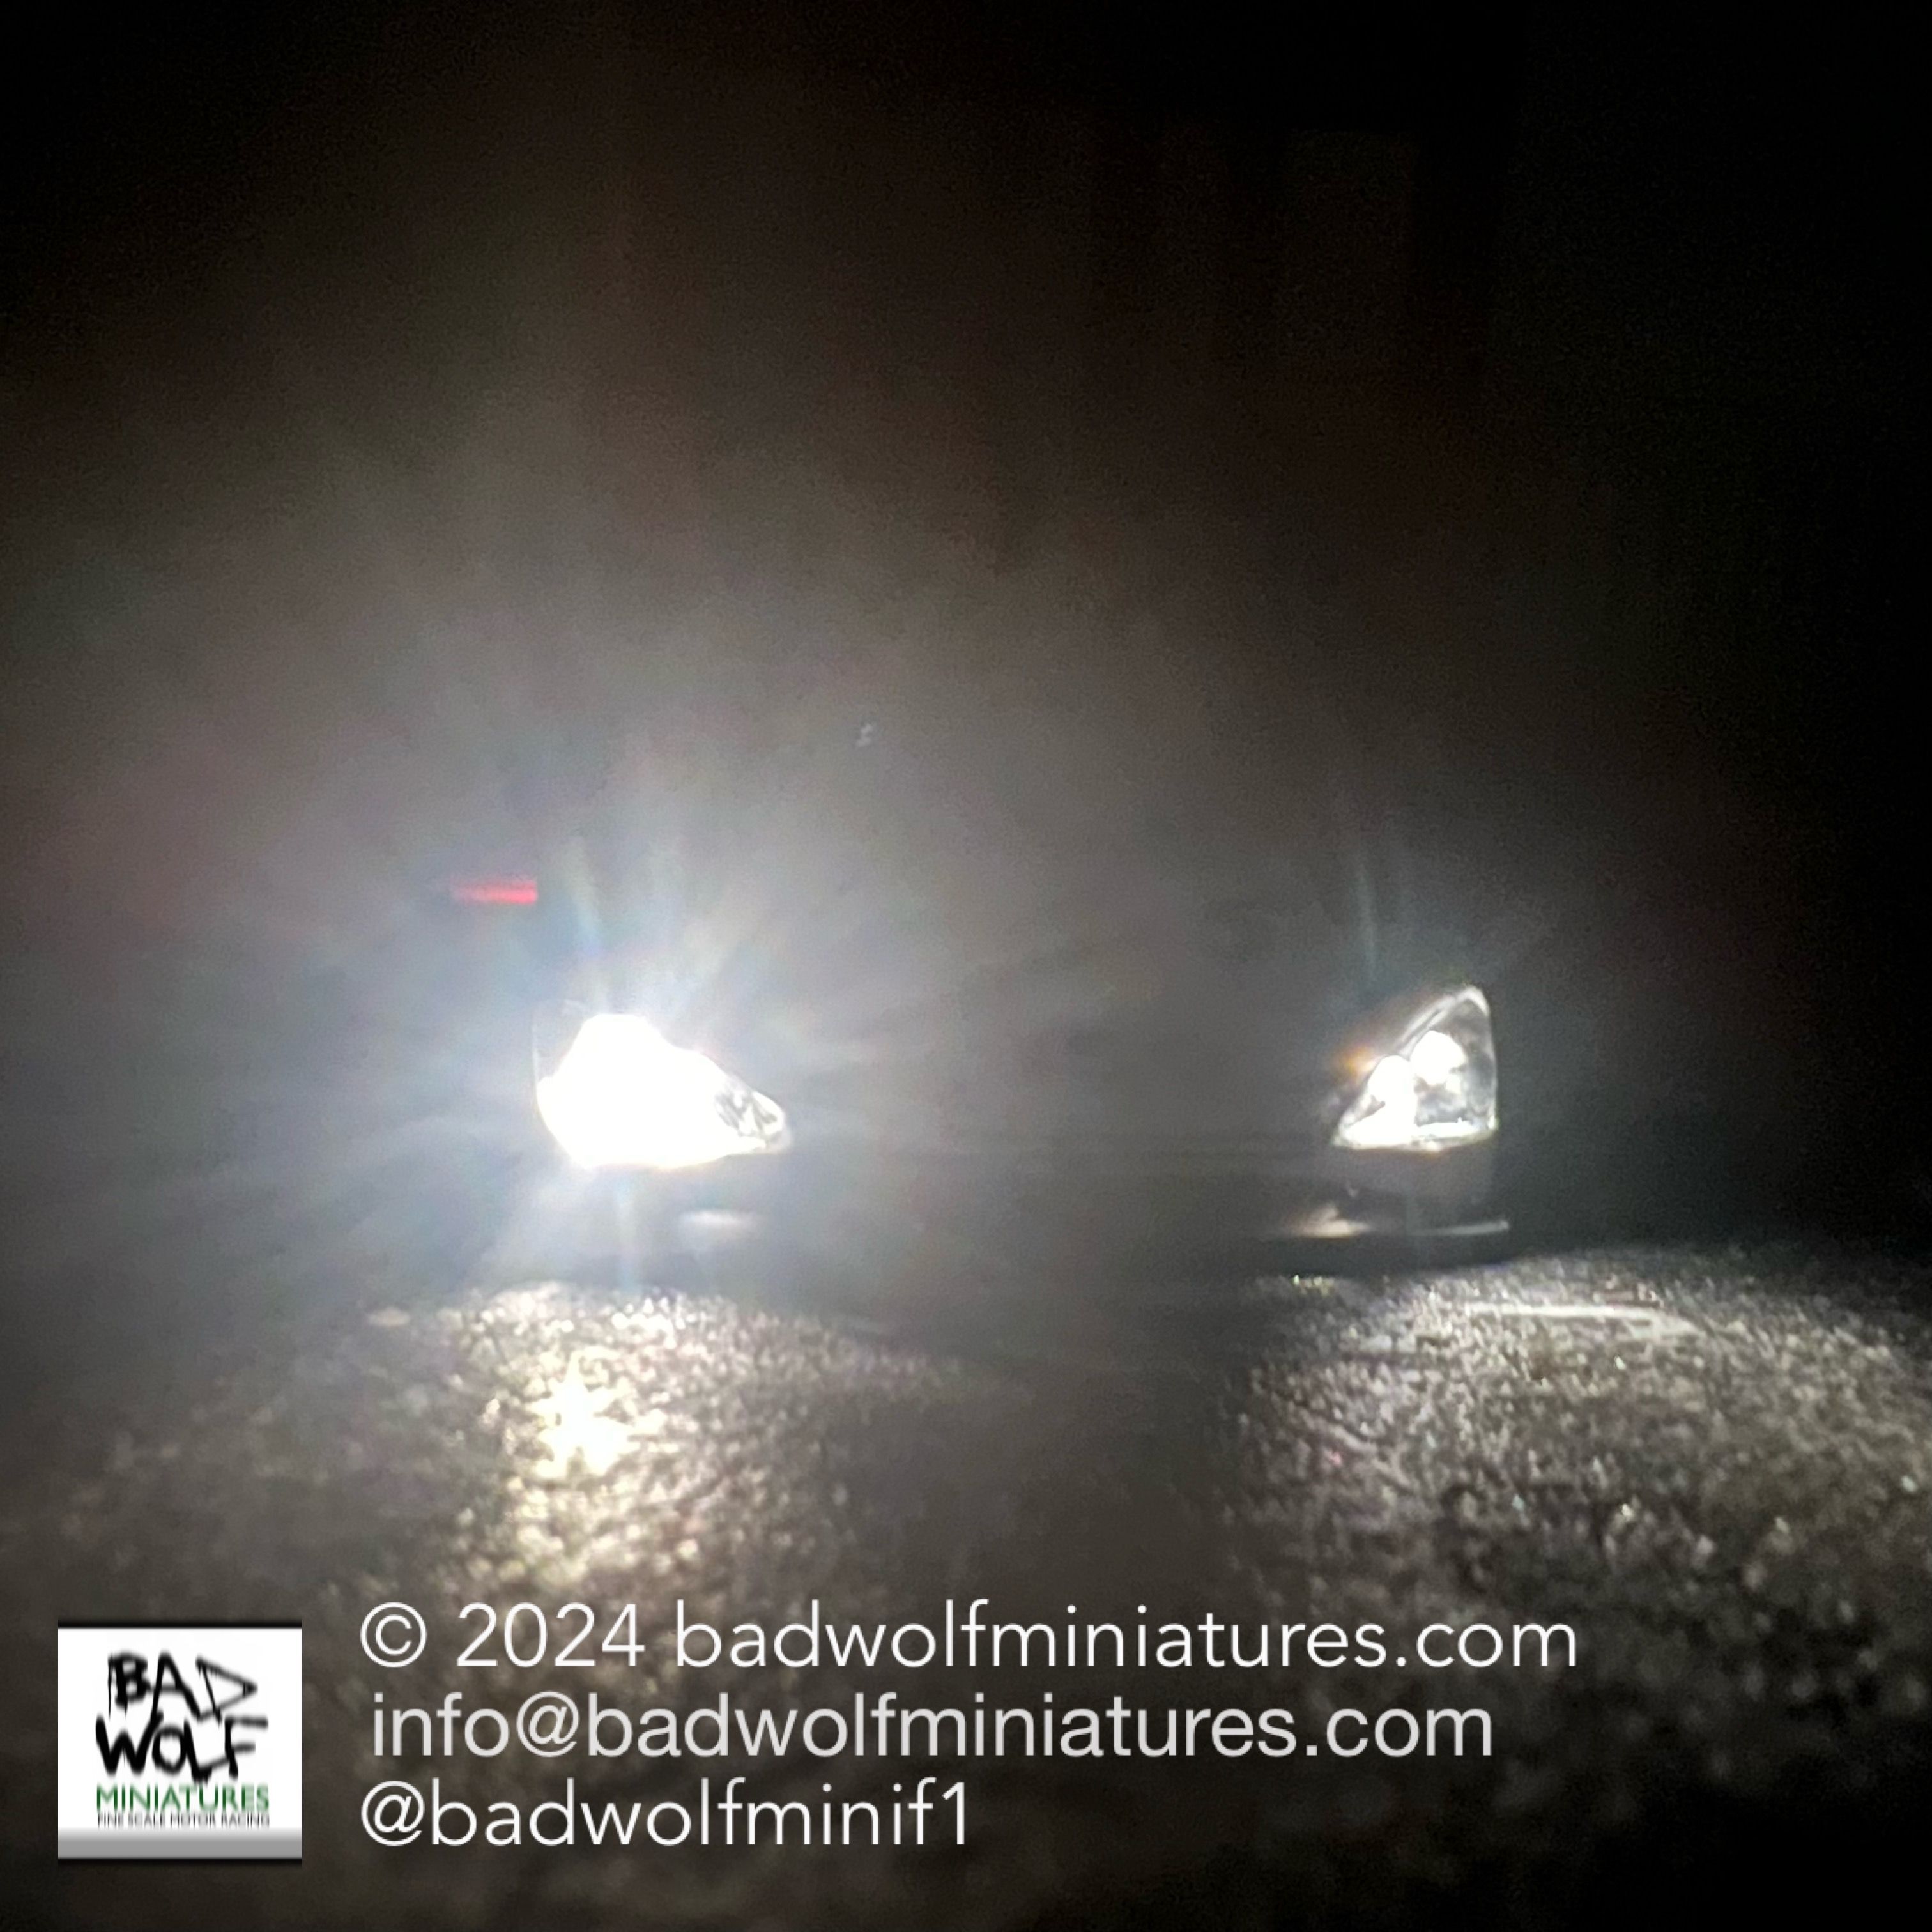
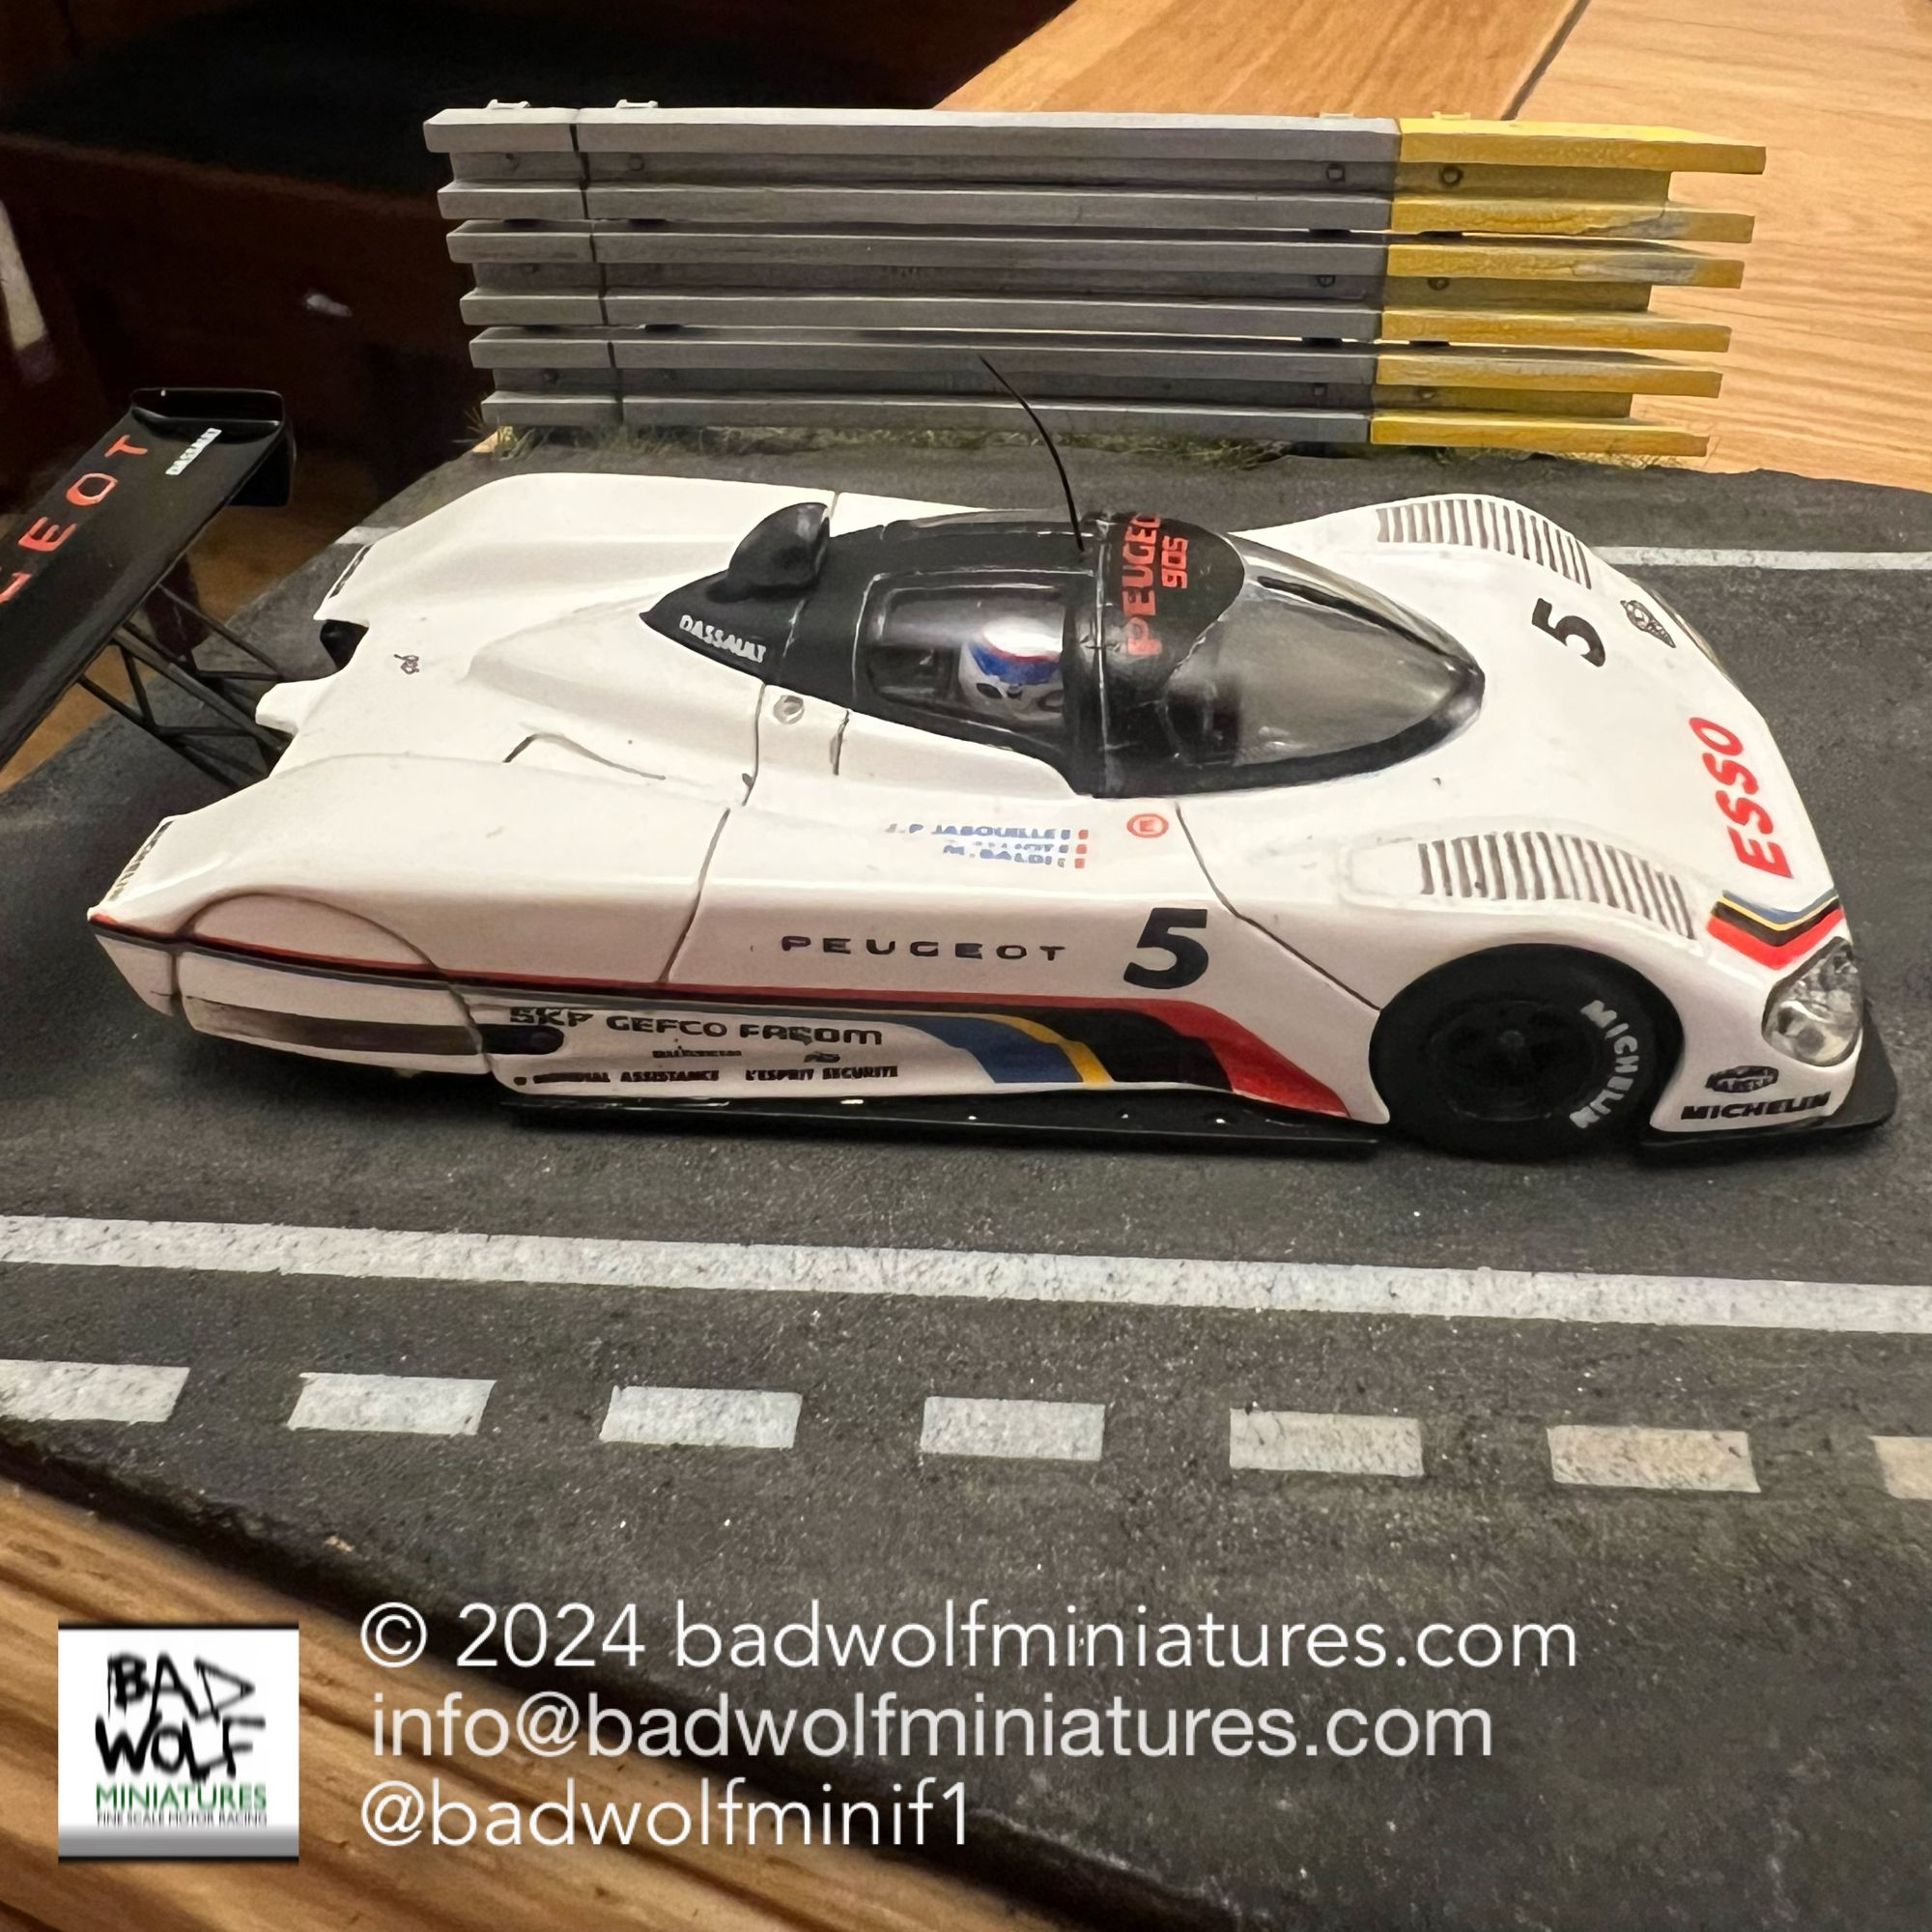
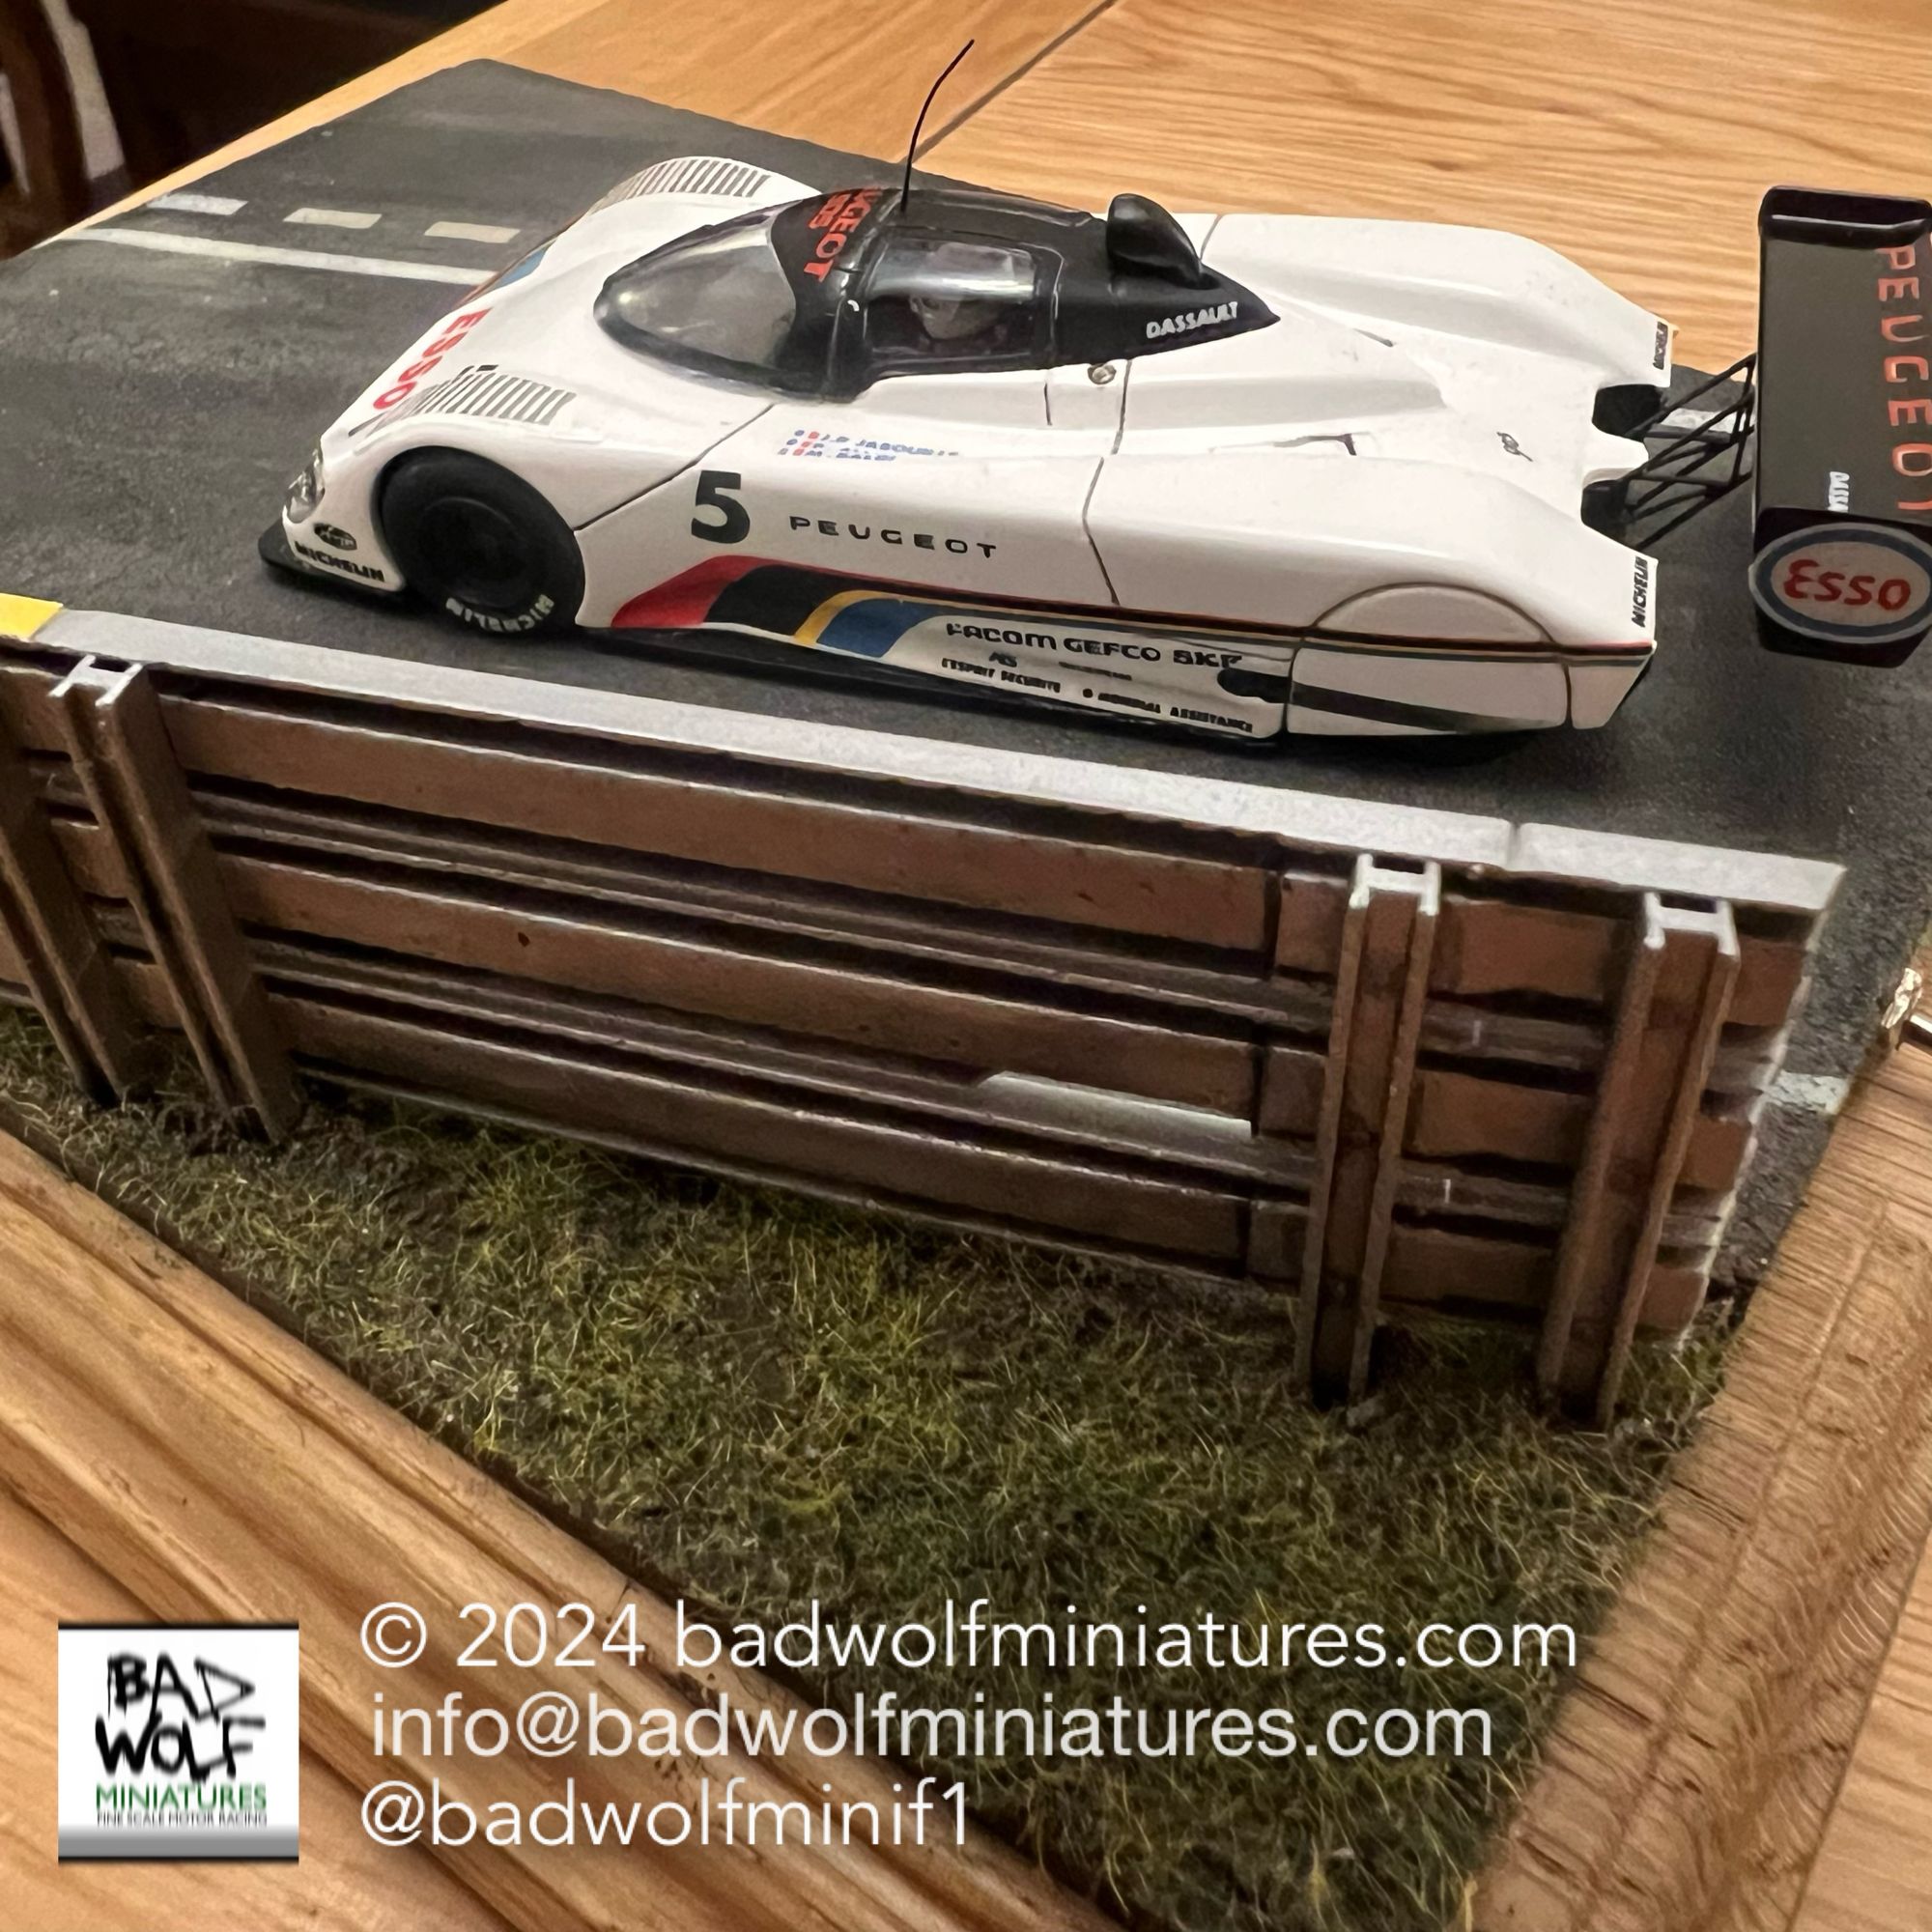
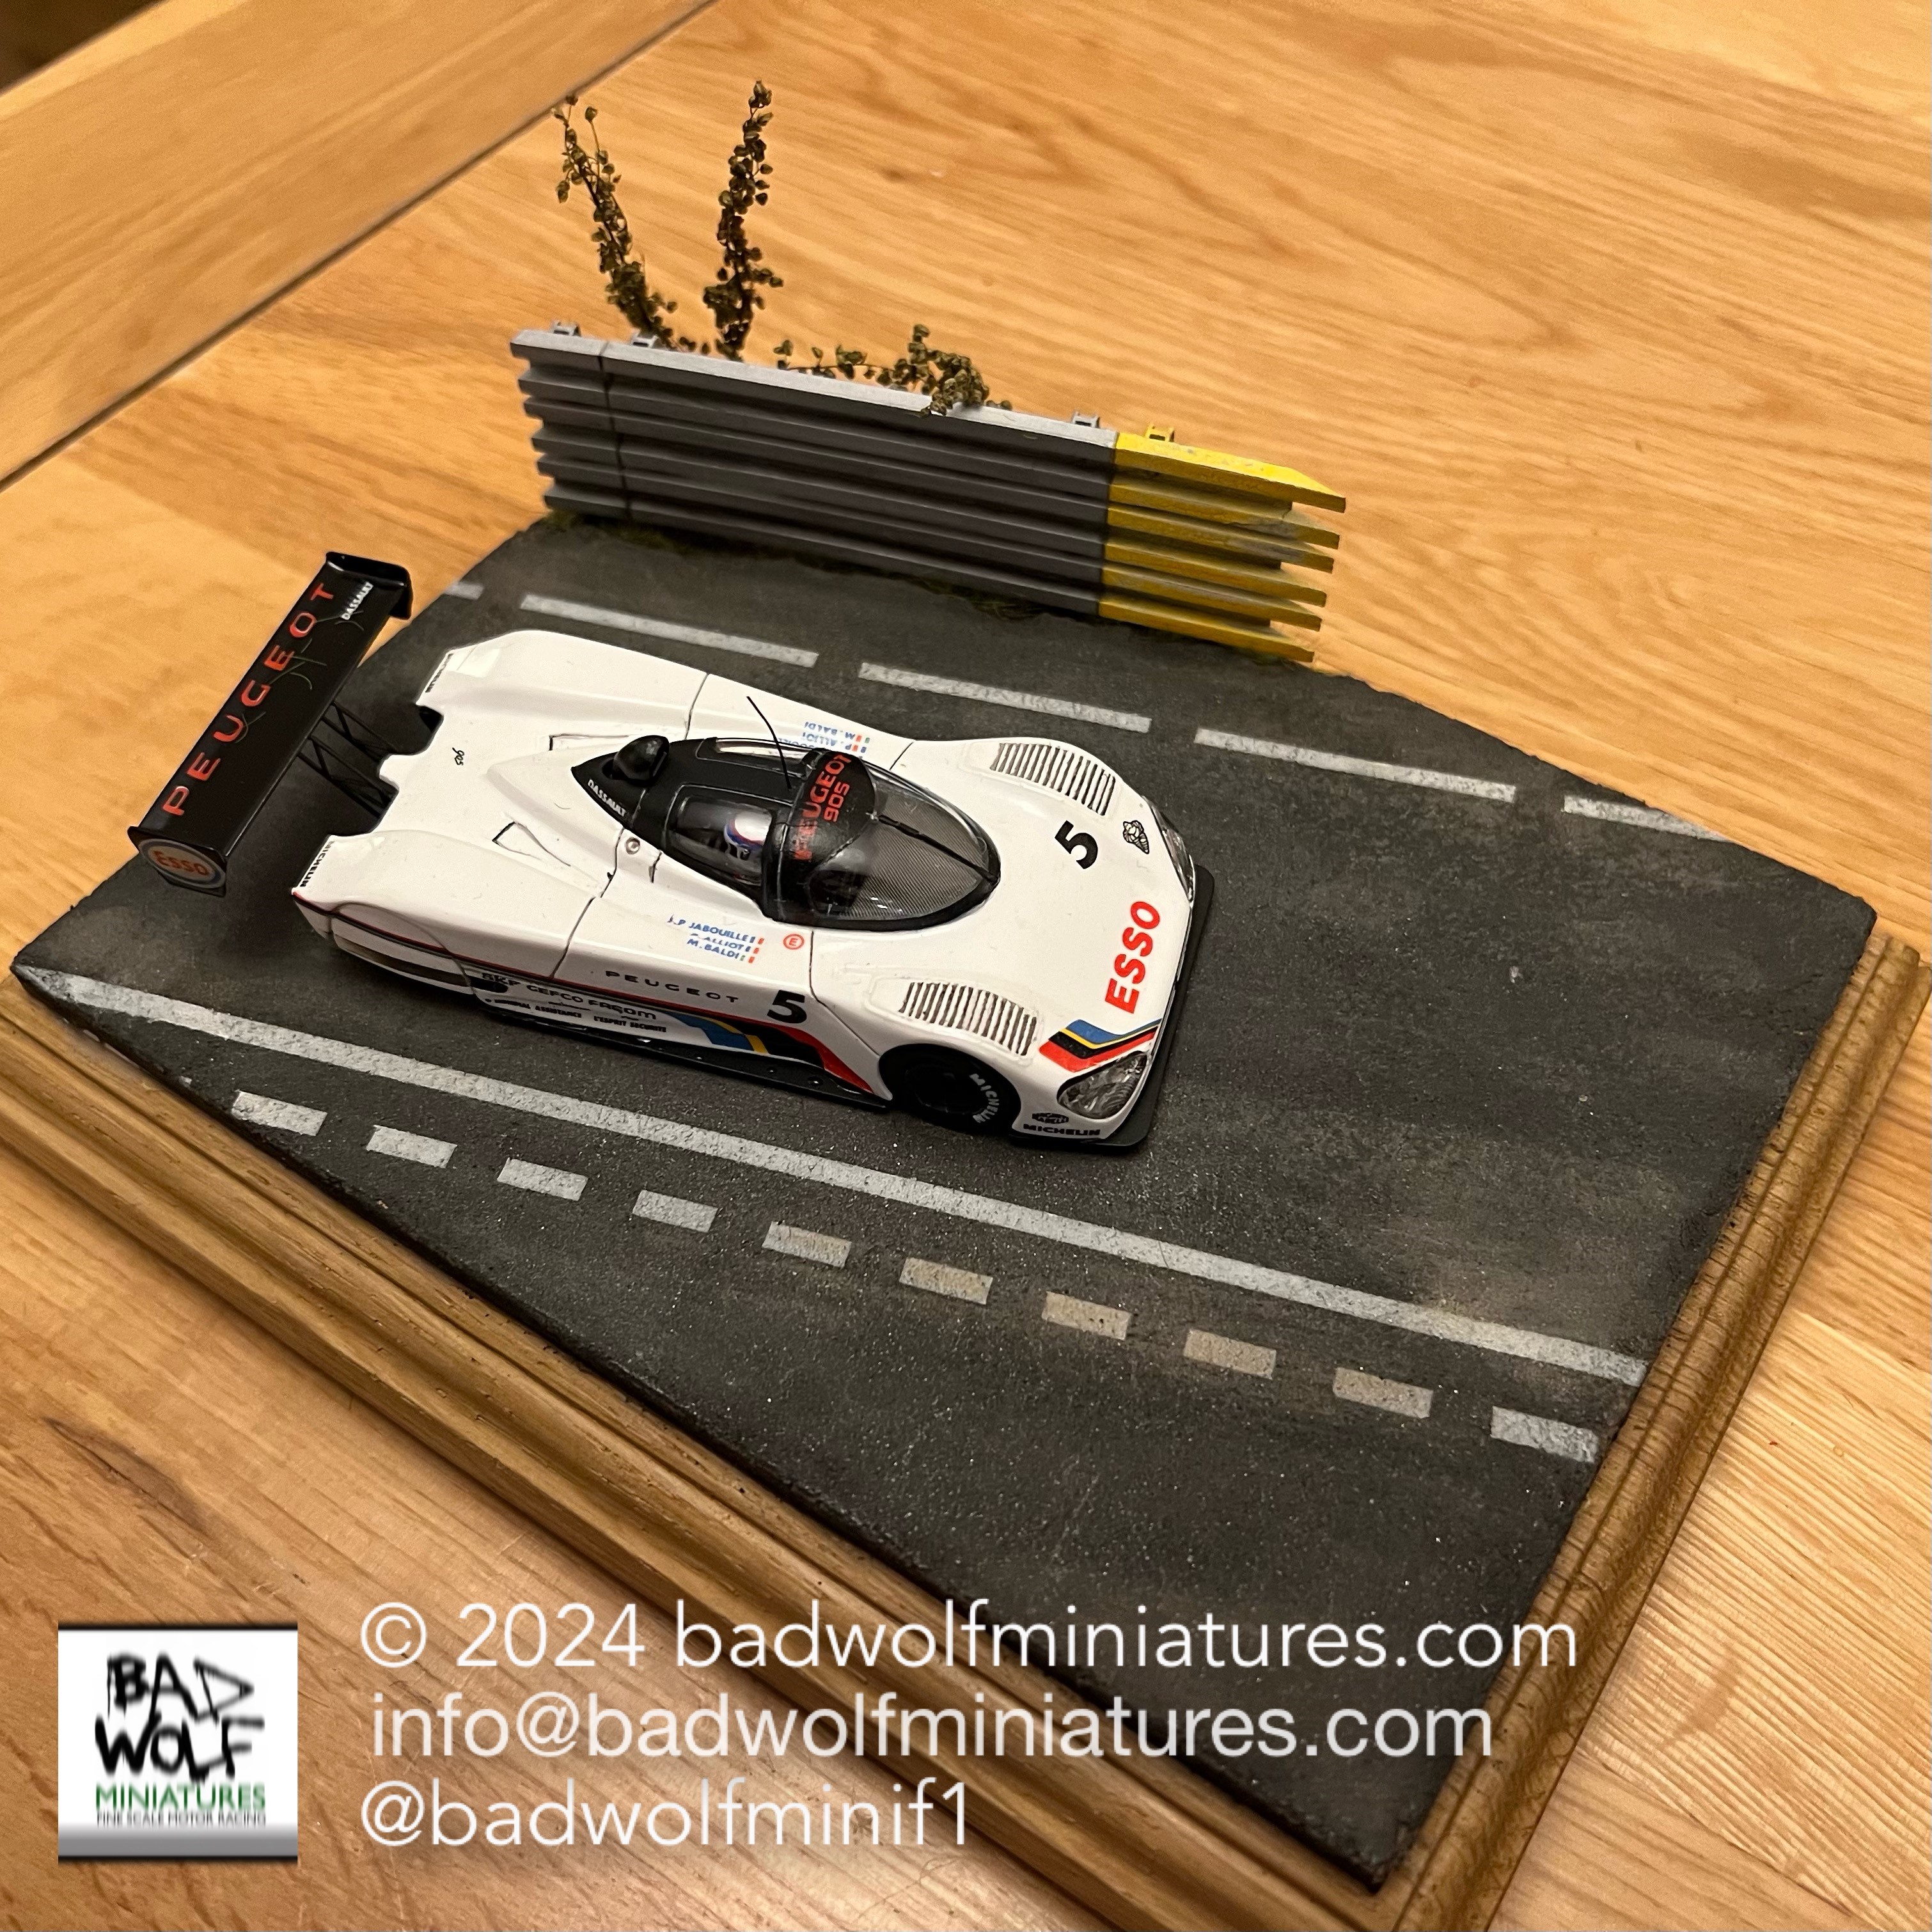
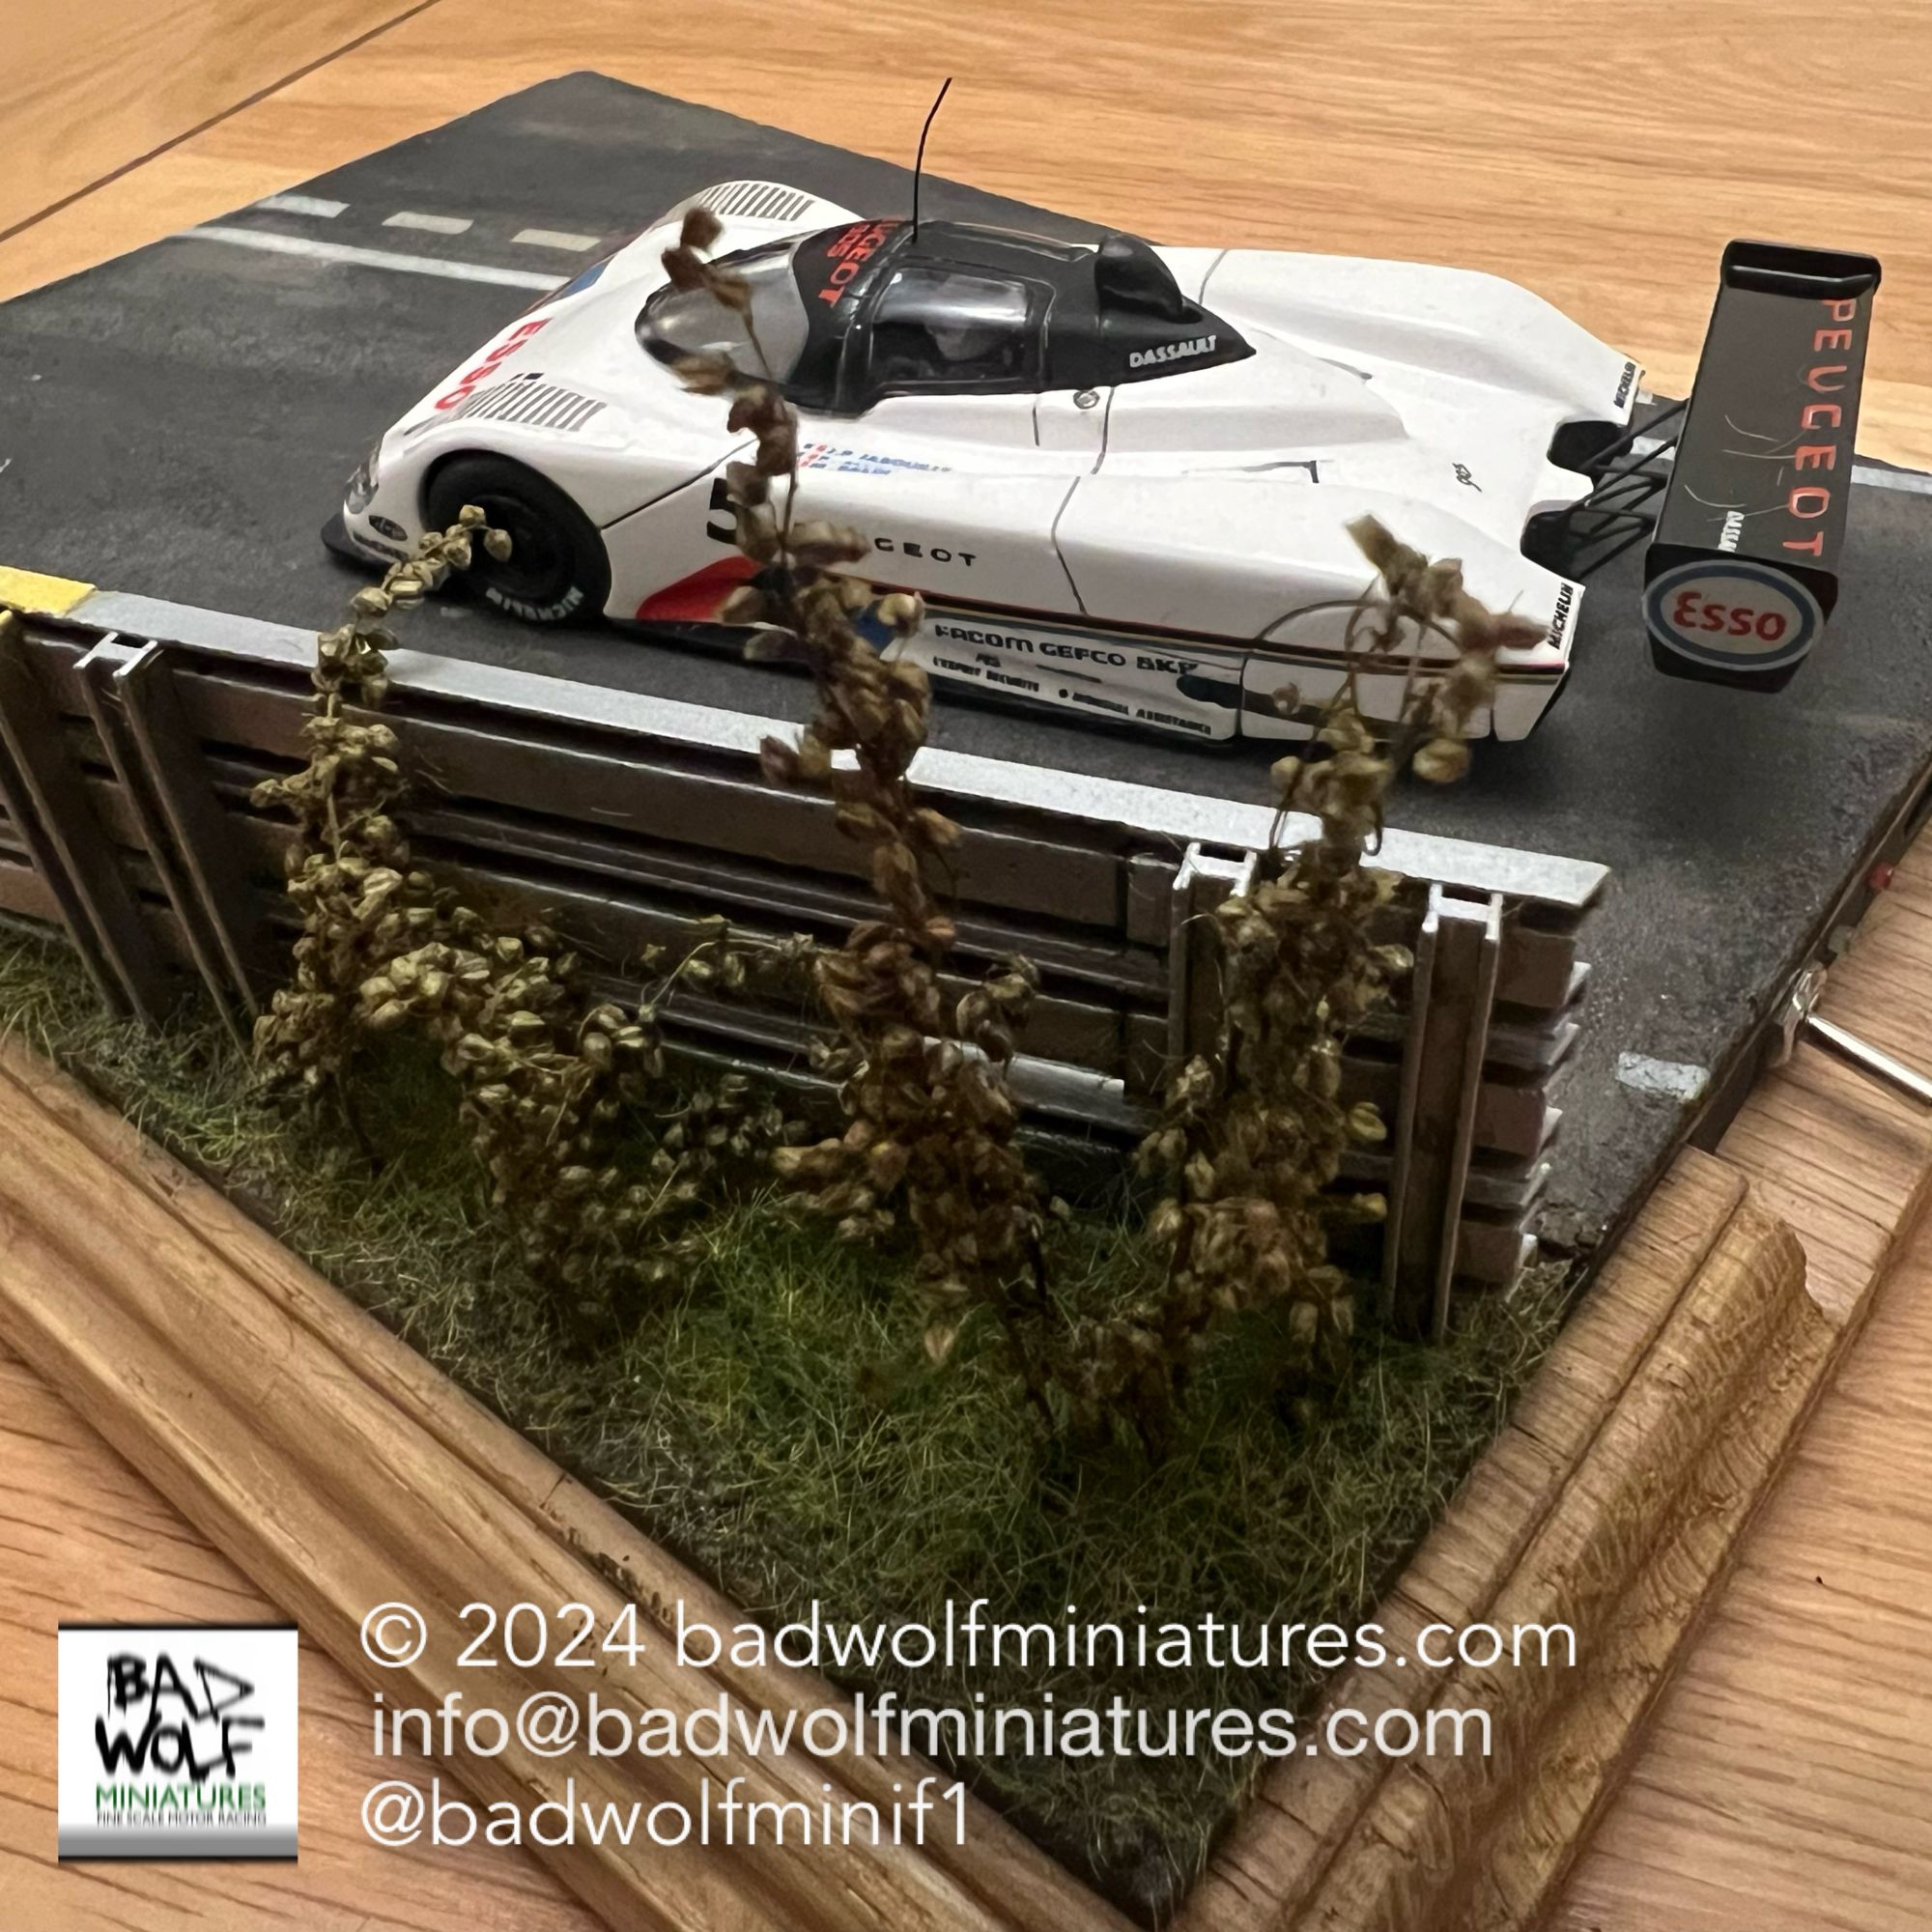
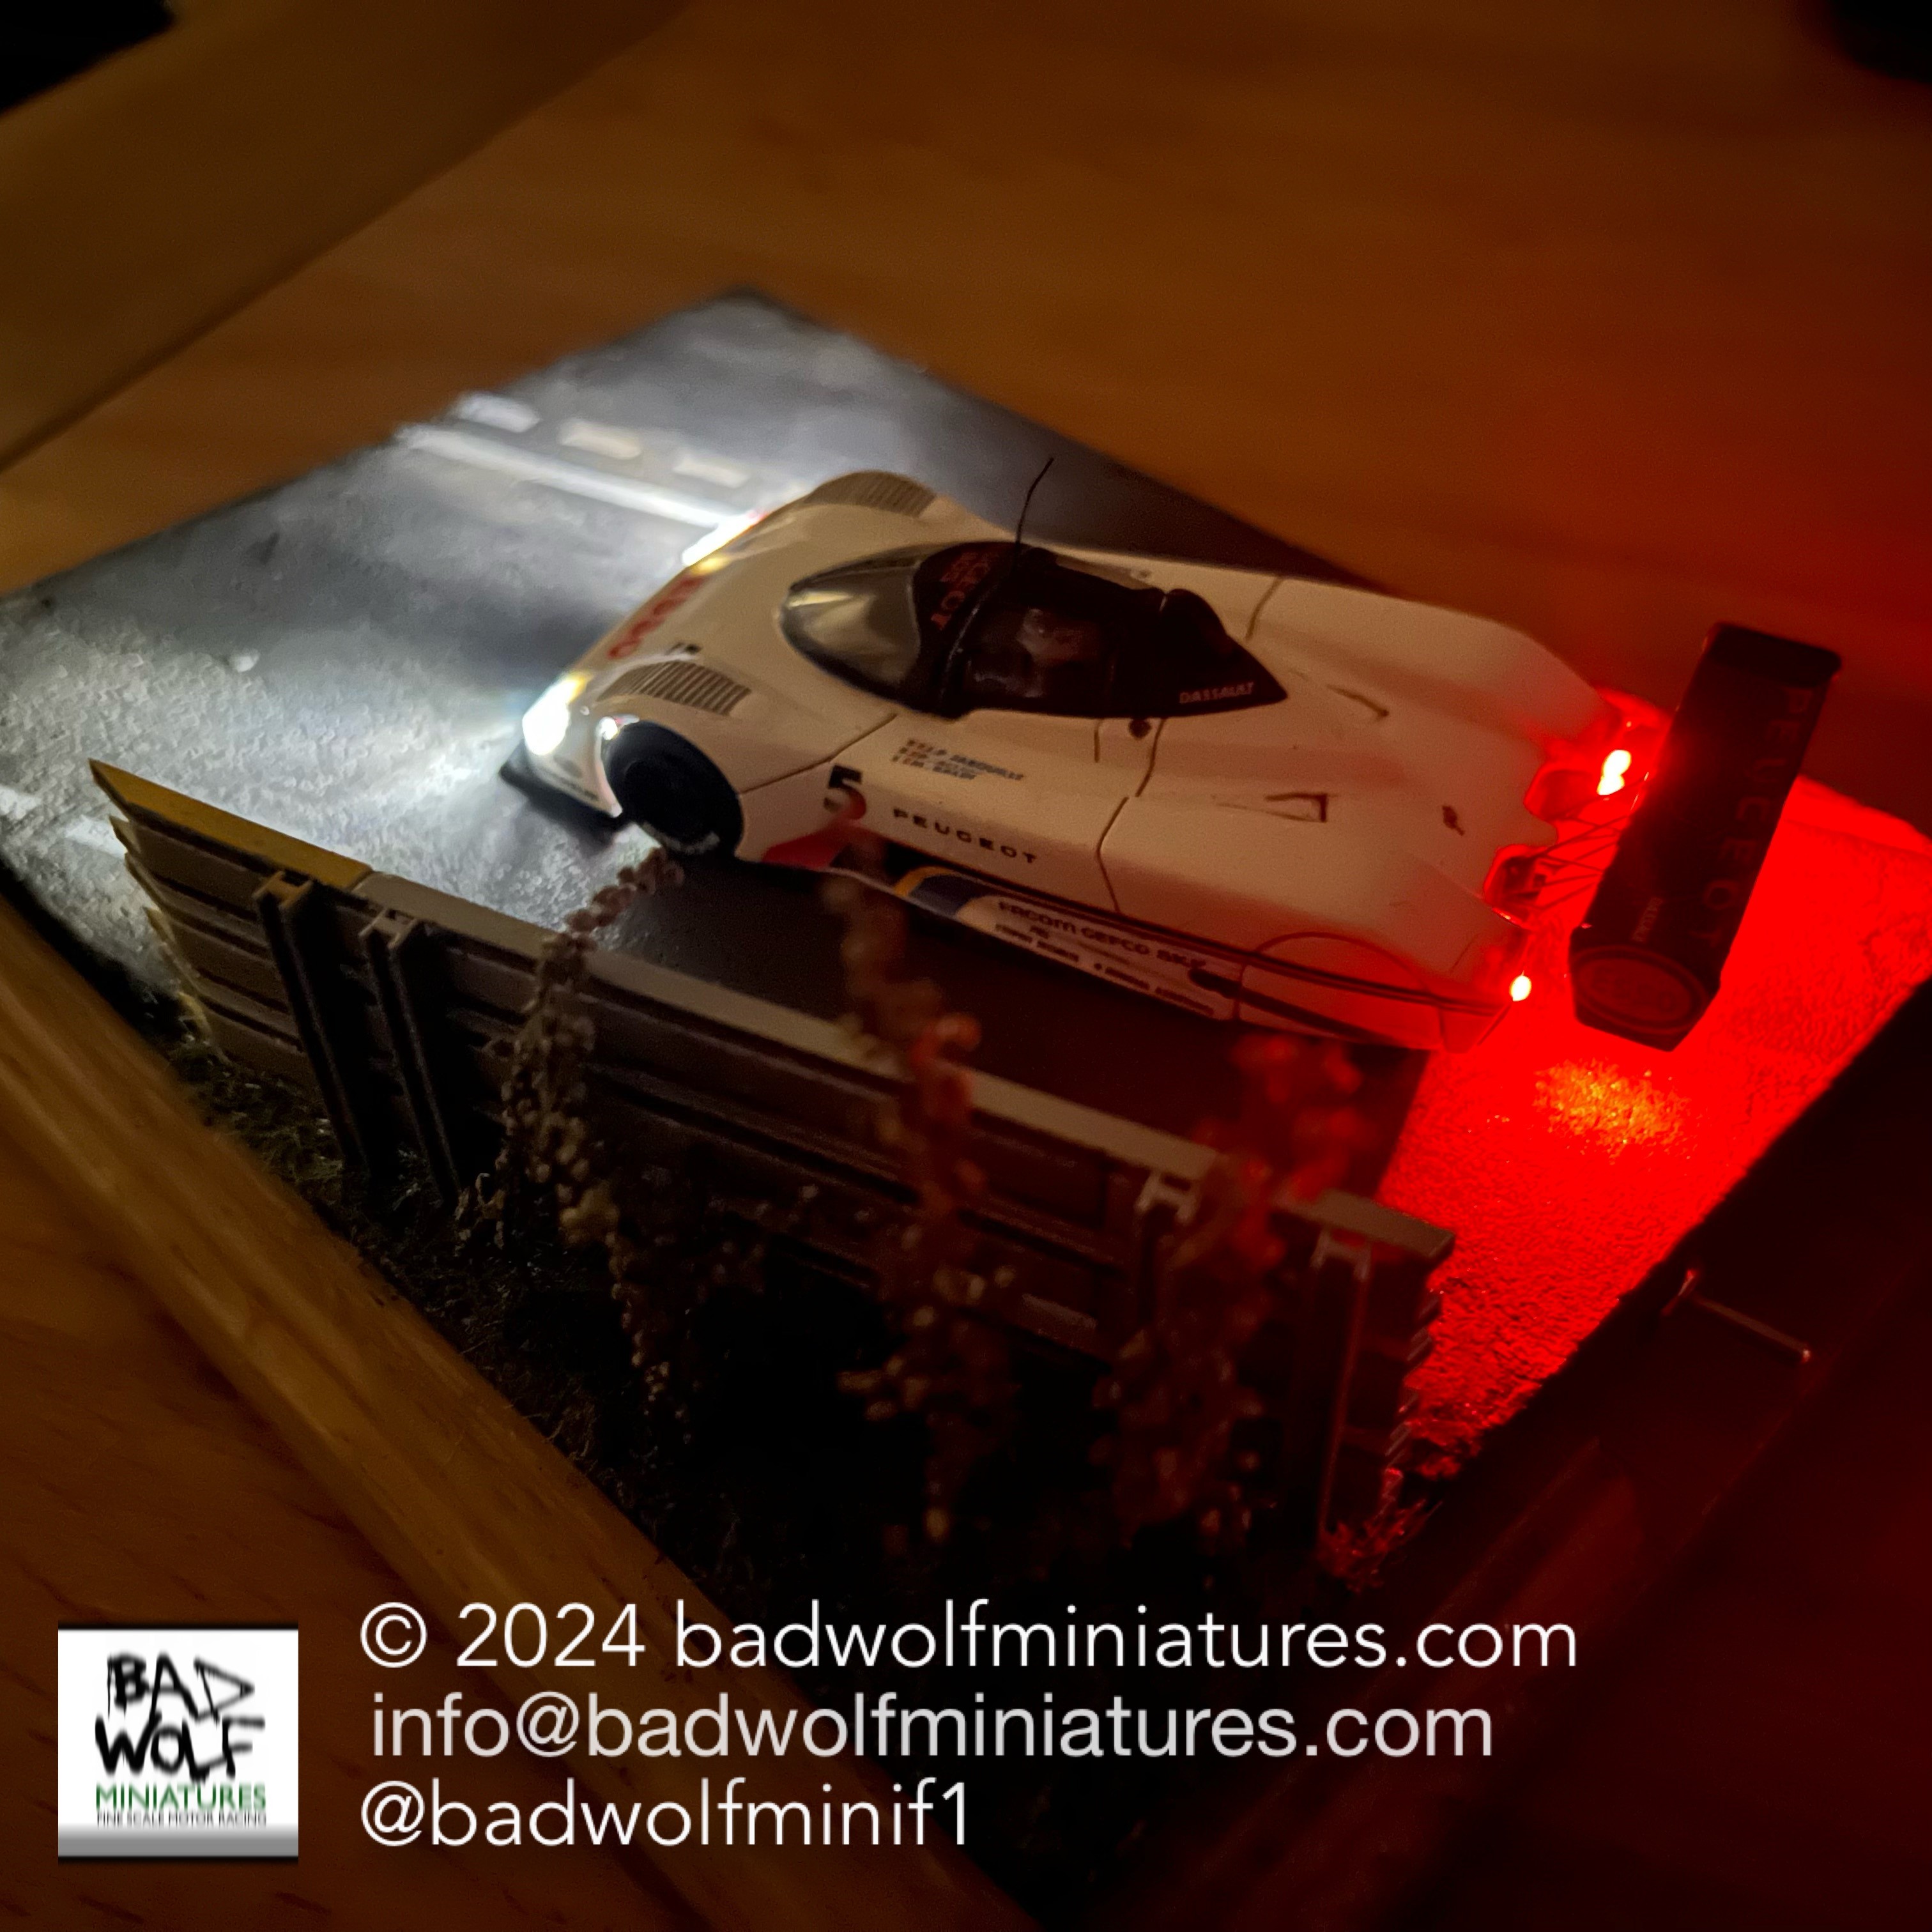
Overall, I really enjoyed this project. The kit was nice and simple, but I was able to add some extra details to keep things interesting. The addition of lights was a nice challenge, and I was really pleased with the way it looks when the lights are turned on. The self-contained nature of the base (including the USB-rechargeable battery) is a really neat solution, and makes charging the battery really easy.
I’ve got a couple of models that I want to concentrate on now, but building this Heller kit has given me some ideas about building a rally diorama, potentially in the snow (which is something that I haven’t done before).
Thank you for reading!