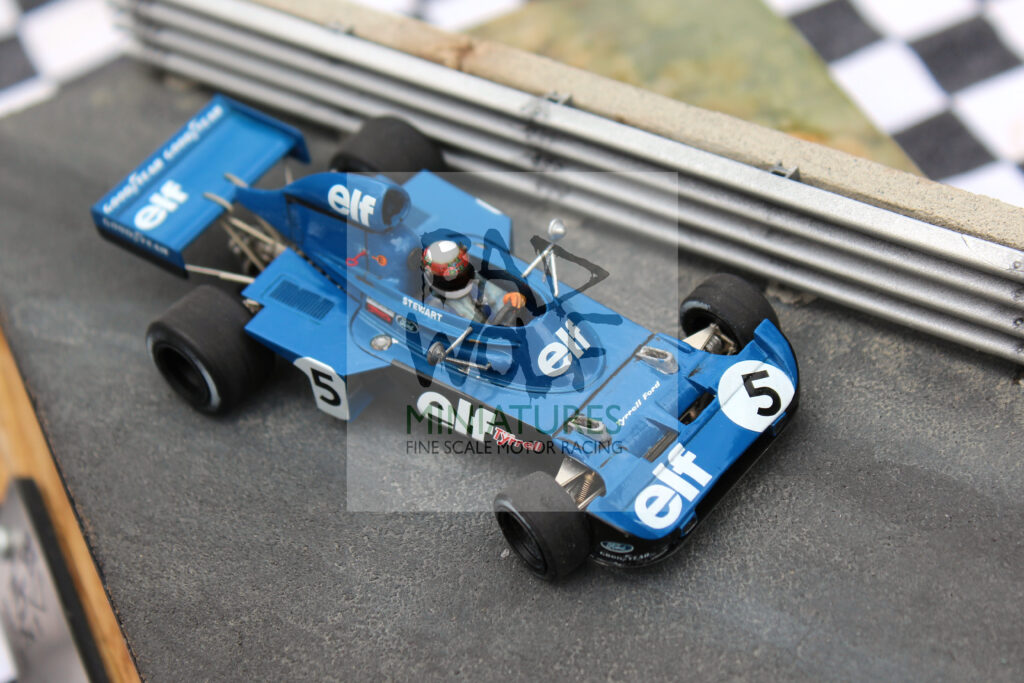
The Flying Scot – How I Built It…
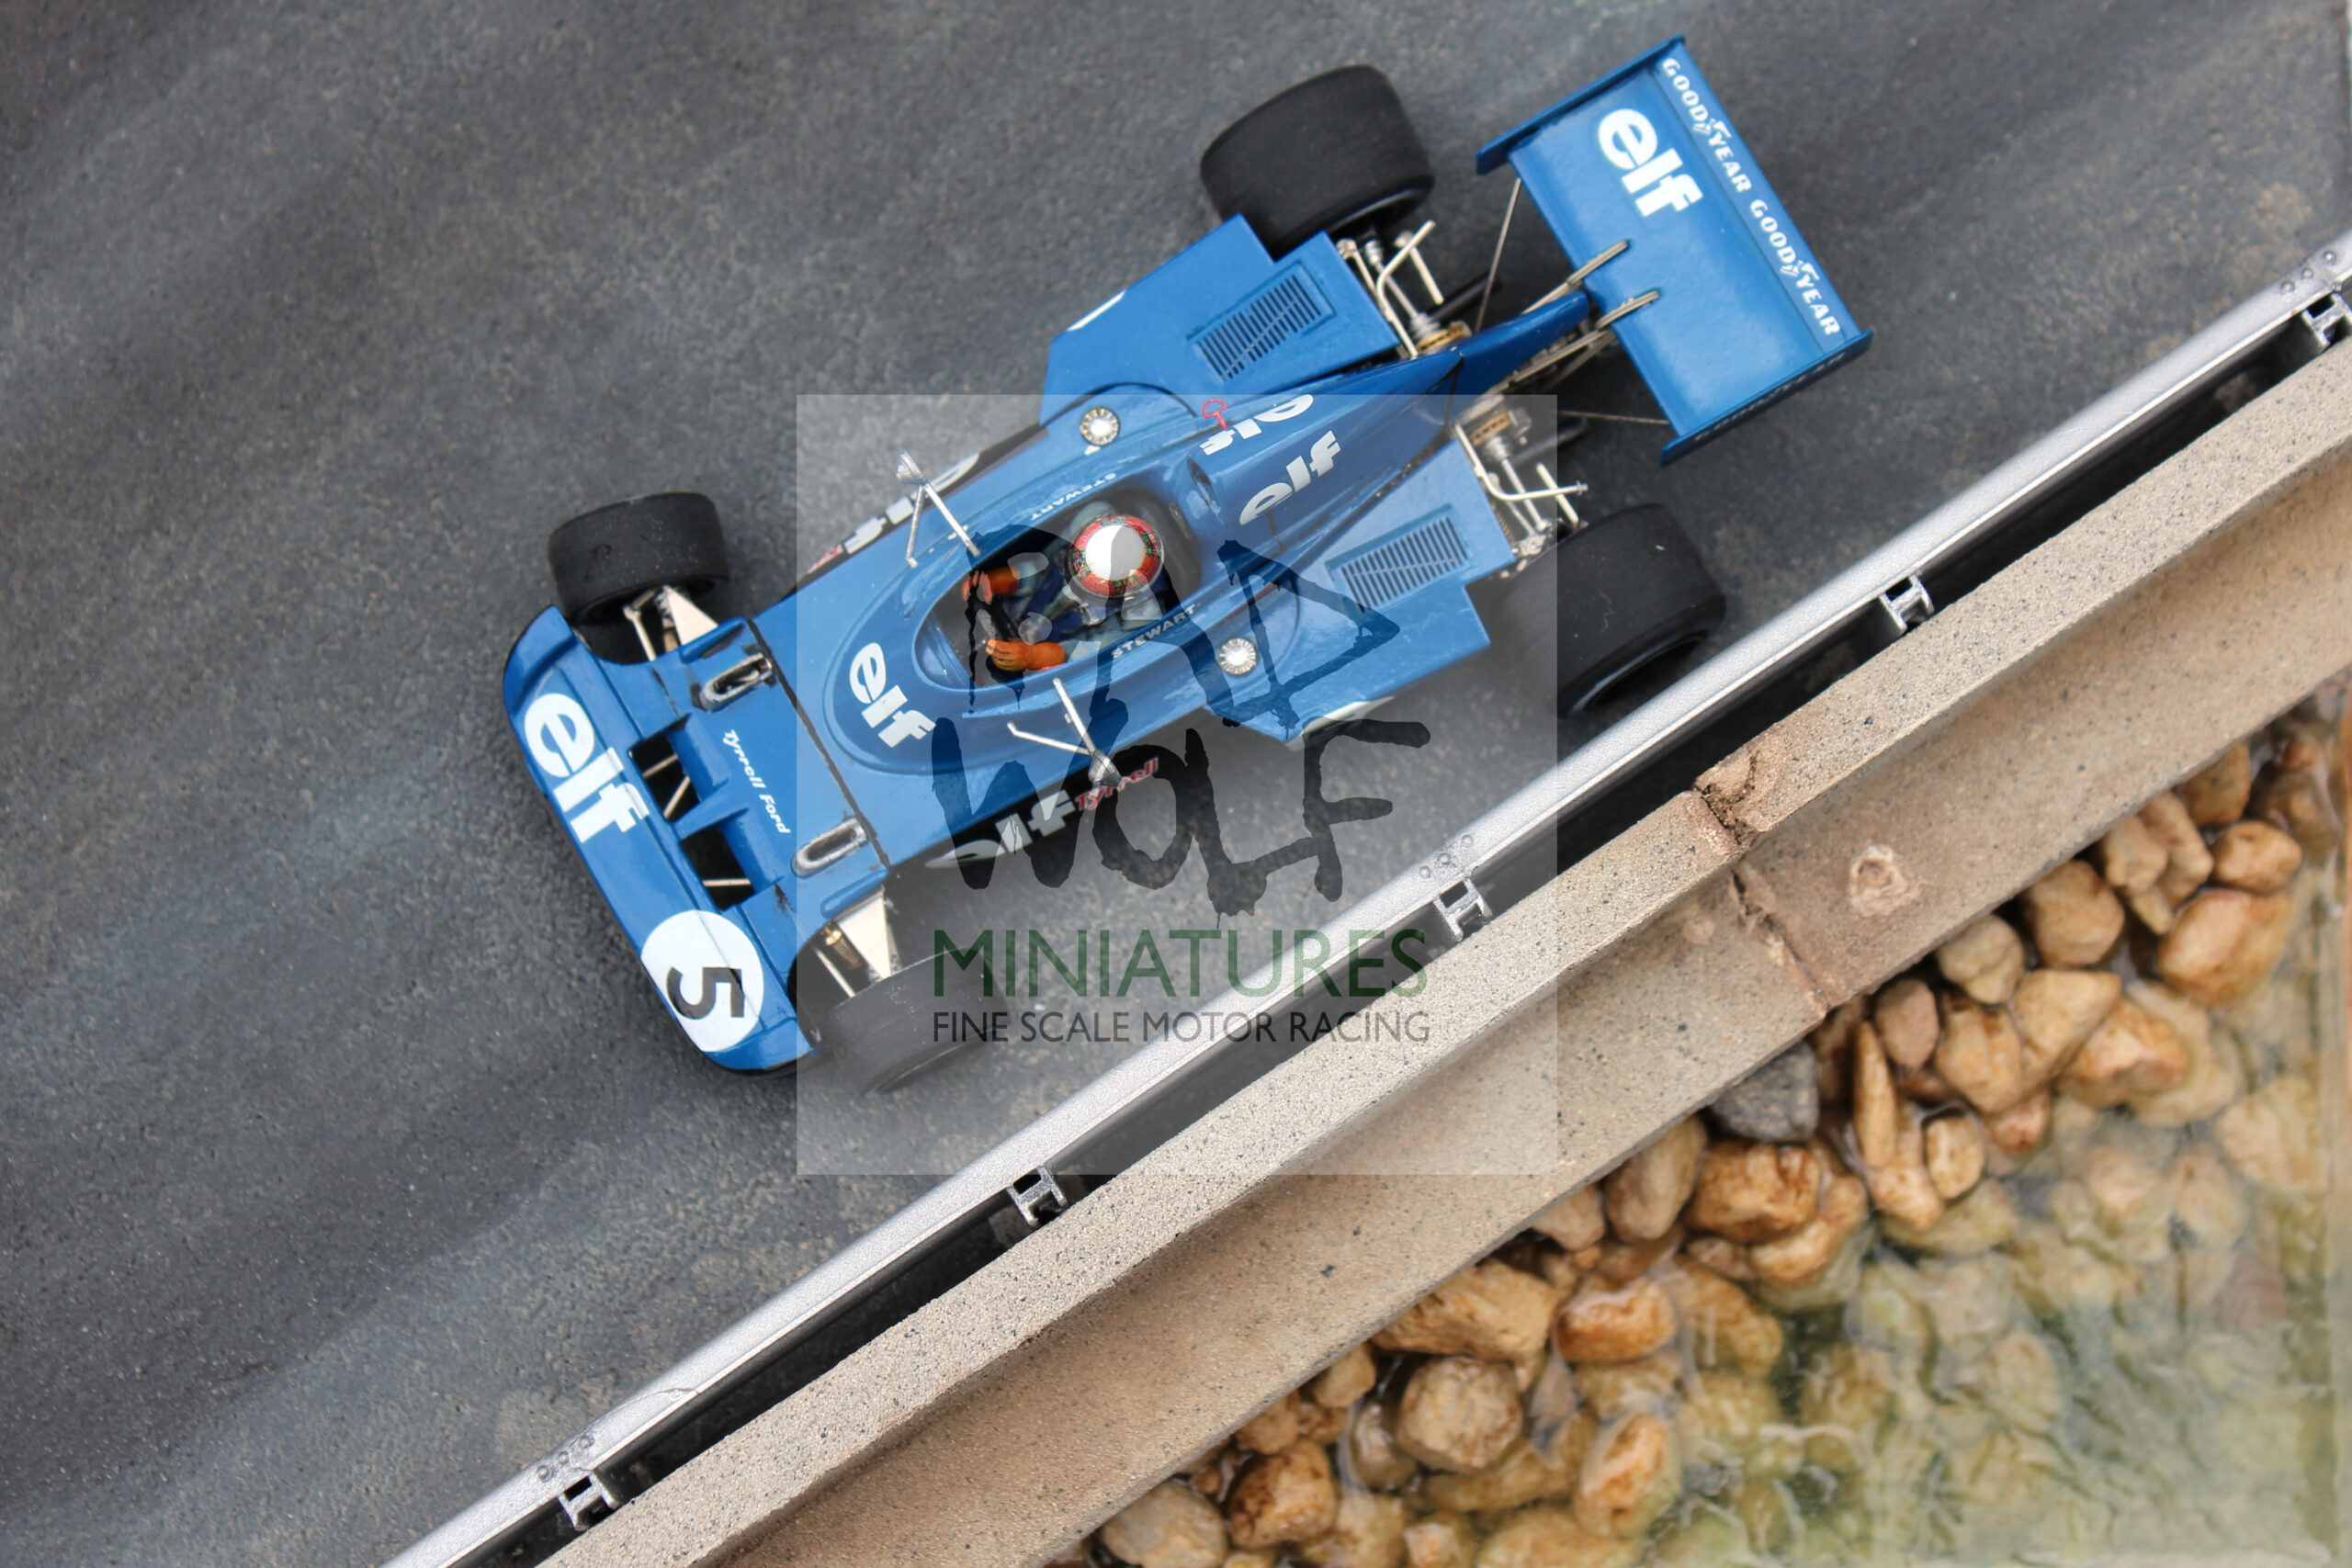
I realised earlier this year that, since I started manufacturing my own range of figures last year, I hadn’t made time for any actual model making for months.
I decided that this was something I need each to put right, and it didn’t take me long to decide upon the subject matter. I’ve still got my Monaco 1992 diorama to finish, but I felt a little uninspired to pick that project back up again as I felt I still needed to ascertain the best way of modelling the road surface, and I’d also already made the Williams FW14B kit (which I need to build next to accompany Ayrton Senna’s McLaren Honda MP4/7).
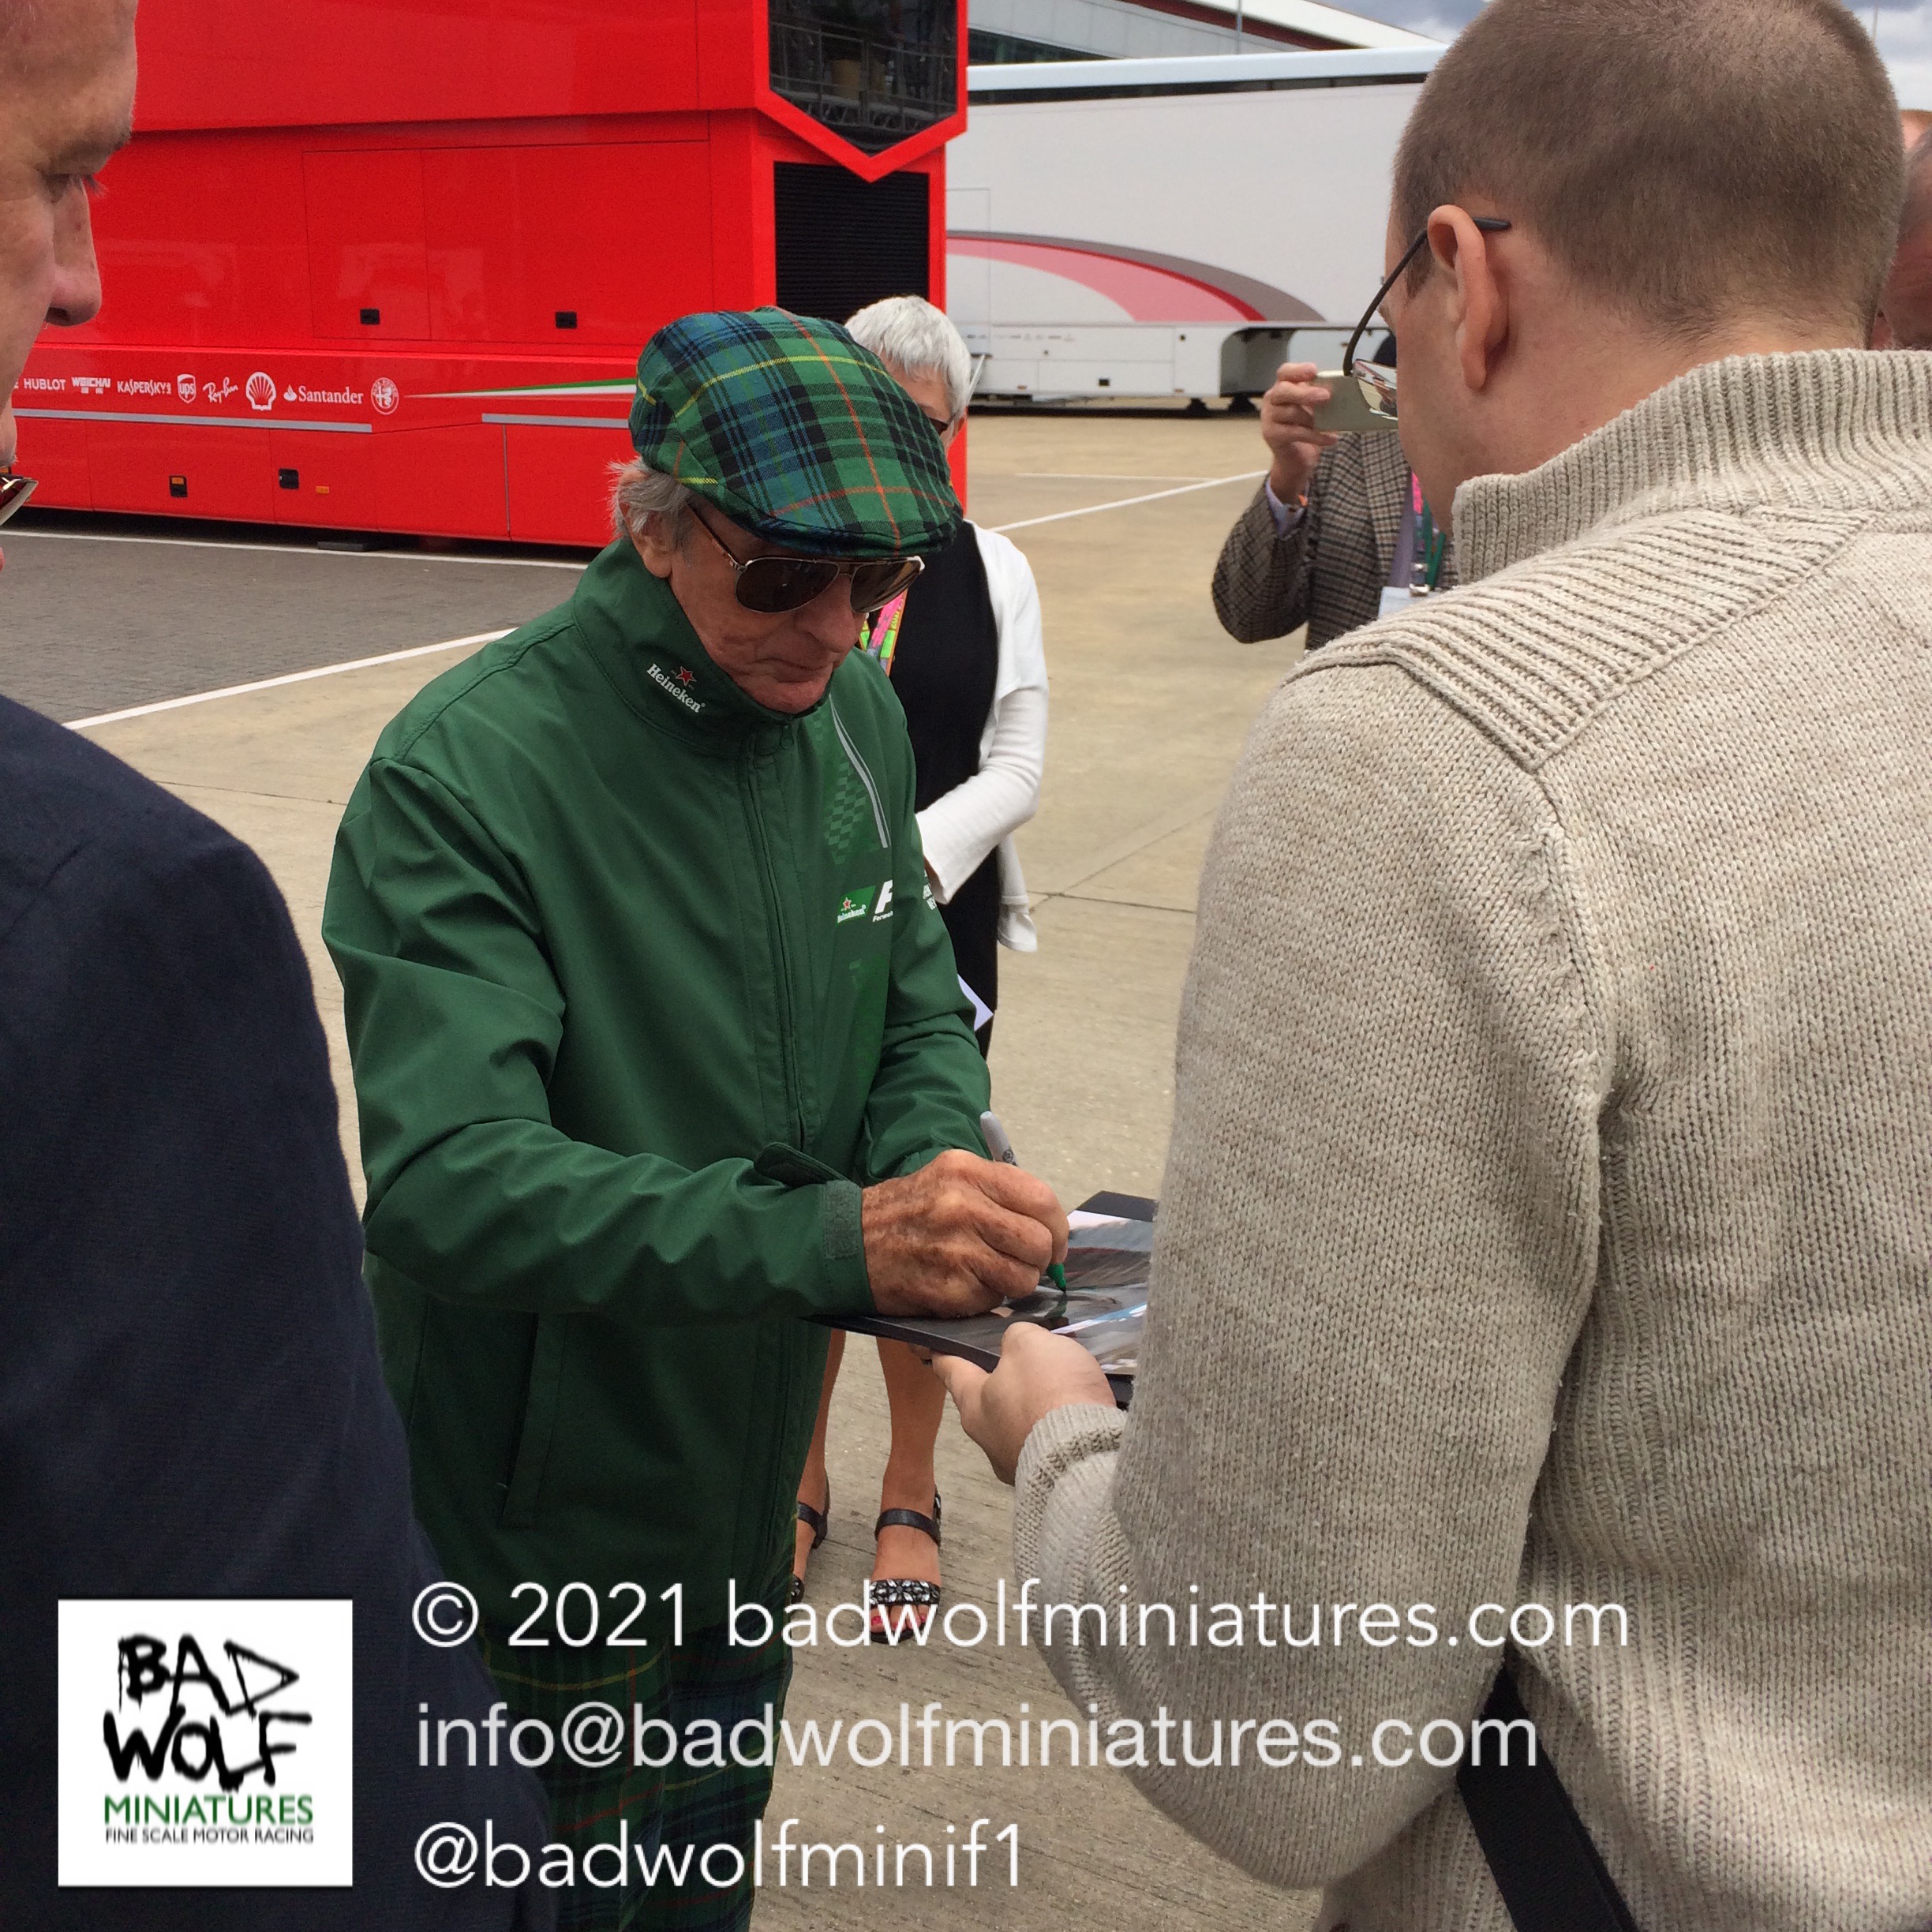
I’d never built an F1 car from the 1970s, and this was also something I wanted to change. I’d also had the very good fortune to meet Sir Jackie Stewart in the paddock at the 2017 British Grand Prix, and he is both a driver and a personality whom I have long admired. It soon became obvious that my next project would have to be one of Sir Jackie’s cars, and having enjoyed the creation of the sea in my Monaco 1992 diorama, I decided that I wanted to include an element of the Monaco sea front in this piece (although on a smaller scale!)
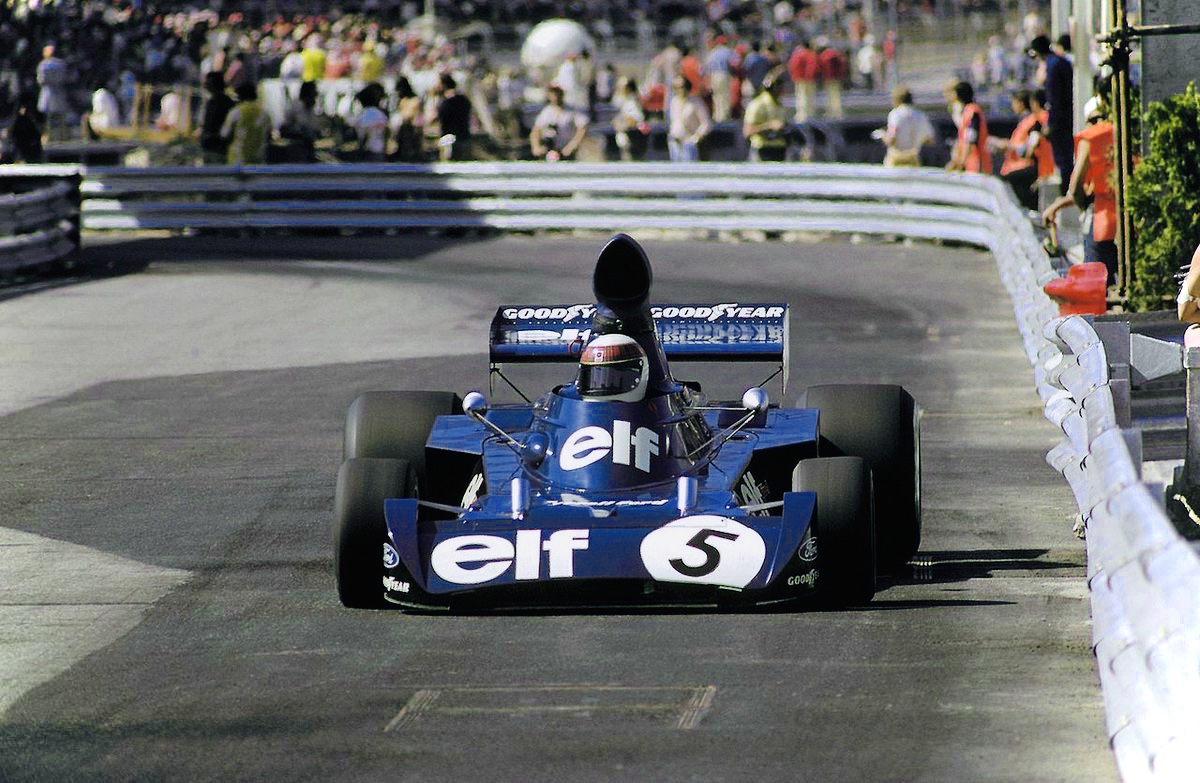
Having browsed the array of kits available, it soon became obvious that the obvious choice was the Tyrrell Ford 006 by Tameo, which I ordered from SpotModel. I’d never ordered a kit from them before, but I was pleasantly surprised that their speedy delivery was not hampered by post-Brexit red tape (which even if it had been, would have been no fault of the good people at SpotModel!).
The quality of the kit is everything that I have come to expect from Tameo kits; the white metal castings were nice and clean, the photo-etch pieces detailed and numerous, and the turned metal parts detailed & accurate. To be honest, I under-estimated the complexity of the kit (being used, as I am, to modelling subjects from the 1990’s where the suspension arms and wings are the only parts visible outside of the main body). On this Tyrrell the engine bay is clearly visible, as are both the front and rear suspensions. Because I was aware that both the front and rear suspensions would have to bear the weight of the model when attached to the base (and would also be under some tortion/compression when the two halves of the chassis were screwed together), I decided that epoxy resin would be the best way to make sure that the structure of the car was sound. I used epoxy to attach both the engine and the front suspension to the main under tray, and also to secure the engine to the gearbox. I was pleased I chose to do this, and it caused me no issues later on.


The Monaco circuit is rich with landmarks which would lend themselves to inclusion in a diorama, but the basic brief I tried to follow on the project was for the footprint to be manageably small (20cm x 15cm), and to include some water. I trawled Google, Instagram, Twitter and YouTube looking for research material, one particular YouTube video proving particularly useful…
It soon became apparent that in order to include water, the track level would need to be raised. The simplest way to do this would therefore be to build a box which raised the level of the track up, thereby allowing the elevation change to include the harbour water. I decided that rather than building the box by hand (as I would normally do), I would use my newly acquired Ortur Laser cutter to do the hard work for me. I’d only previously used the Ortur for engraving, so cutting was going to be a different challenge. I tried cutting some 3mm plywood and 3mm MDF, but with no success. Some research online told me that in order to cut successfully I would need to add an “air assist” to my machine. I managed to find a design on Thingiverse, which I then modified in TinkerCad to add an integrated air inlet nozzle. Having 3D-printed the part, I rigged it up to my airbrush compressor for the big test (this time with some 2mm ply). I was delighted to find that it did the trick perfectly, so I was then able to cut out the ply parts which I had also designed using TinkerCad. The question then became how the box would be secured to the oak base… I’d originally intended to glue some wooden blocks to the inner surfaces of the ply shell secure it to the base, but then decided that having designed the box itself in TinkerCad I could also design some 3D-printed supports/brackets, which would enable me to both secure the raised platform to the base, whilst at the same time adding some structural support to both the joins and the upper road bed. I also designed and 3D-printed a support which served to allow the car to be bolted to the track from below.


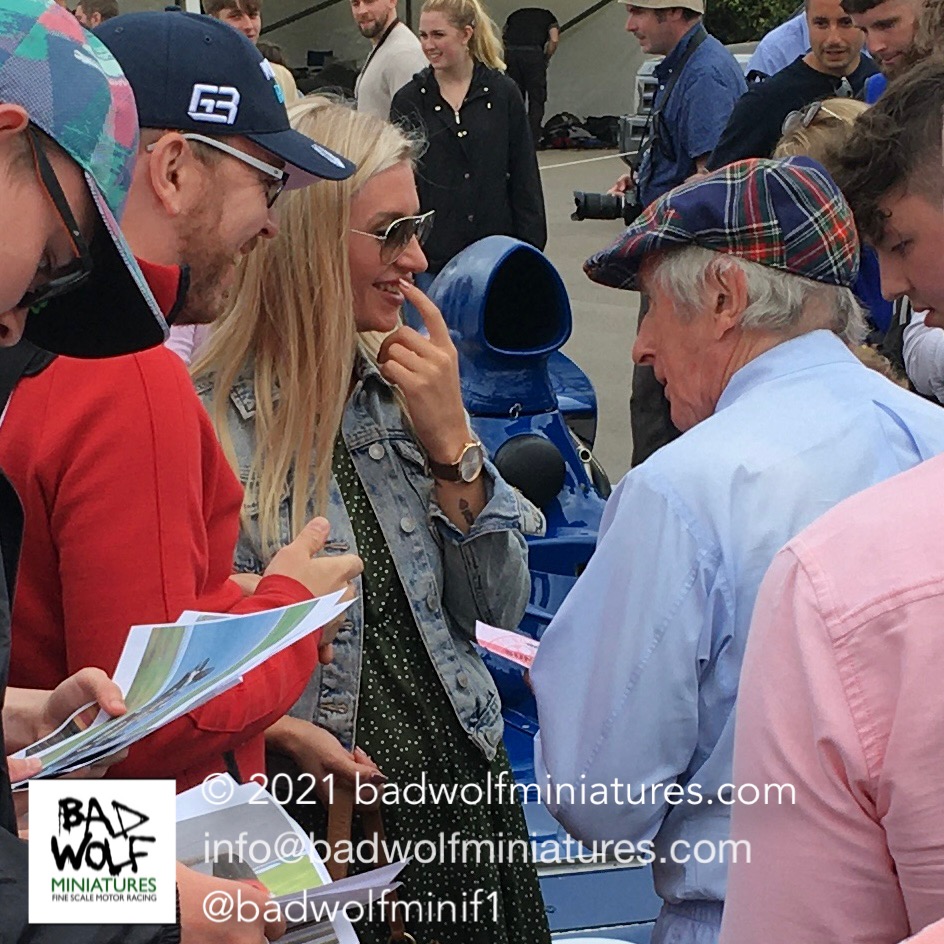
In July I was fortunate enough to visit the Goodwood Festival of Speed, where luck was again on my side… not only was I able to see a real life example of the Tyrrell 006, but I was also able to see Sir Jackie driving it up the famous Goodwood hill. If you haven’t been to the Festival of Speed, I’d heartily recommend it. Fabulous cars can be seen from very close quarters, and many big names can be seen wandering the grounds…


Having lately spent many months concentrating on the design and manufacture of figures, I wanted to do the same for the driver here. I began by carefully measuring the cockpit opening of the Tameo kit, which I then recreated as a 3D mock-up in TinkerCad. Using this digital recreation of the cockpit, I was then able to insert the driver figure and pose him using the wonderful Blender. This then done, the driver was brought back into TinkerCad, where he was cropped to fit the confines of the cockpit, and both the steering wheel and seat were added. This was probably the most time-consuming part of this project, with various evolutions of the design being required despite by careful measurements! However, I was delighted with the end result (he may be coming to the Bad Wolf Miniatures collection soon!).


This was also the first time that I’d designed helmet decals from scratch, something which I was able to do using Adobe Photoshop after referring to some good quality reference photos. I’d intended to print these on an old Alps MD printer that I managed to pick-up on eBay (famous, as they are, for their prowess when it comes to decal printing for model makers. However, having invested frankly too much time and money in getting the damned thing working, it very quickly became apparent that the print head was damaged so it had to be returned. Thanfully the price of colour laser printers has dropped quite considerably since I last considered buying on,e so I was able to replace the Alps with an HP 150nw from Amazon. I was really chuffed with the outcome, especially as with the decals having also been self-made the entire driver figure counts as a Bad Wolf original.


As with the Monaco 1992 project, I used Gedeo Crystal Resin (which I like due to its low viscosity), which I coloured using some Woodland Scenics resin tints. The armco barrier was designed from scratch in Blender, but which was another piece of this diorama that I was very pleased with.
The harbour wall behind the armco was made from two small lengths of foam board, which were glued together using standard PVA but were also pinned together to add structural integrity. The concrete effect was achieved using the wonderful Concrete texture diorama paint from AK Interactive. Rather than explaining how this was done in words, the excellent video below from the AK Interactive YouTube channel does the job far better than I can:
I used the same enamel washes as I used on the concrete to weather the asphalt, which was also created using another paint from AK Interactive.
Overall, I am delighted with the end result. Over the past 12-18 months I have branched out into whole new areas of modelling, particularly into 3D-design and and printing, and laser-cutting. In this diorama I have brought together these new skills ans techniques with the older methods that I’ve been learning since I was seven. It’s not perfect (there are numerous flaws I could highlight), but I’m really pleased with the way this one has come together. I hope that you enjoy it, and also enjoy reading a little about how I went about it.
You can find a gallery of the finished diorama here.