
Monaco 1992 Diorama – Part 1

It’s been a long time since I had the time to work on a new model project…
Life is busy. Work is busy. Being a husband and a dad is busy!
…So finding the time to create something new is hard to find. Fortunately, I do get a lot of time both to think and to research potential subjects during my daily commute to work, so I have been able to spend a long time preparing for my new project.
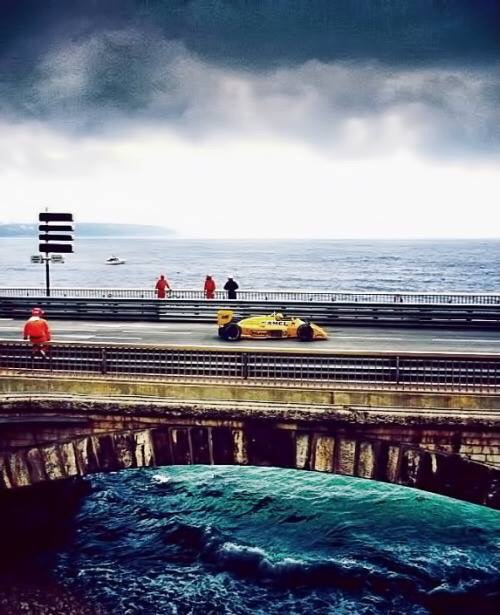
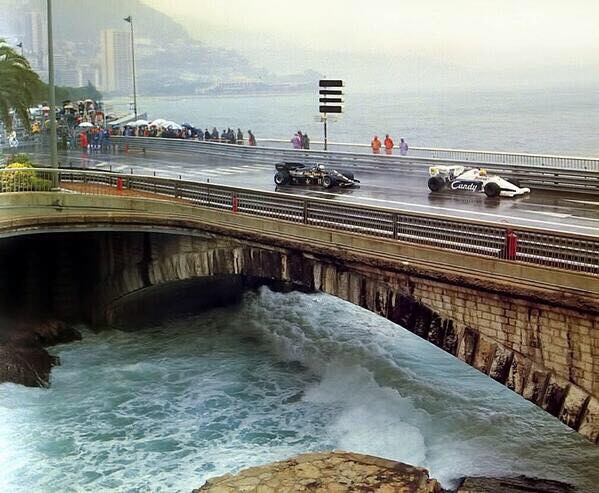
I was first inspired to create a diorama of this scene when, in March 2016, I saw a photograph of Ayrton Senna’s Lotus Honda crossing the bridge over the sea which preceded the famous tunnel at Monaco during the 1987 race. Monaco is Formula 1’s most iconic venue, and the idea of the fastest cars, driven by the finest drivers, racing across a bridge crossing the sea was an idea that excited me. The irony, of course, is that F1 cars outgrew the Monaco circuit a long time ago, and the races there (with a few notable exceptions) tend not to be the most exciting. When races do become exciting it is normally where “something” happens to shake-up the order, be it the weather or an on-track incident. The best example of this from my own childhood was the 1992 race, where Nigel Mansell’s seemingly unassailable lead over Ayrton Senna evaporated when he sensed a rear puncture as he exited the tunnel. Having crawled back to the pits to change tires, he emerged behind Senna’s McLaren who had opted to try and run the whole race on his original rubber. The final five laps of the race delivered some of the closest racing F1 has ever seen, Senna desperately scrambling on exhausted tires and Mansell frantically trying to find a way past on the narrow streets… high drama, driving of the very highest quality, and pure excitement. The footage makes just as compelling viewing now as it did then, the cars almost touch on a number of occasions, yet they never collide. Heroic stuff, and more than worthy of being captured in this diorama.
I’ve built a lot of models in my time, and sometimes (especially when time is so precious) it’s hard to get excited about just building a kit out of the box. What does get my creative juices flowing is the challenge of creating something from nothing, and trying to capture a genuine sporting moment in a still object. The challenge of composing a scene which involves multiple cars, a bridge and (most excitingly) the sea was a real challenge. I had originally planned to save this big project as a challenge, and build a couple of much simpler and smaller projects in the interim. However, time passed and I never got round to the smaller projects so I decided to turn my attentions to this larger piece sooner rather than later.
As I did when I worked on the Adelaide ‘94 diorama, I started by creating a mock-up if the scene in foam-board. As always, I looked for as many photographs of the scene as I could find. Also, in these days of Google Streetview, I could even take a virtual look at Boulevard Louis II, as it is known. The location has changed substantially over the years with the land to the inside of the bridge having been reclaimed in the mid-2000s and now occupying a building (a McDonald’s, of all things!). Likewise, the side overlooking the sea has seen more land reclaimed with the space beneath the bridge now housing a decked jetty. The challenge therefore was to find photographs from the time to understand as closely as possible what the location looked like back in May 1992.
Having spent a long time searching Google, Facebook and Twitter for reference photos, I realised two things;
- The width of the road was larger than I had imagined
- The span of the arches beneath the bridge was also larger than I expected.
To have built this model to exact scale would have made it unmanageably large and there would also have been a lot of space where nothing was “happening”. Because if this, I chose to use a small degree of “poetic licence” and condense the scene slightly in order to keep the key components closer together. The footprint of the whole diorama is now only slightly larger than a sheet of A4 paper.
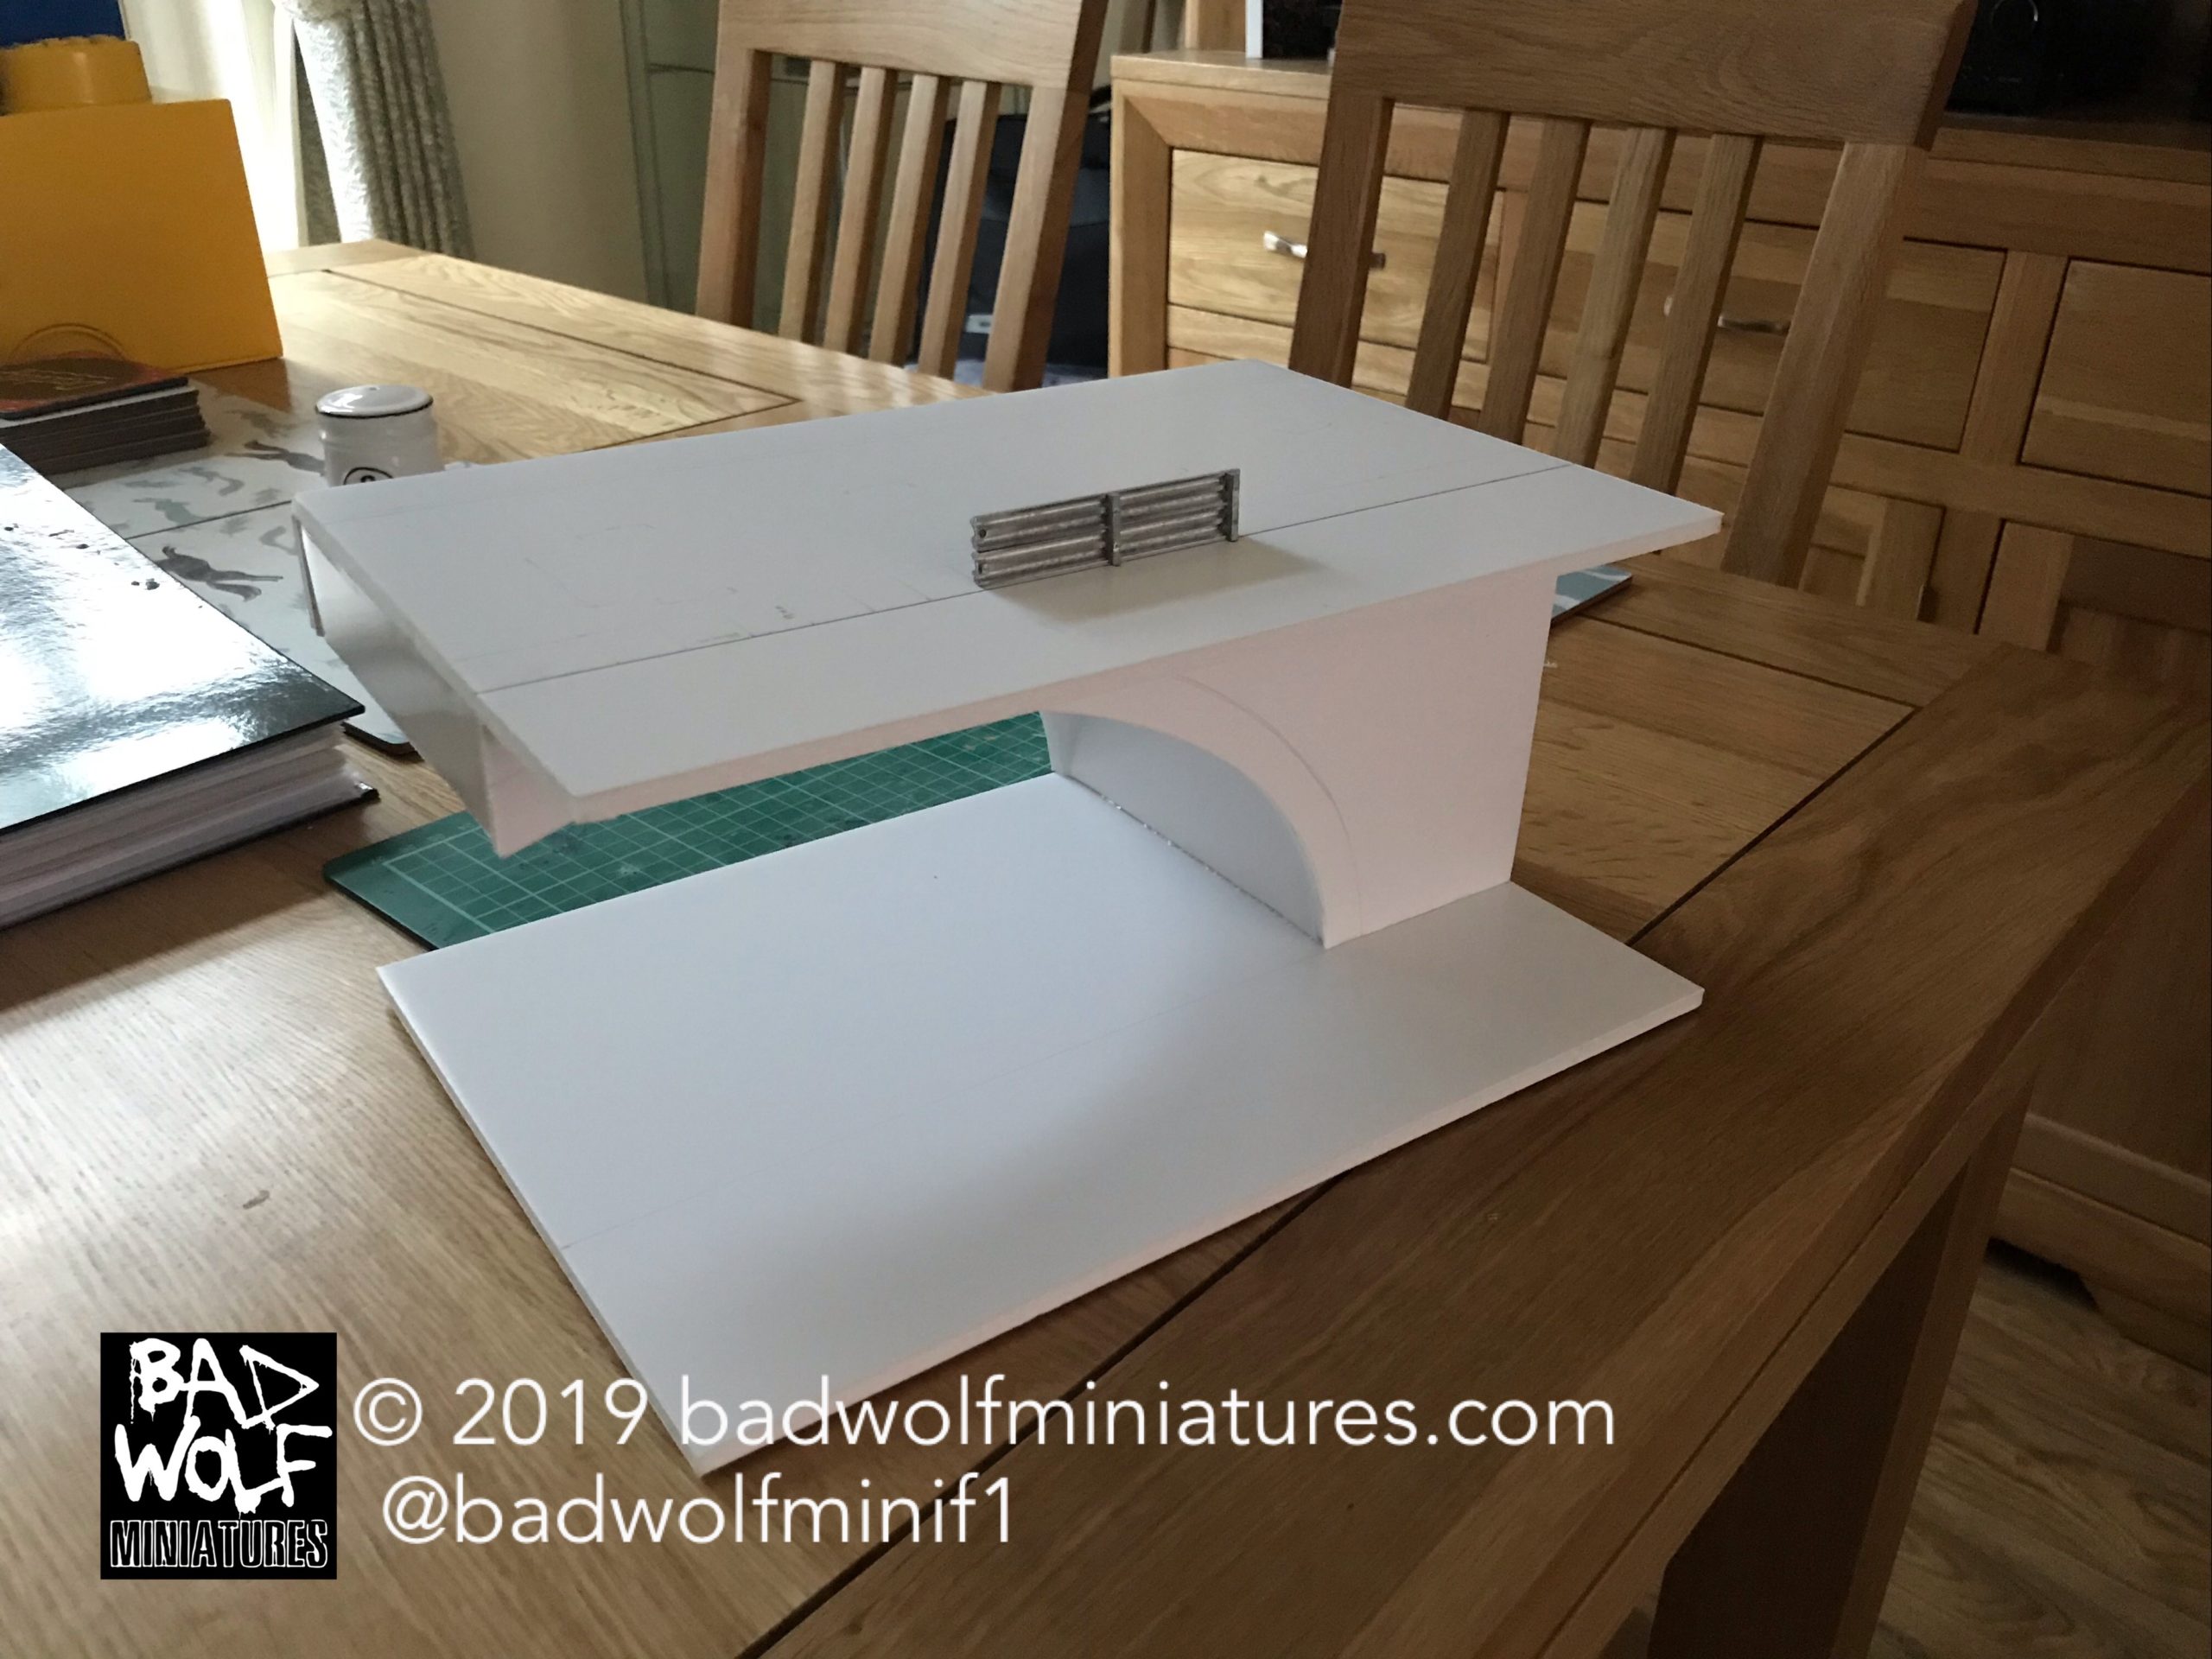
A mock-up the scene, built from foam-board. A quick, cheap and easy way to test if the composition works.
Having done this, I ordered an oak display base, and turned my attention to turning my foam board prototype into something more permanent. I decided that it would be built from thin modelling plywood which I was able to buy from Hobbycraft.
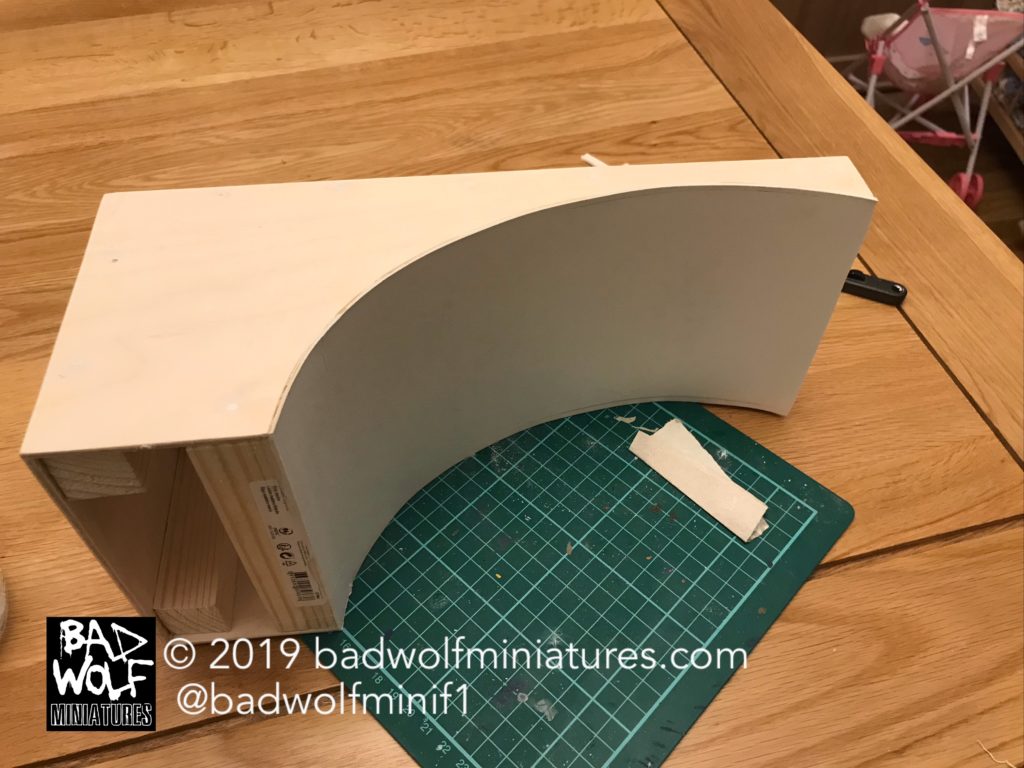
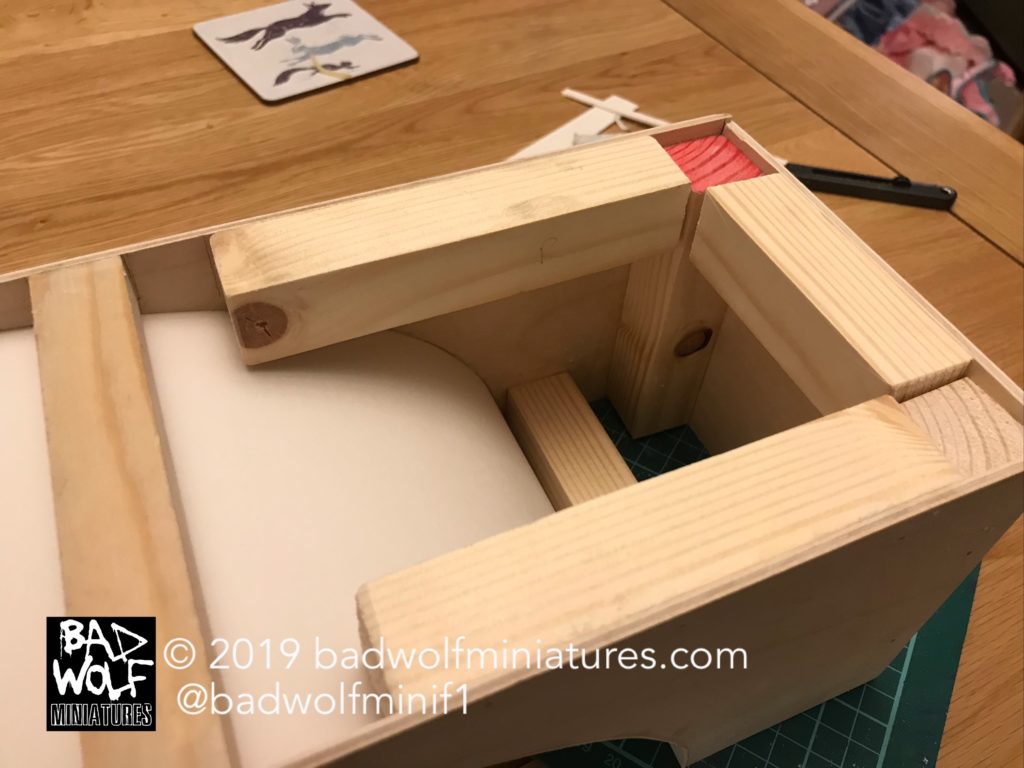
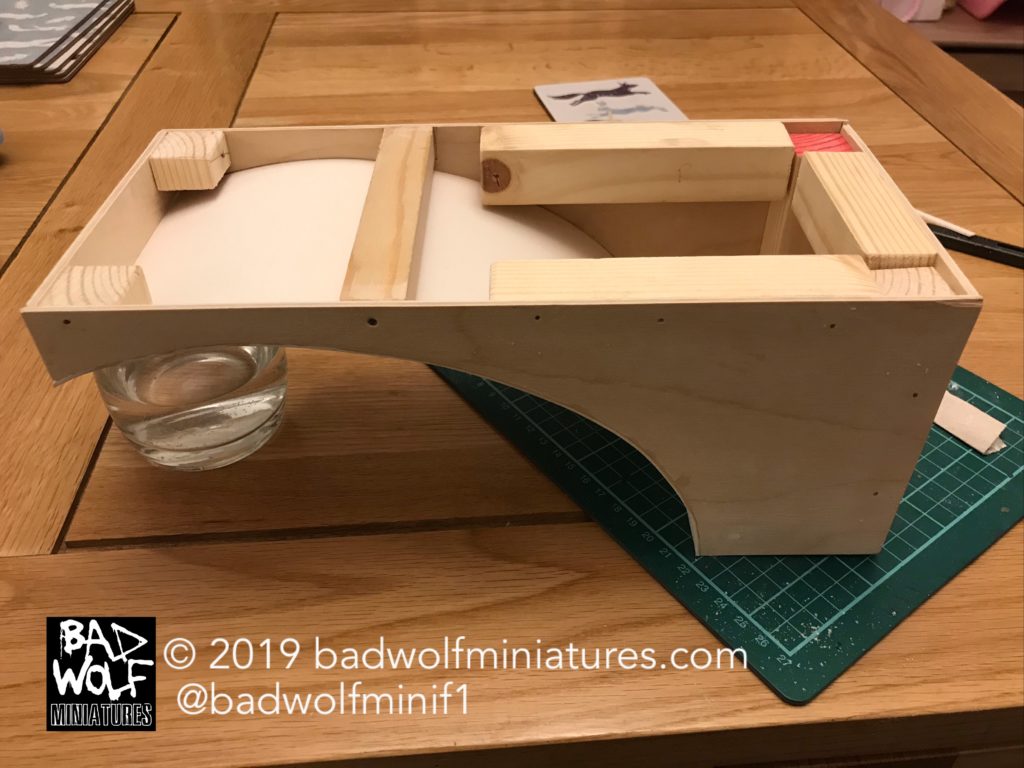
Initially I had intended to simulate the brickwork by covering the surface in air-hardening clay and then scribing the brick pattern into the surface once it had dried. However, at Christmas I was lucky enough to receive the fantastic AMK Diorama FAQ 1.2 Book as a gift. Had asked for the book because it specifically covers techniques for modelling water in its various forms, but one of the techniques showed the remarkably realistic effects that could be achieved in simulating brick and stonework using cork sheet cut into very small pieces to replicate the individual bricks.
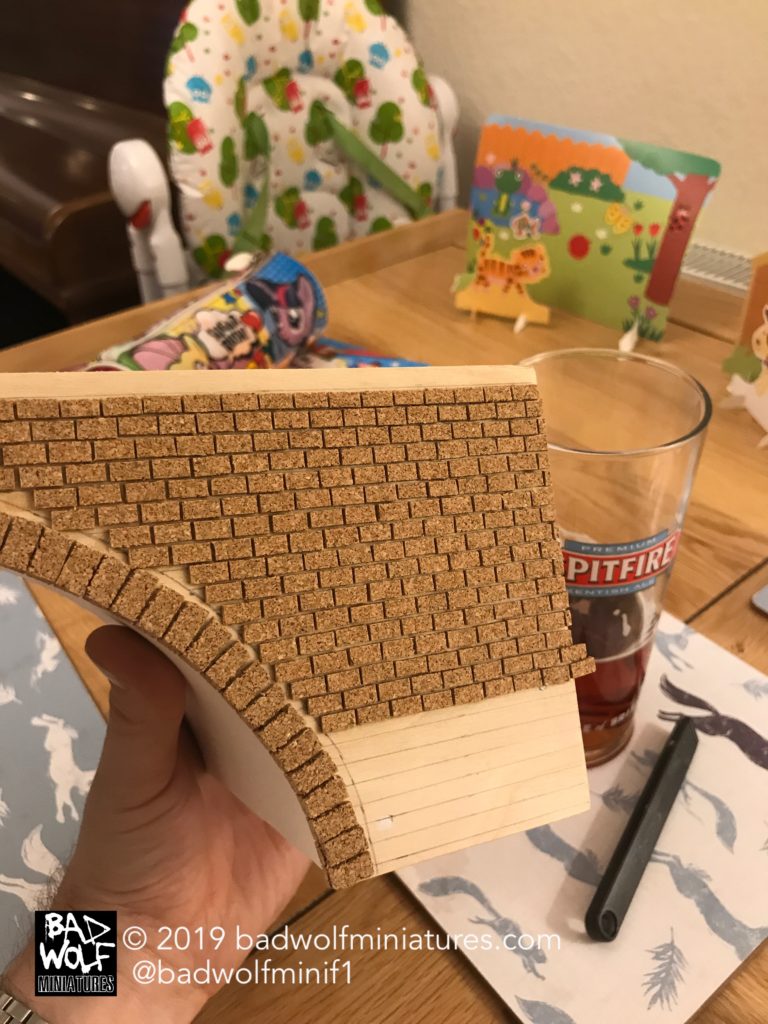
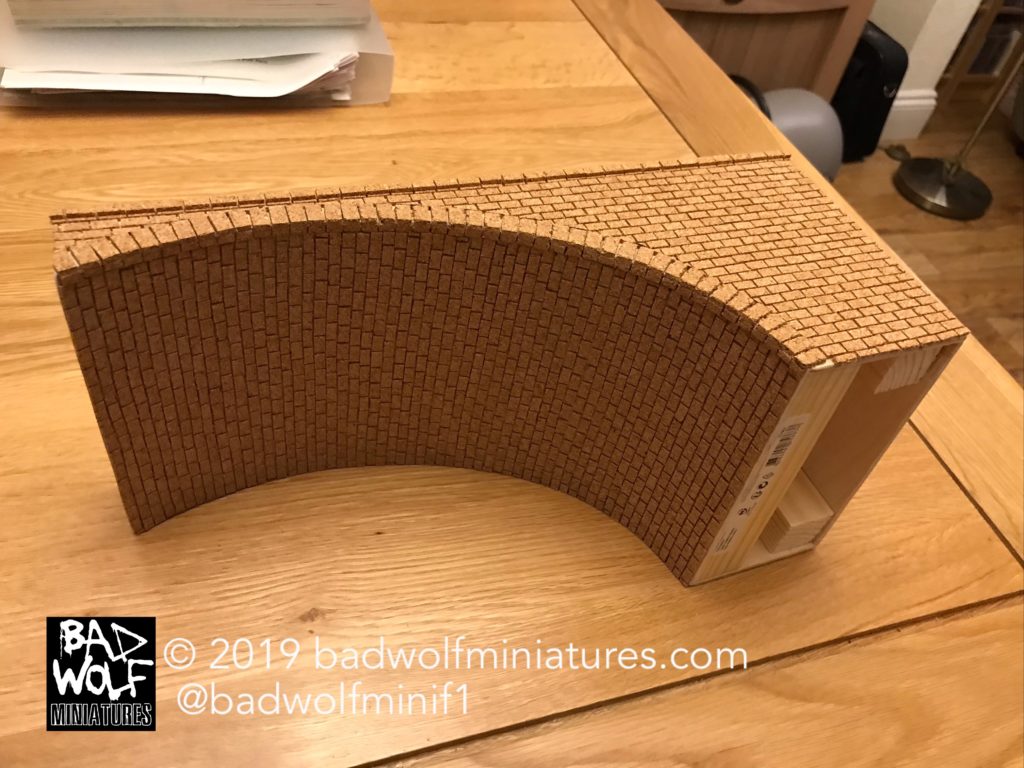
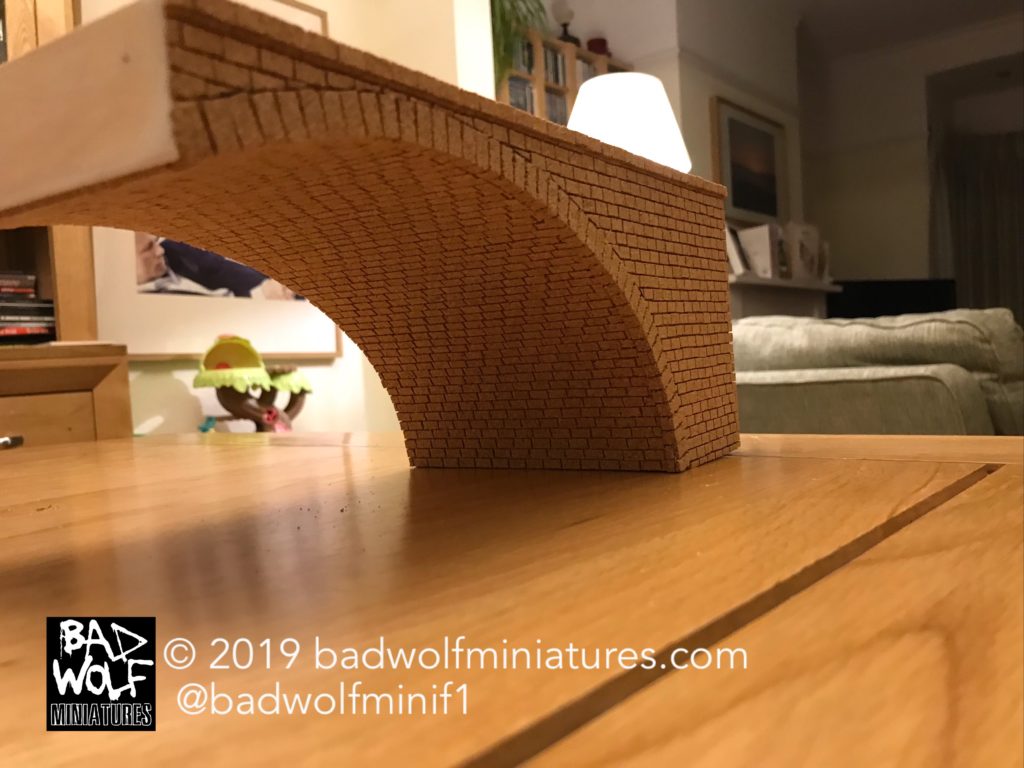
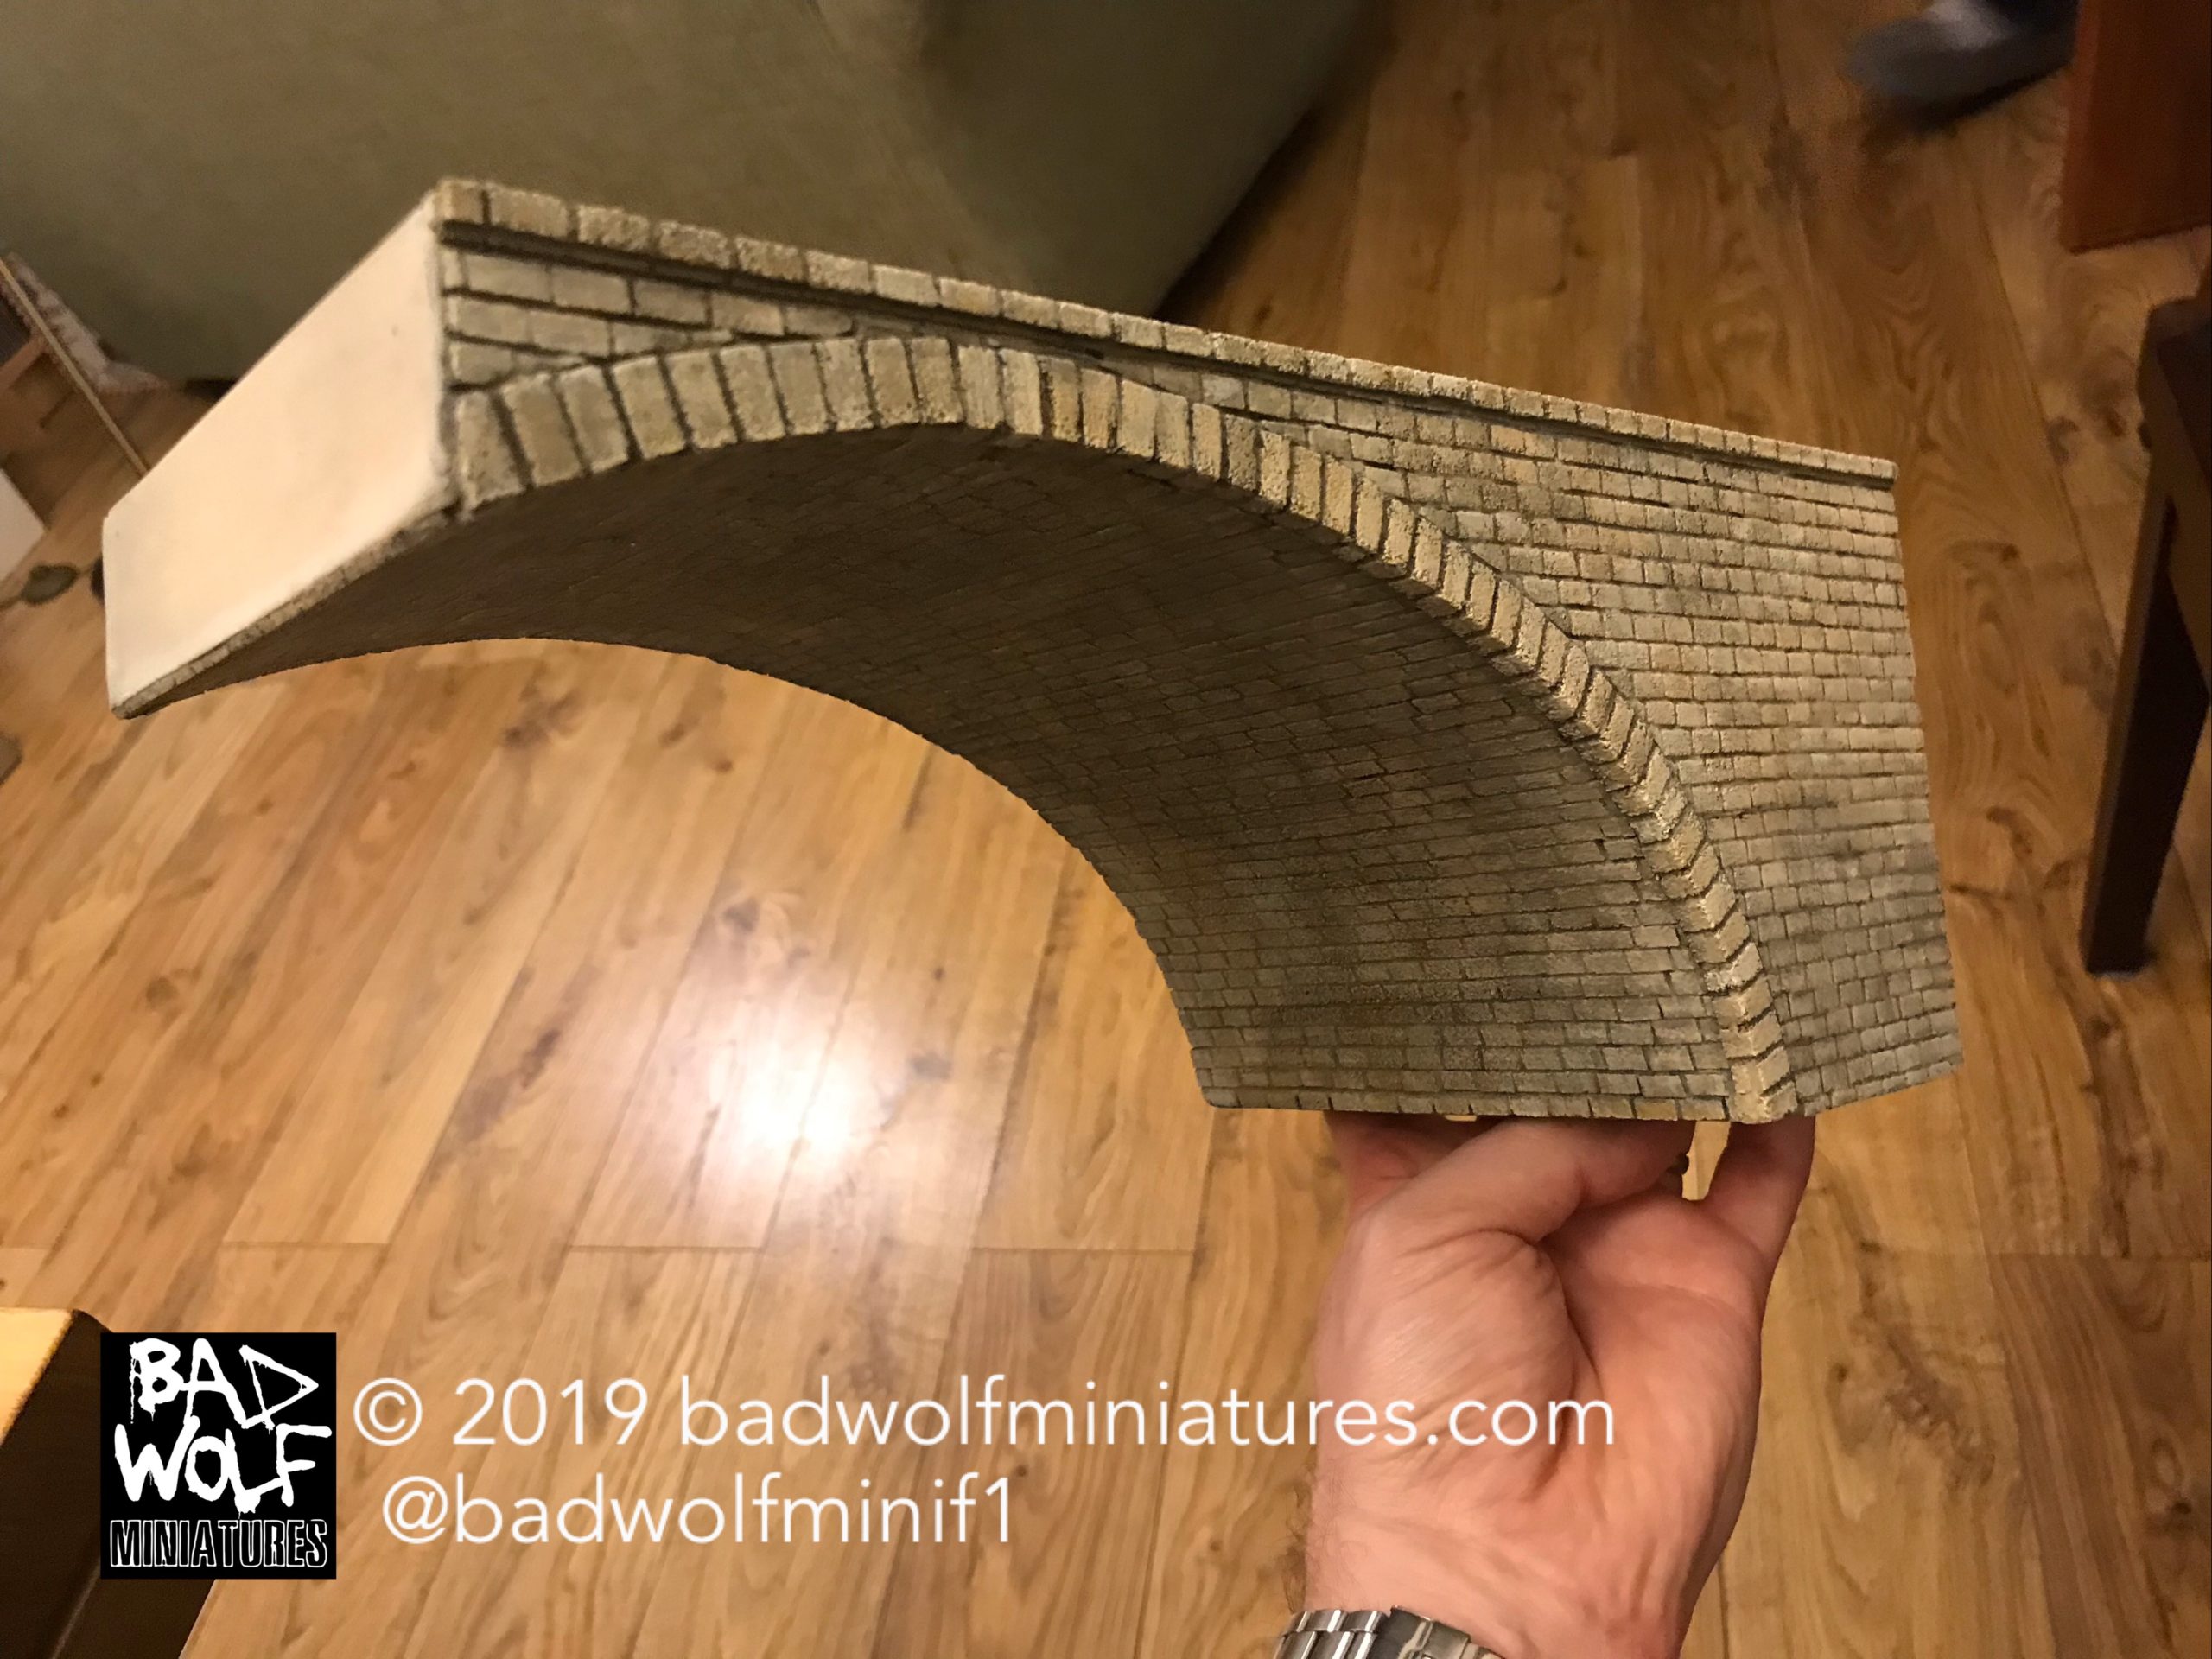
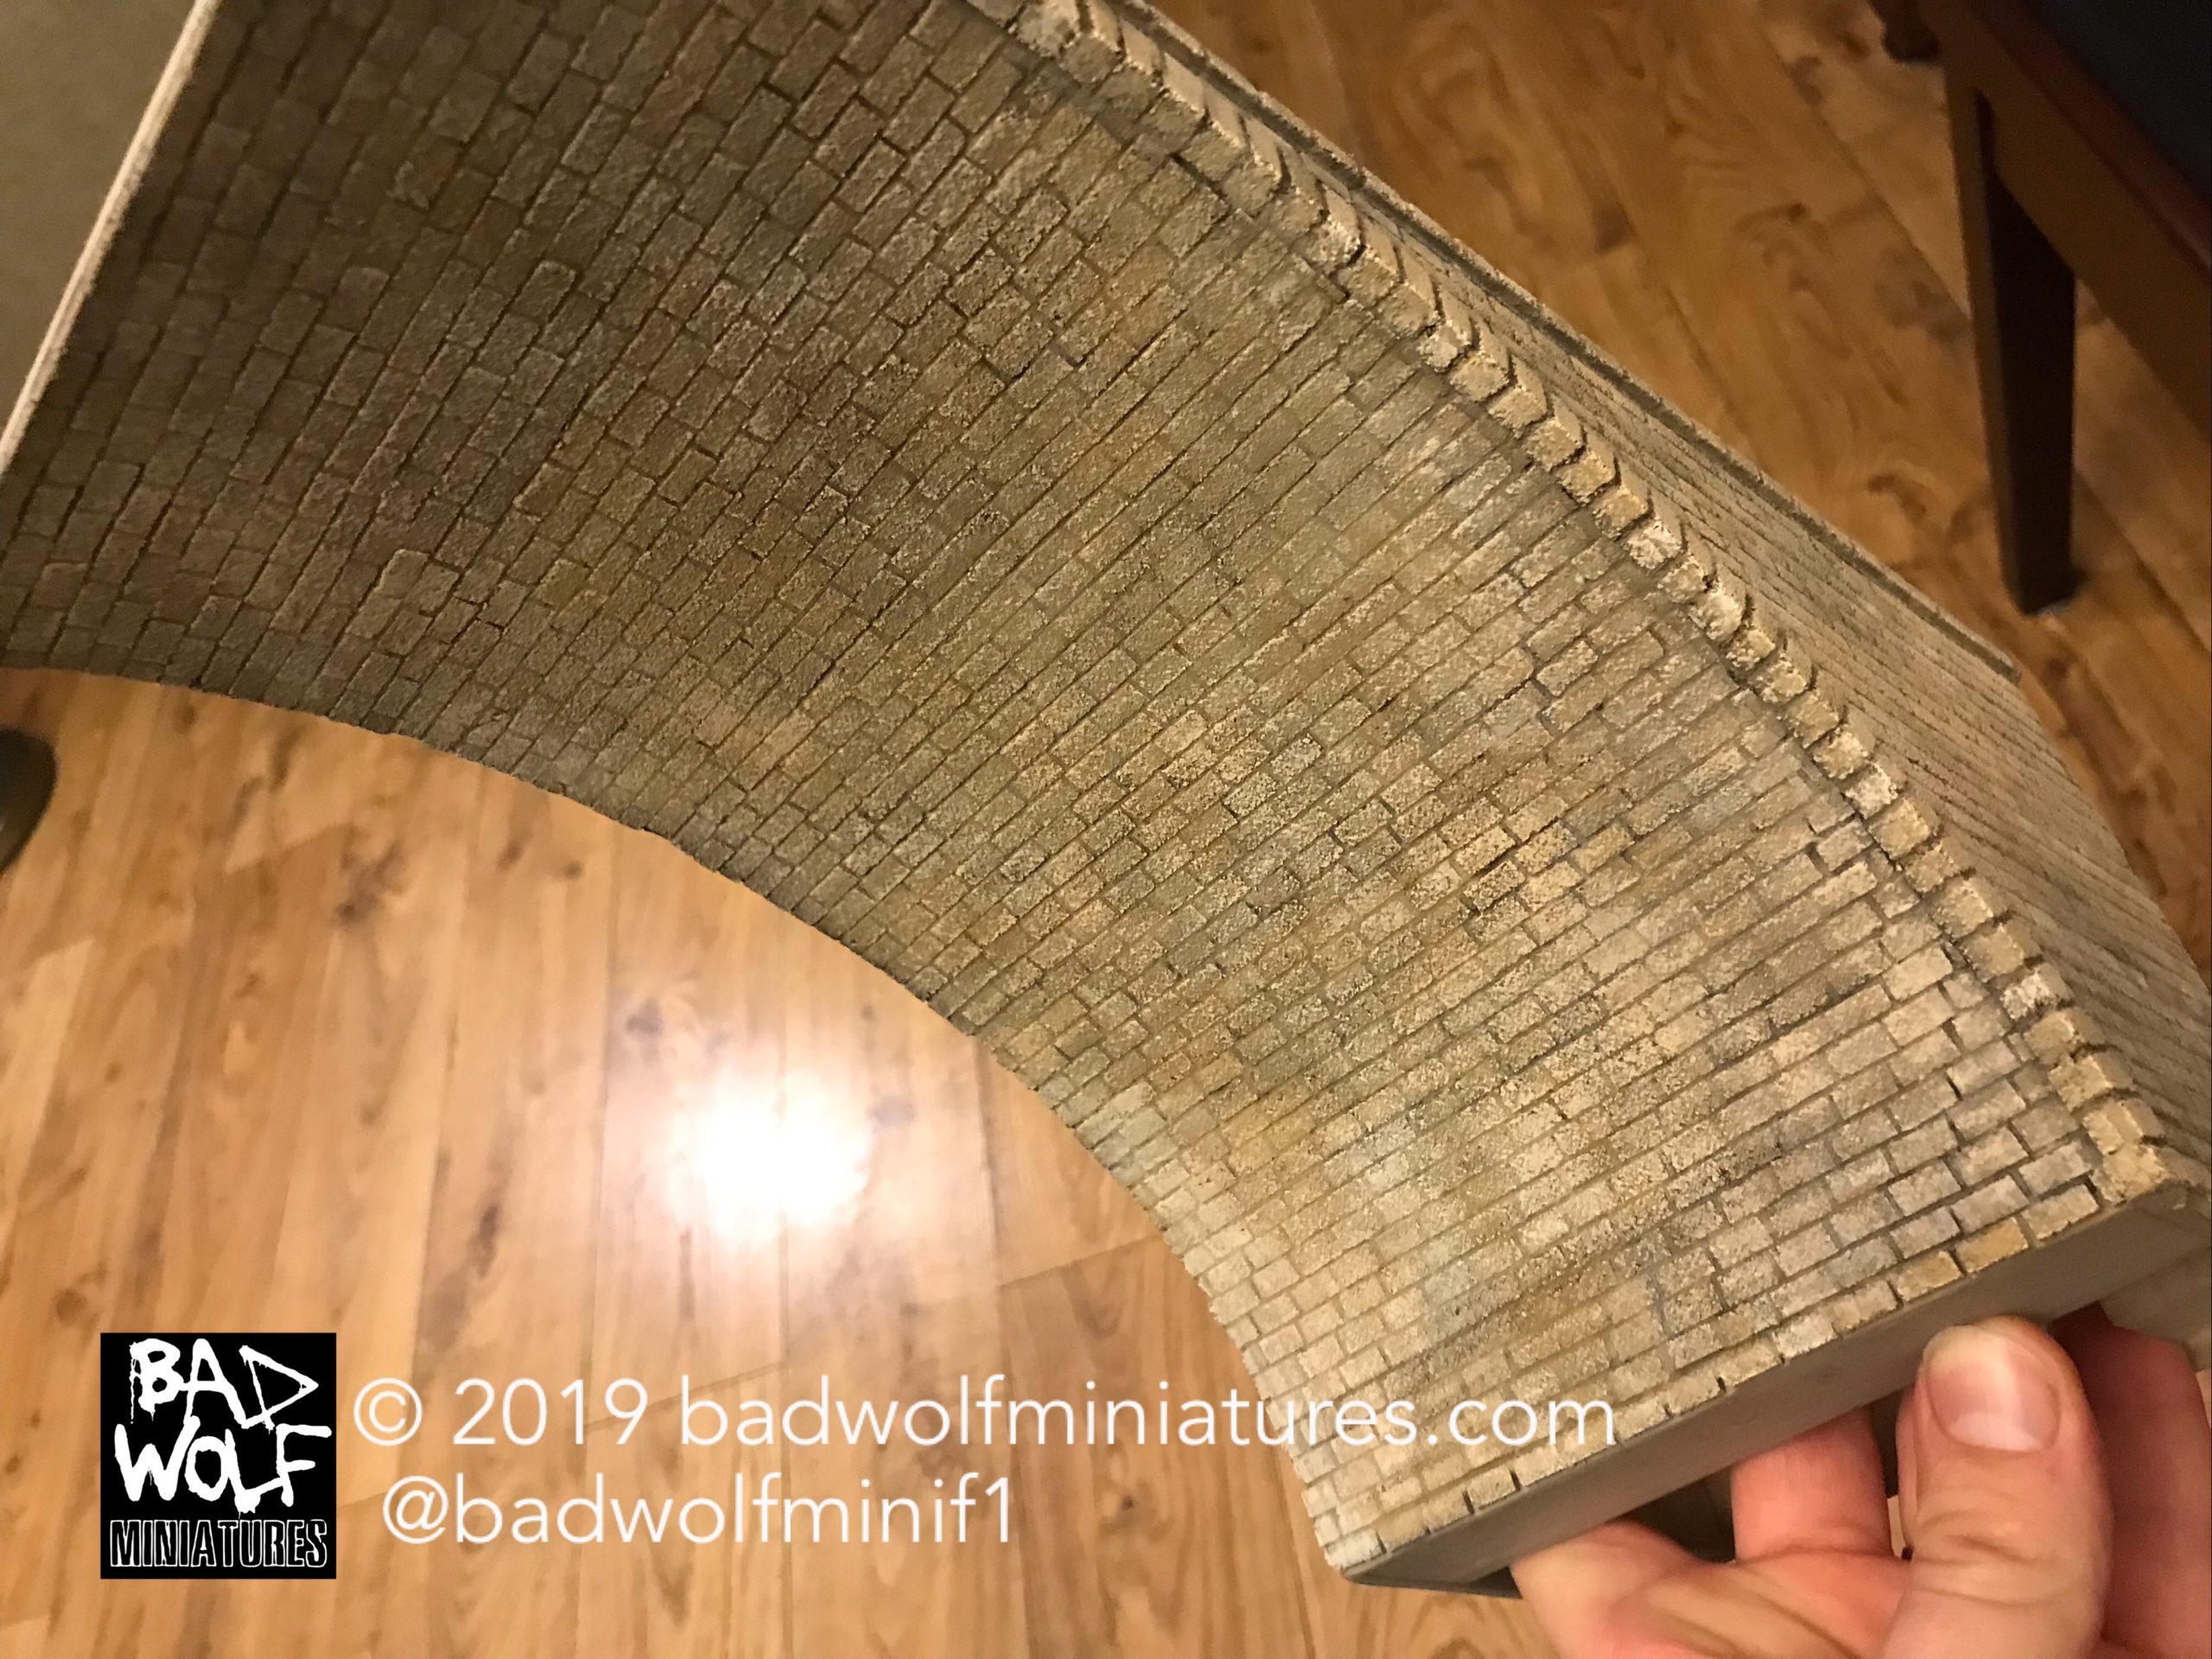
Having researched further (including a very informative YouTube video), I ordered some Jarvis cork sheets in a variety of thicknesses. Referring back to the photographs of the real bridge I settled on a brick size (8mm x 4mm) and cut over 300 of them by hand. These were then glued to the surface using super glue. The gaps between the bricks was then filled with Polyfilla, which was brushed away before it had time to dry to simulate the ranks of mortar between the bricks. This was more successful in certain parts of the bridge than others, and is an area I would take more time over when I use this technique again. The bridge was then sprayed using Halfords grey primer and Plasticoat suede texture paint to accentuate the stone-like texture. The bridge was then dry brushed using light and dark mixes of Tamiya XF-59 (Desert Yellow) and was washed a number of times with Vallejo black. After spending a number of evenings doing this, I was finally satisfied with the end result.
Having consulted the AK Interactive book on water effects I decided that having invested so much time, effort (and money!) in building the bridge, I wanted to make sure I knew what I was doing when I undertook the resin pour to create the water beneath. I therefore built a small mock-up using balsa wood on a ply base. The include was built-up using foam board and the surface was then painted using Vallejo desert sand texture paint. Once dry, this was then covered with a selection of grades of Woodland Scenics buff ballast. I also added some larger, chunkier stones I found in my local Hobbycraft, and then sealed the lot with watered-down PVA glue.
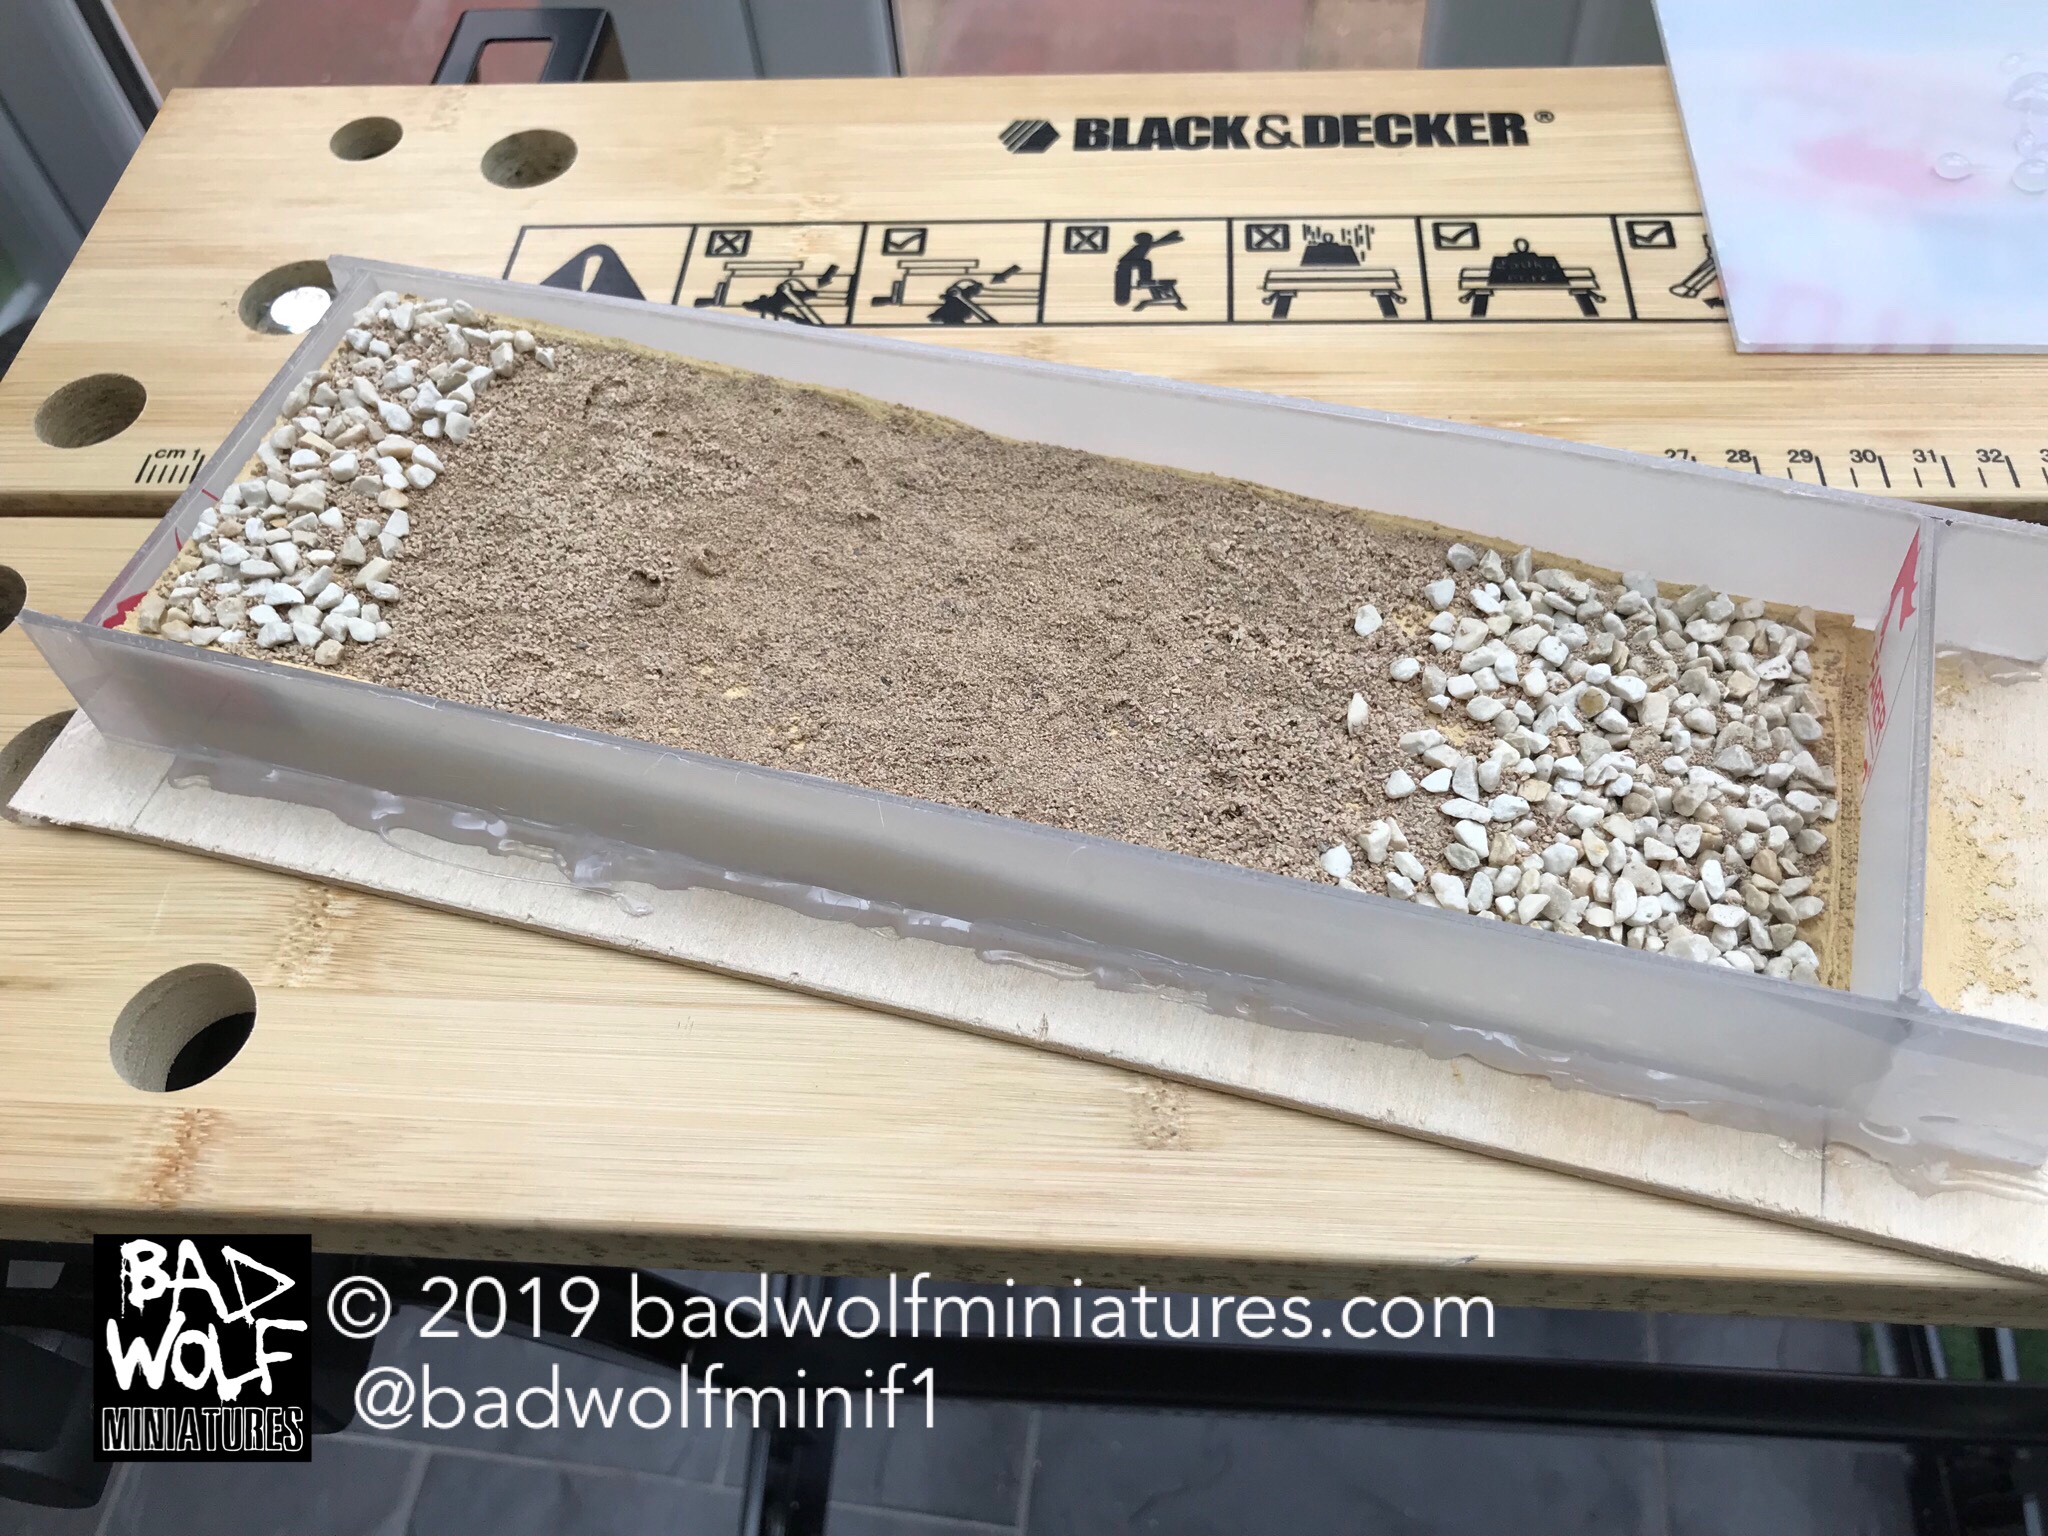
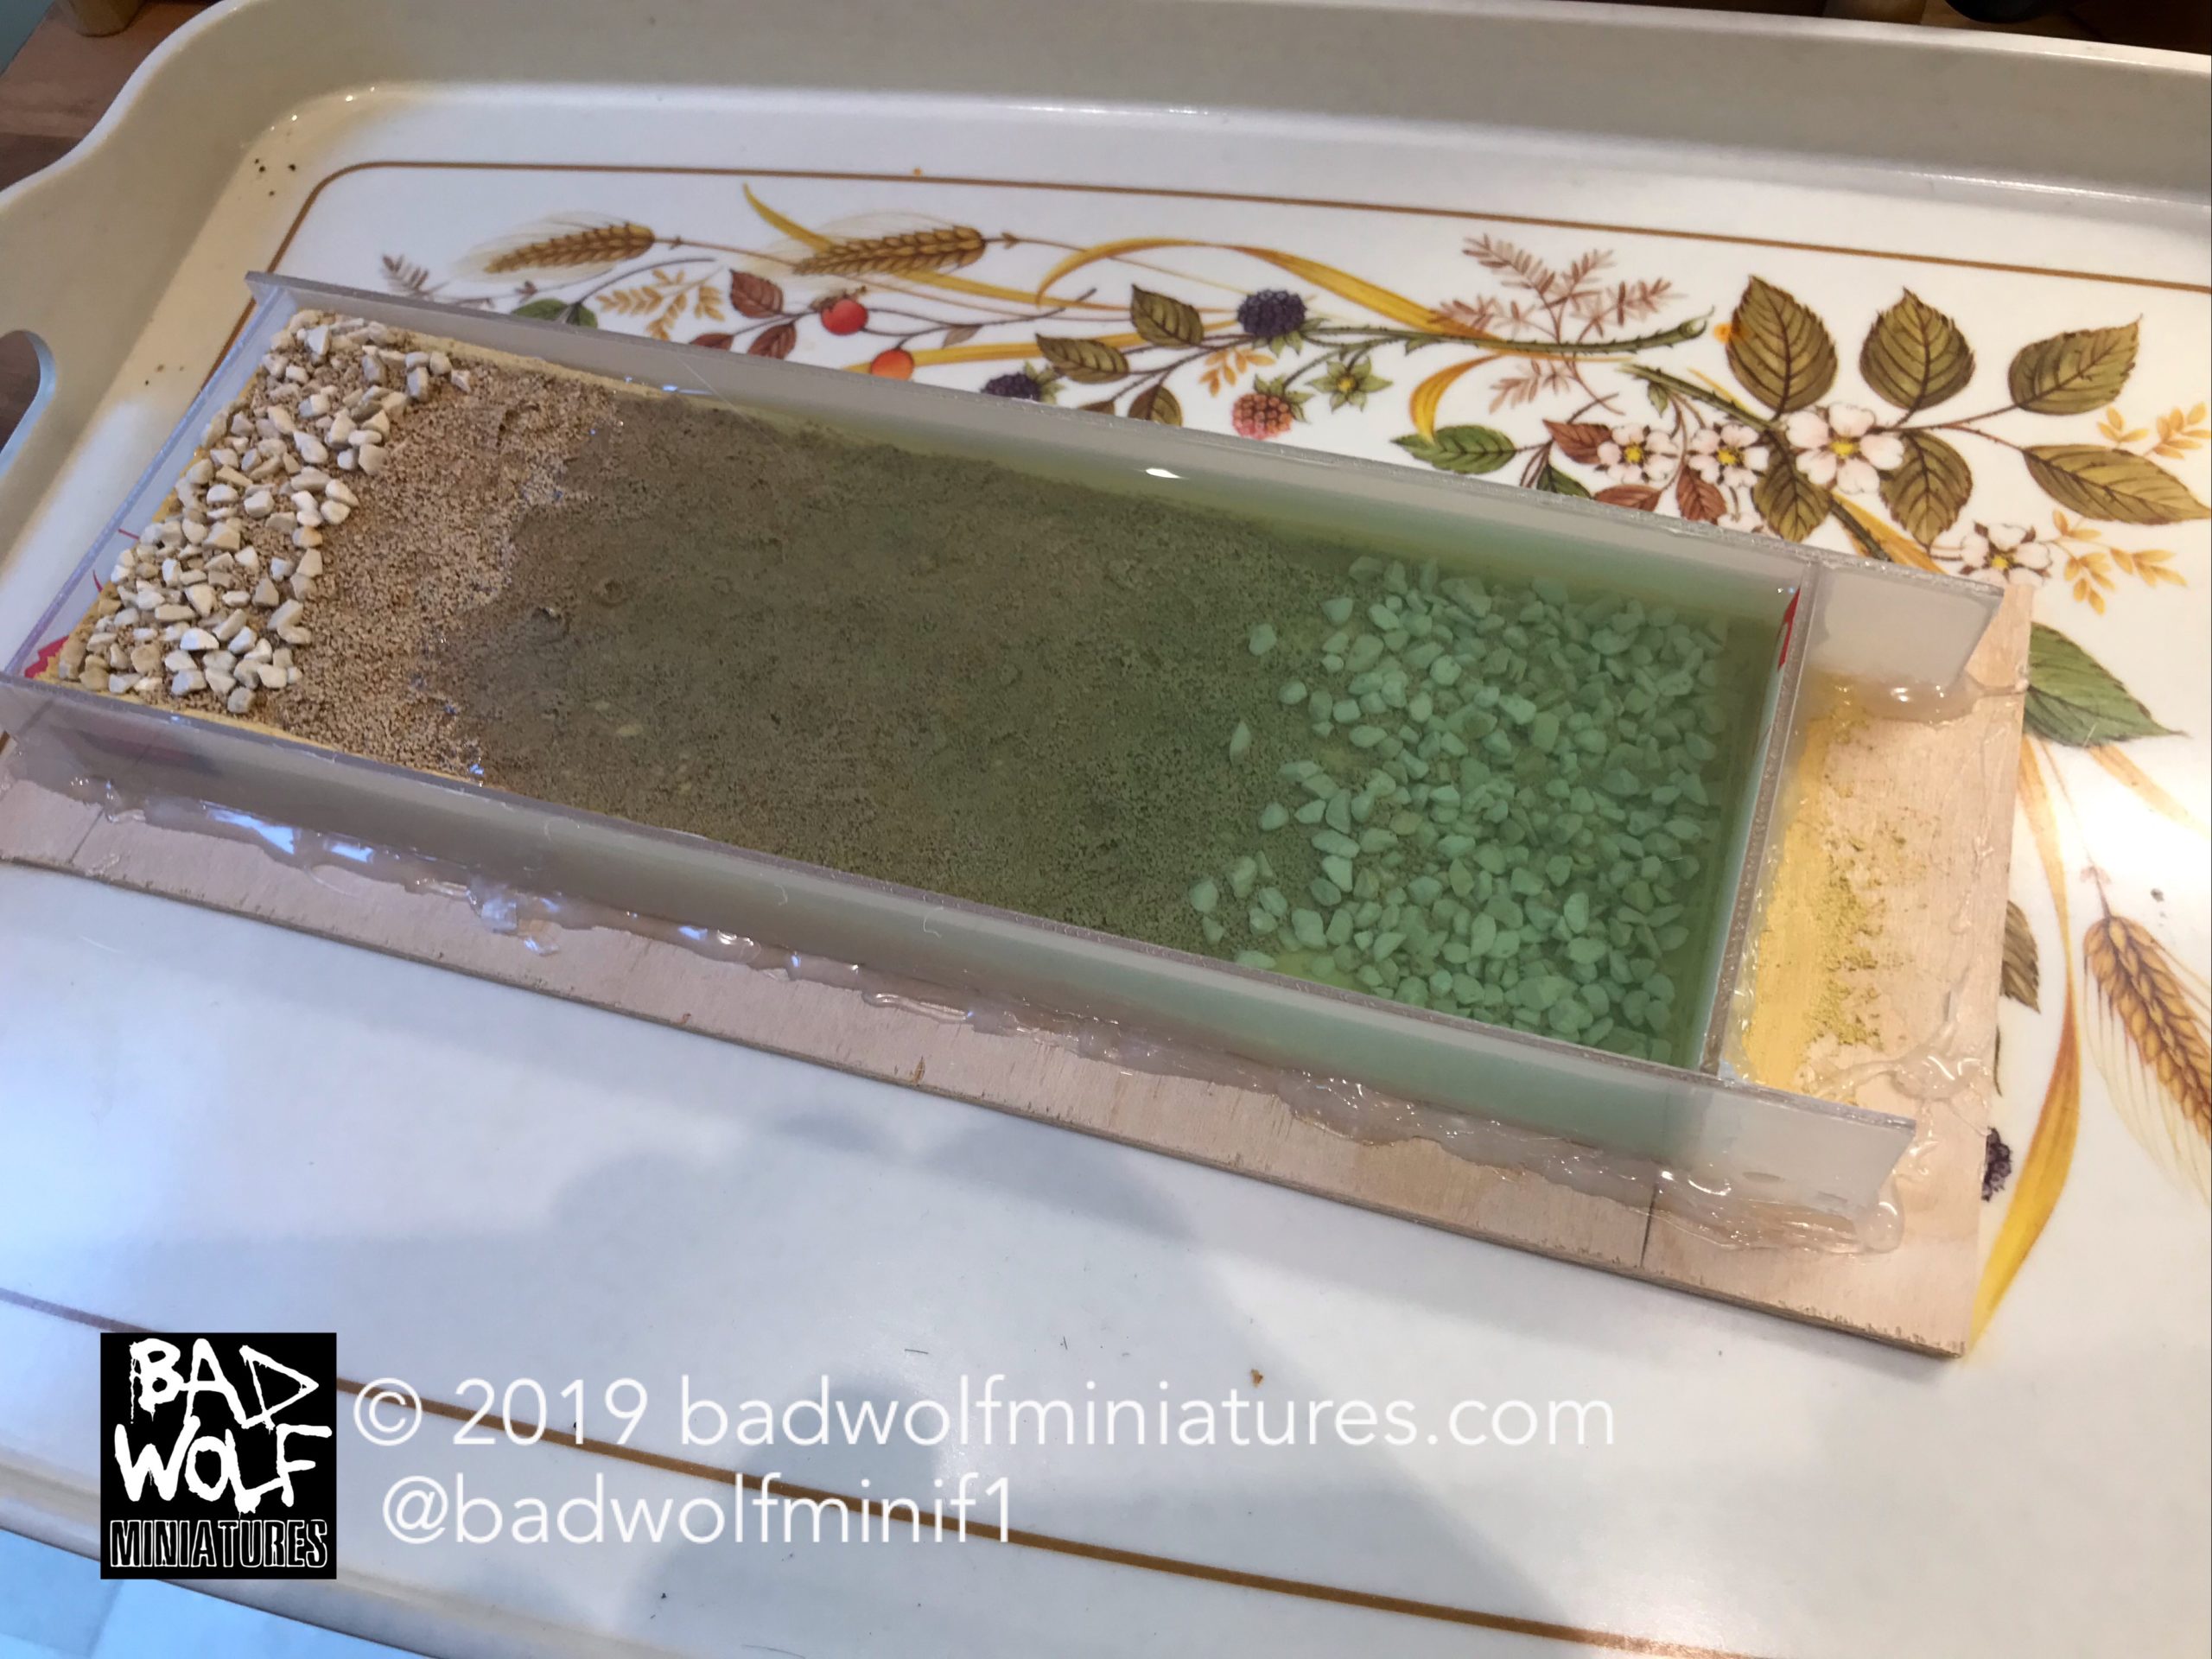
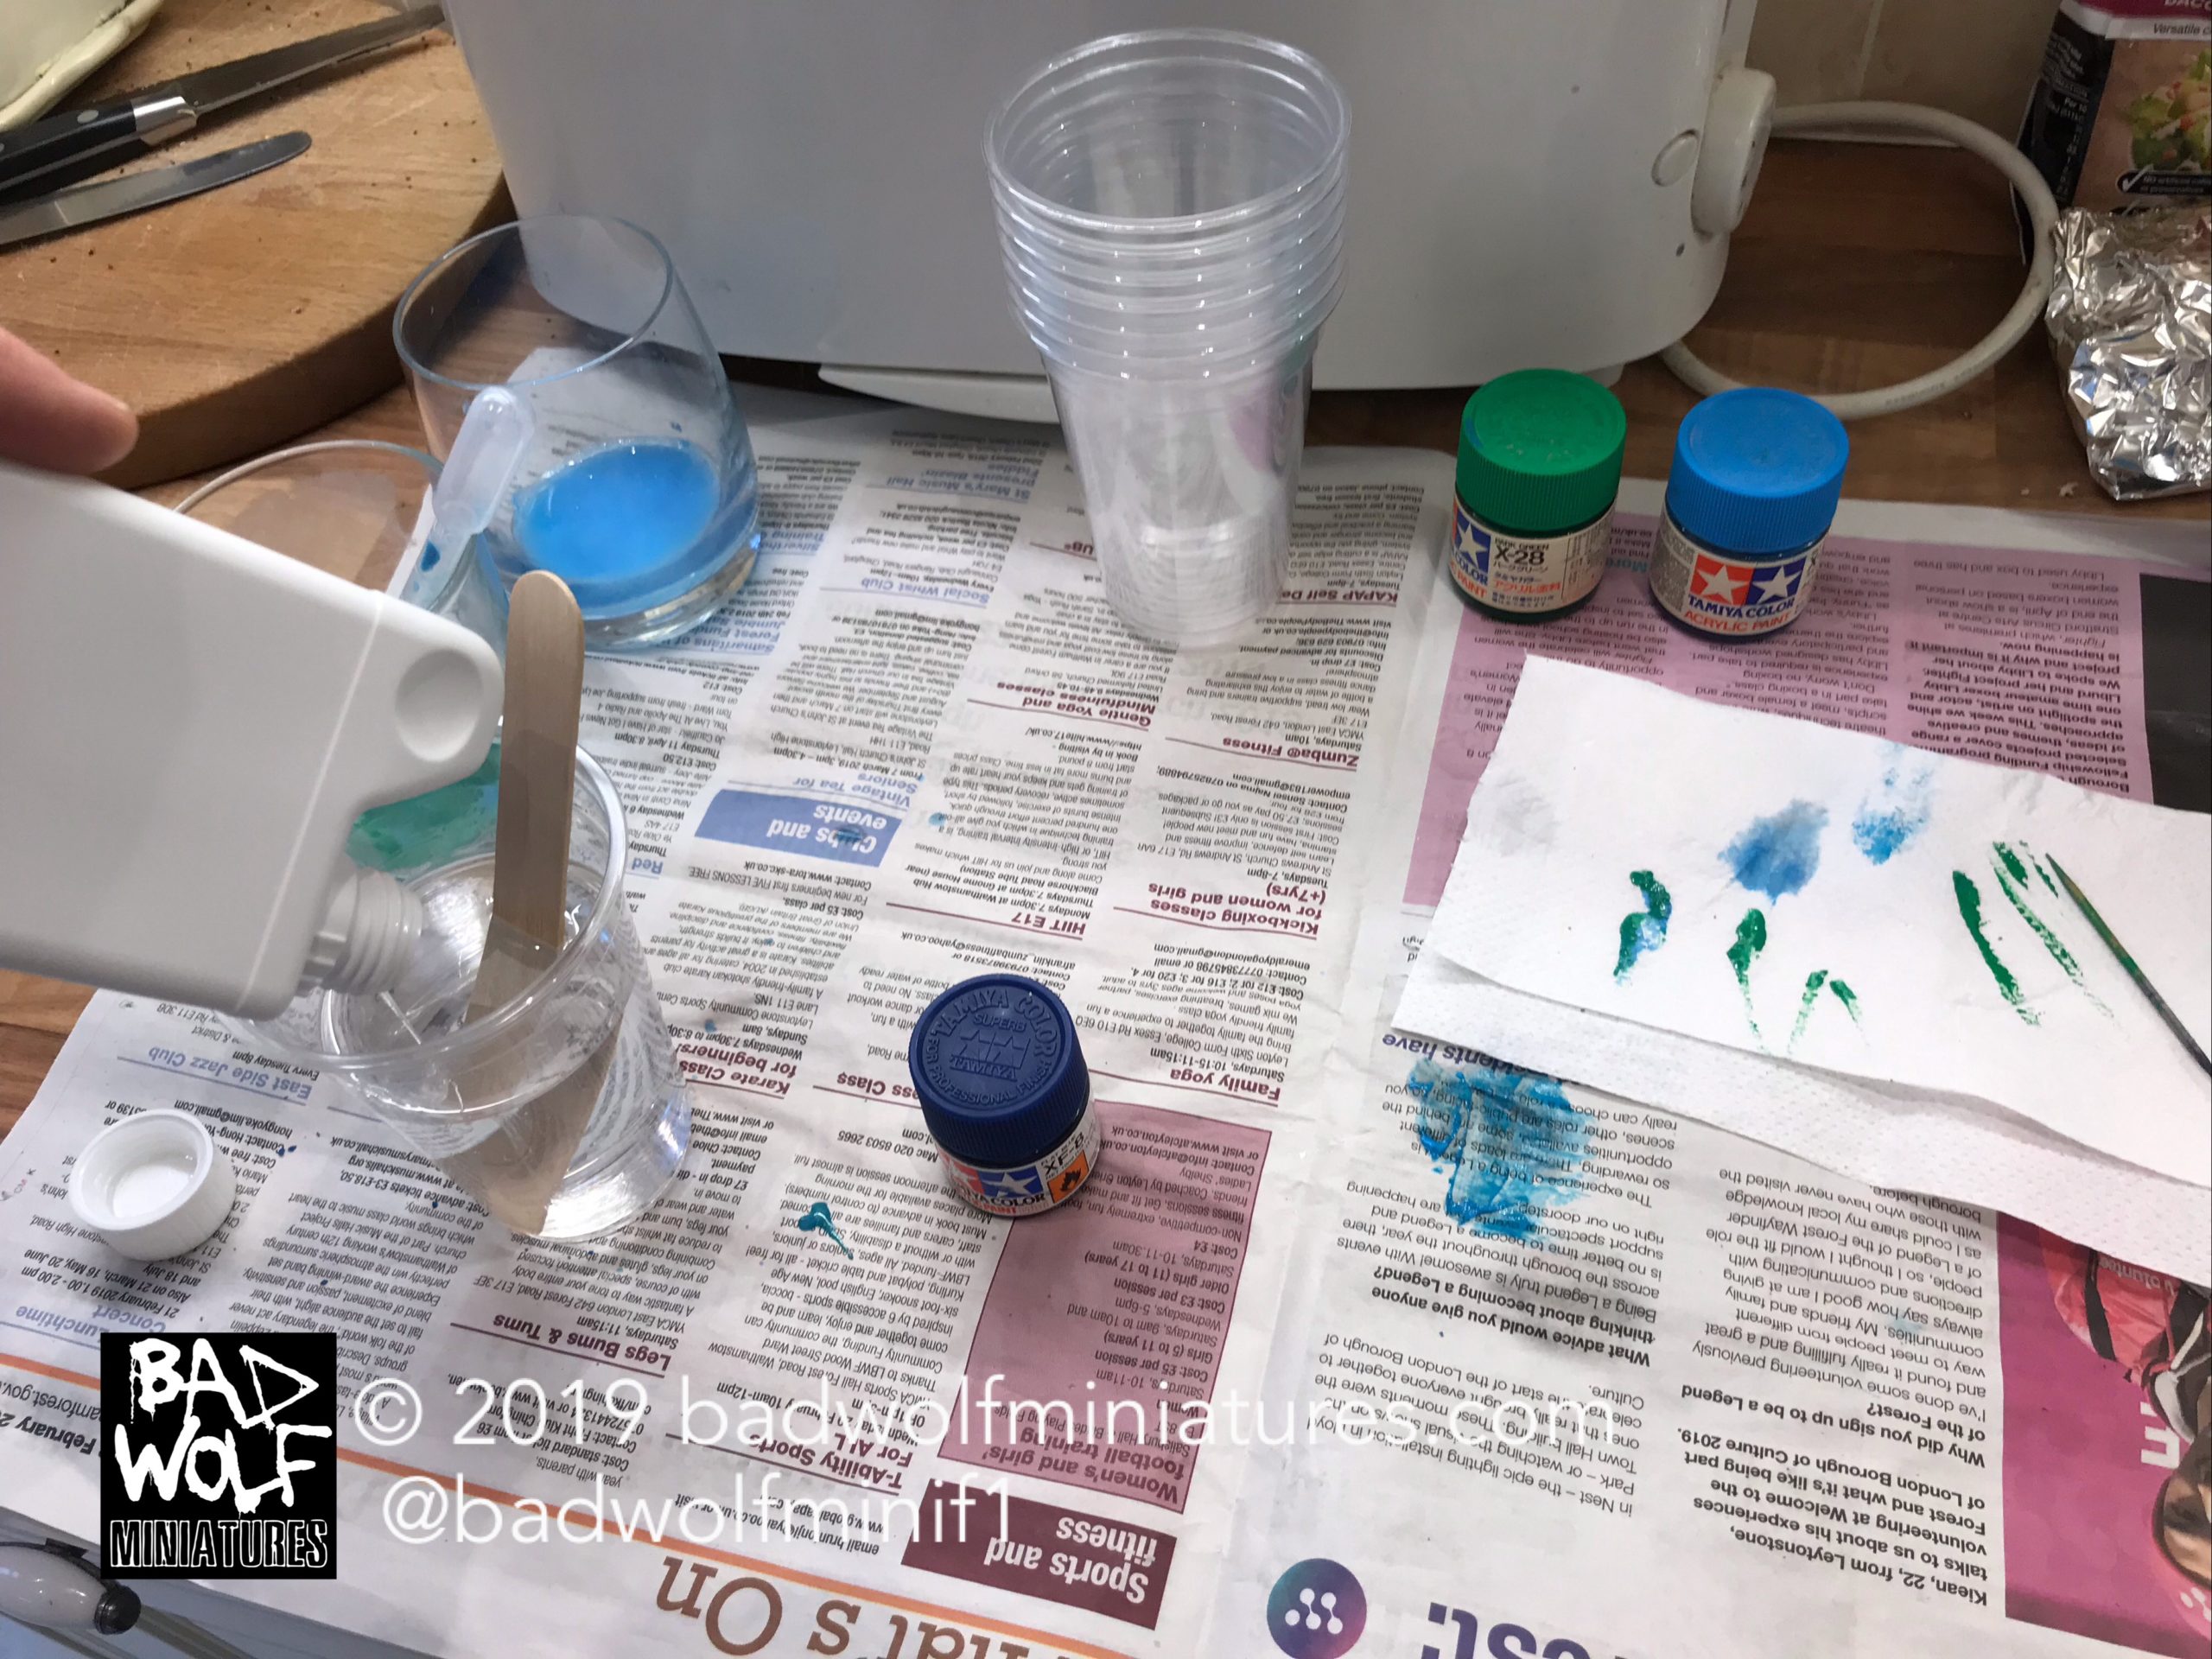
In order to build a dam around the test piece, I used pieces of Perspex which were sealed to the base and at the corners using a hot glue gun. The resin I chose was Gedeo Crystal Resin, which I coloured at this stage with Tamiya acrylics. The resin was mixed in a 50%-50% ratio of resin and hardener and once poured was left to cure for 48 hours.
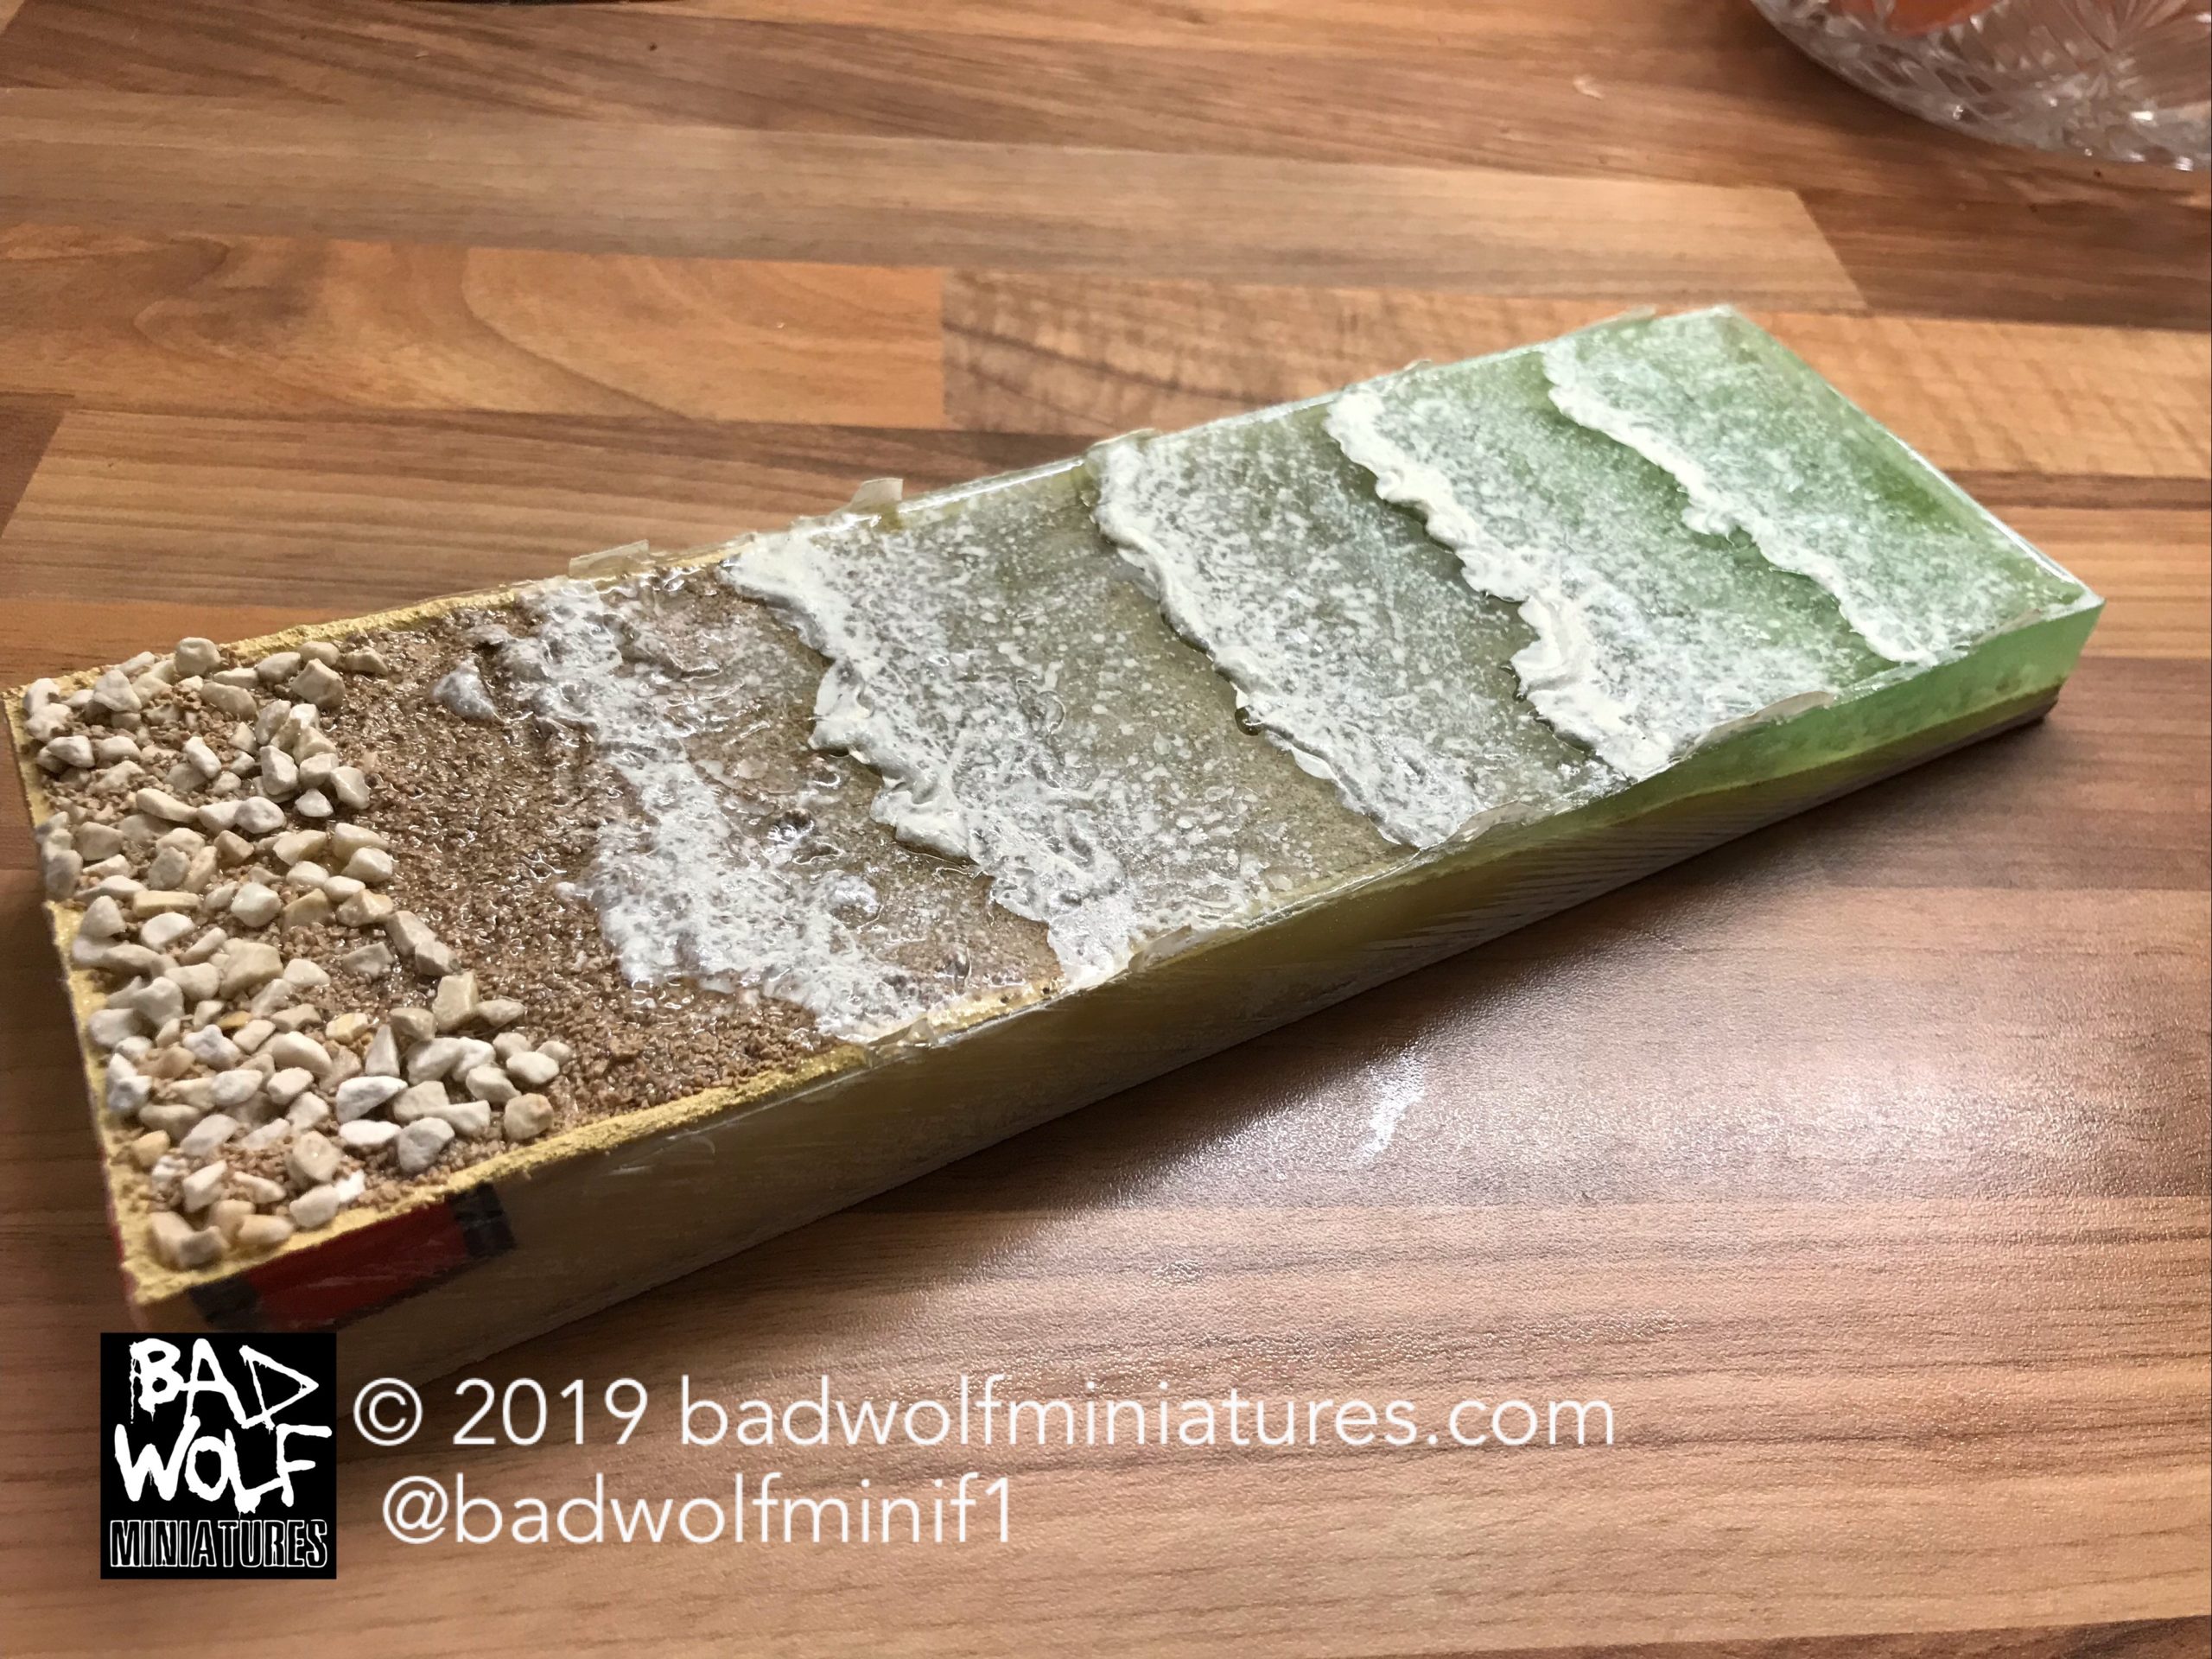
Once dry, and with the mould pieces broken away, I was delighted with the result. The next challenge was to simulate the effects of the waves breaking on the shore.
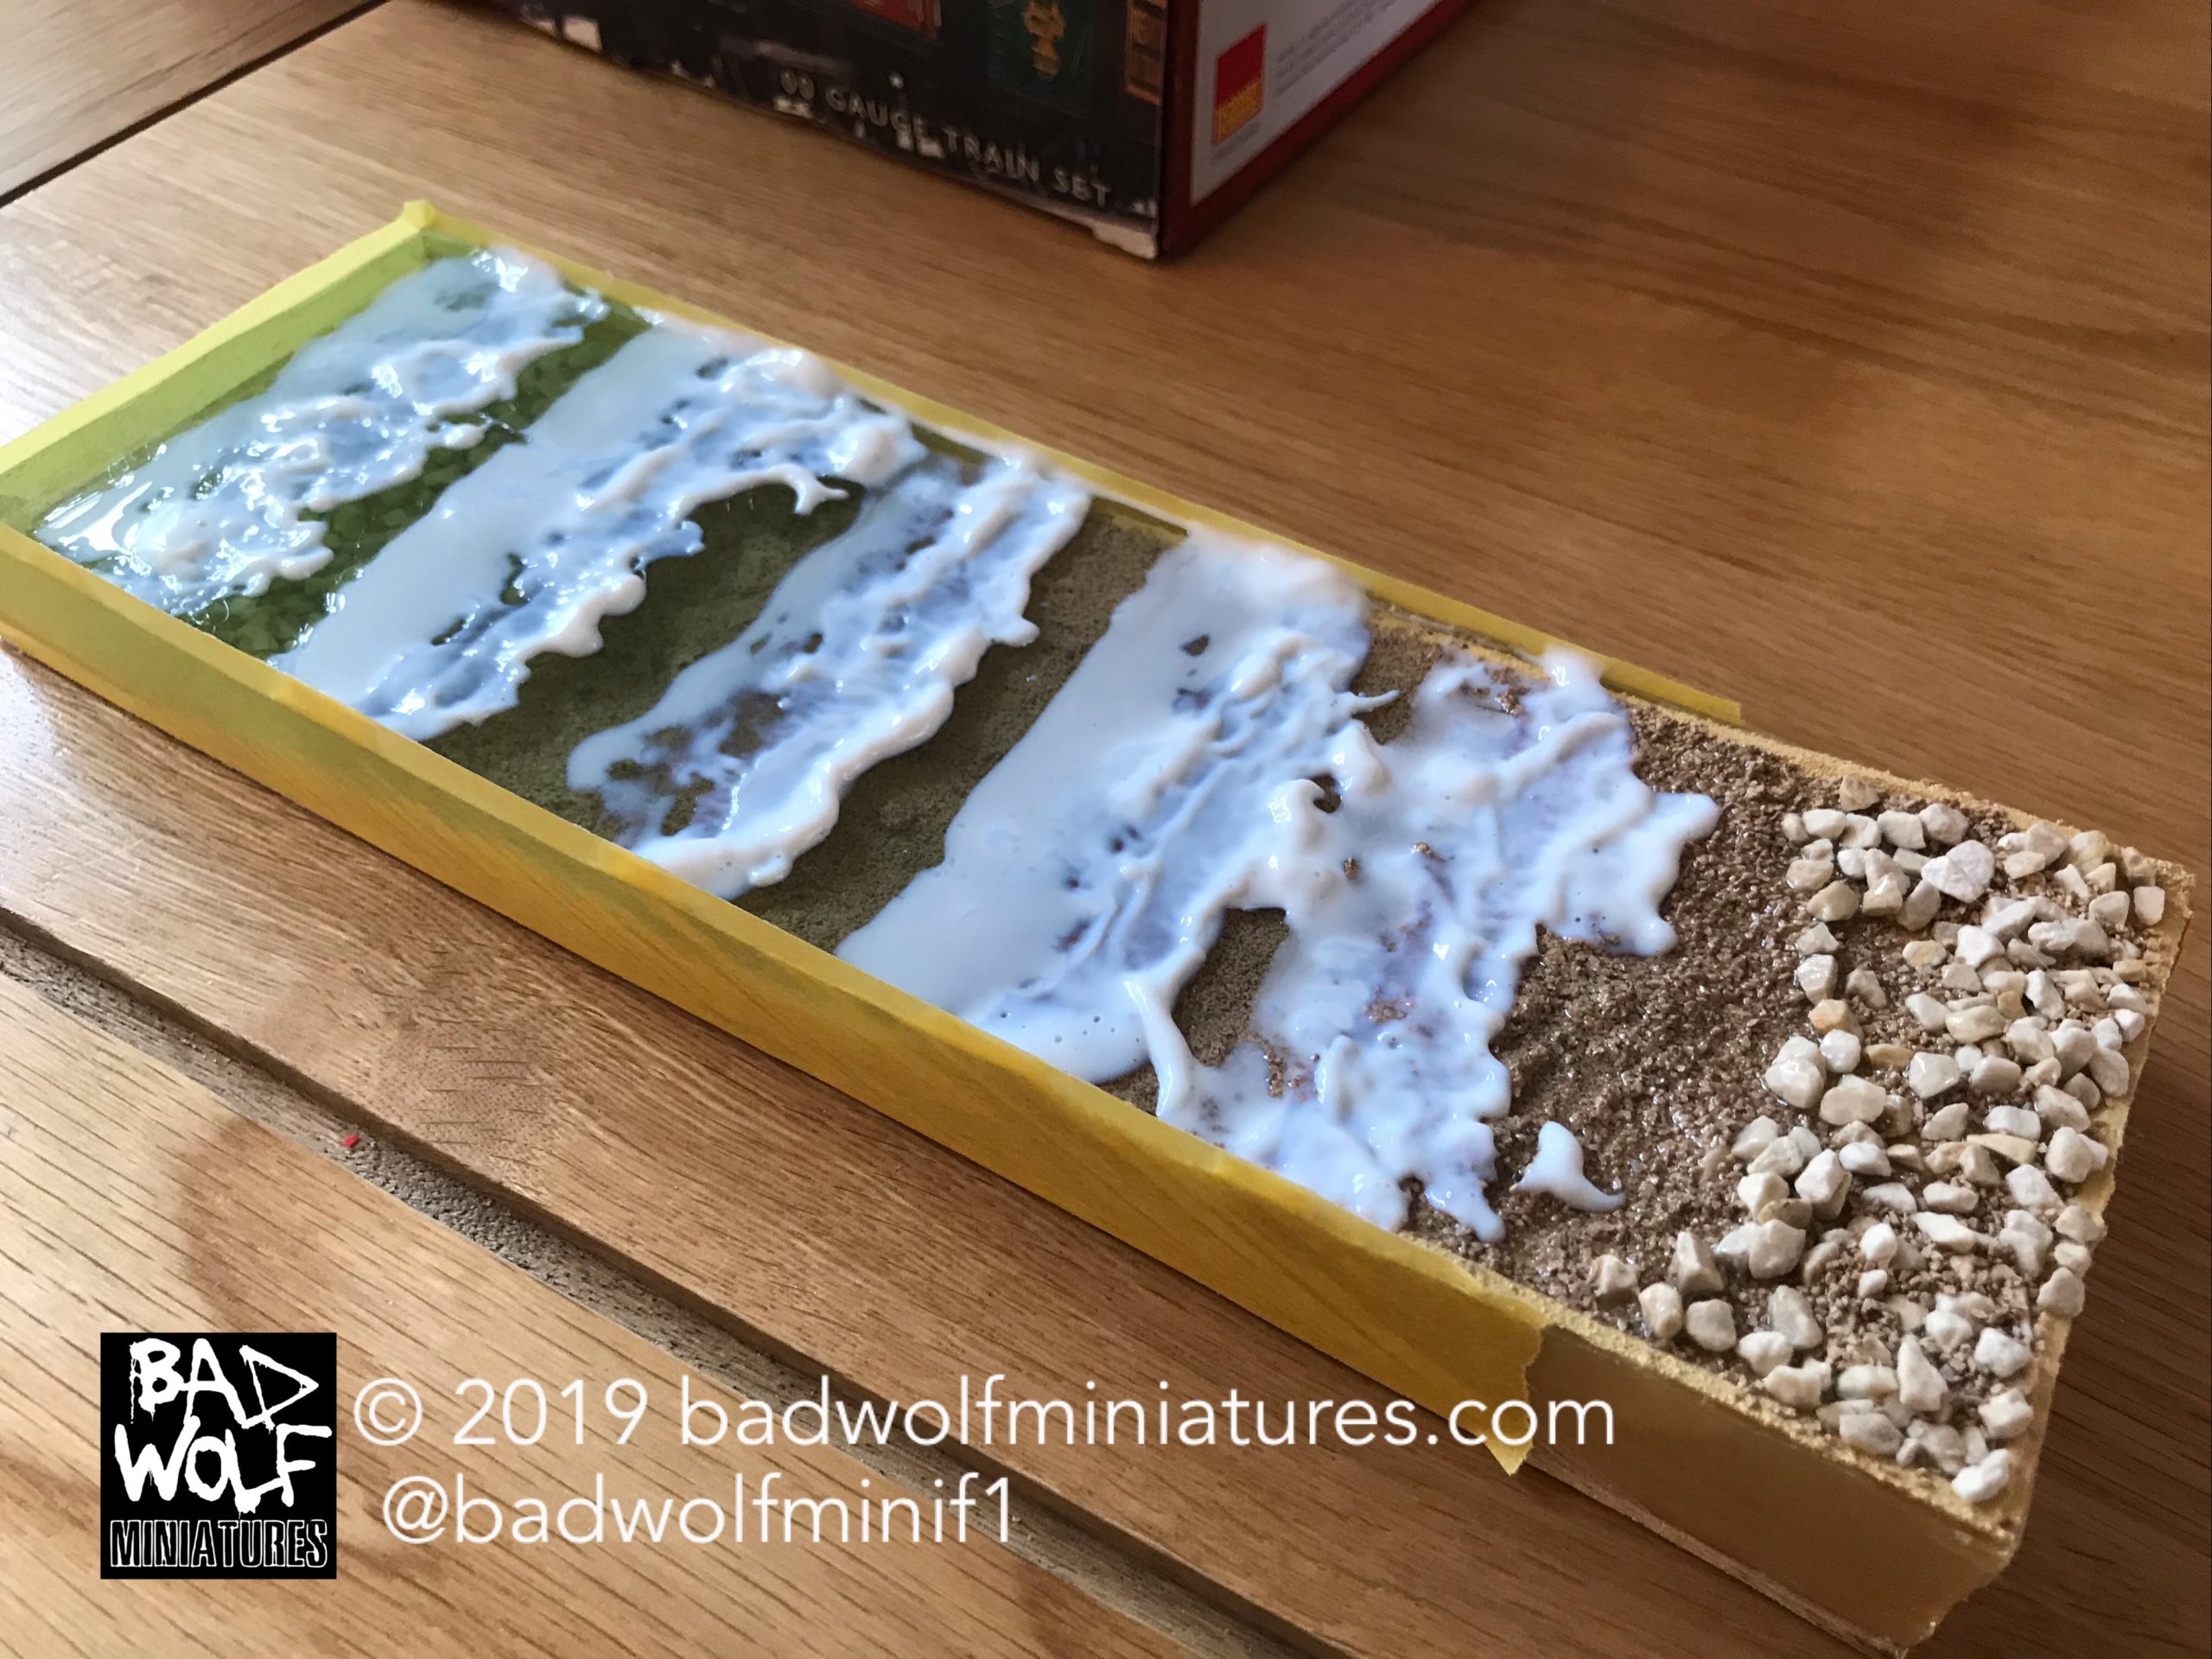
Using the techniques from the AMK book, I created the waves using Water Gel effects. The paste was added in ranks to simulate the waves and was then left to begin drying for c.30 minutes. With the paste starting to thicken, I then used my airbrush to gently push the ranks of paste forwards to recreate the effect of waves rolling towards the beach.
These fantastic YouTube videos from AK Interactive are extremely helpful (although you may want to turn the sound-off after a while… the music is quite repetitive!
The next stage is to attached the bridge to the base and start building-up the shore beneath. I will write about this in my next post… whenever that is!
One Reply to “Monaco 1992 Diorama – Part 1”